In an earlier article we demonstrated the power of the Post-Process Stack using emissive textures, the real versatility of the post-process stack comes with the ability to swap profiles based on the needs of the scene. These profiles allow you to save overrides to create distinct and varied effects such as bloom, vignettes, and other effects.

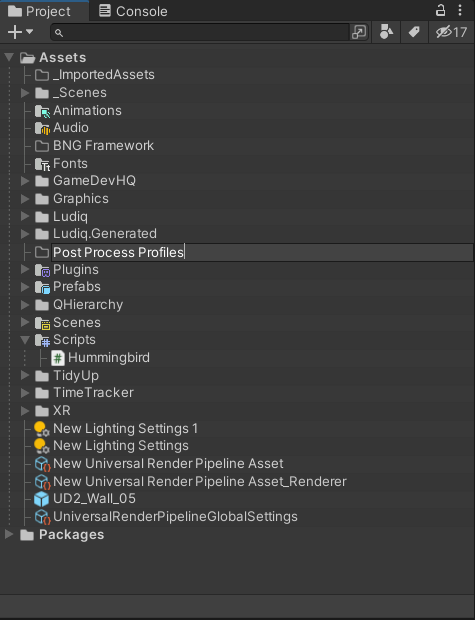
Start by creating a folder in your project to hold these new Post Process Profiles, for setting up a Post-Process Volume, just refer back to the Editing Emissives in Custom Textures article (here) to do that.

Create two Volume Profiles I went with Bloom and Vignette as those will be the two types I will be using in this example. You can copy my settings but they should look like this.

Next locate the Global Volume in your scene. It will have a section in the inspector labelled Profile this is where you where swap your profiles in and out like demonstrated in the gif below.

There you have it, simple to use profiles that allow you to swap between distinct Post Process settings quickly and easily. This allows you to quickly set up a scene with a specific volume and allow you to tweak these volumes on the fly within the inspector to get just the right settings to set the mood for your player’s experience. Until next time, happy coding.
