Unity Timeline is a powerful tool for creating animations in the Unity game engine. It allows game developers to create complex animation sequences that can be triggered by events in the game, such as player input or environmental changes. With Timeline, you can create cutscenes, cinematic sequences, and more. In this article, we’ll explore how to use Unity Timeline to create animations.
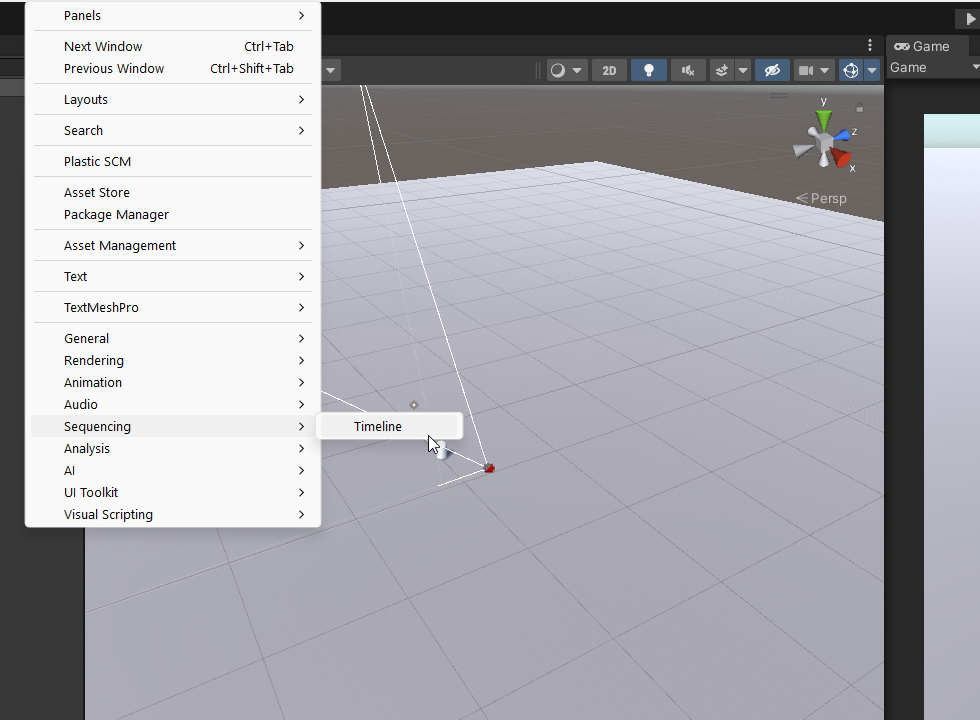
To start using Unity Timeline, you’ll need to have a basic understanding of Unity and its components. Timeline is a visual editor, which means that you’ll be working with a lot of different components to create your animations. The Timeline editor is divided into two main sections: the tracks and the timeline.

Tracks are the different components that make up your animation sequence. For example, you might have a track for a character’s movement, another track for camera movements, and another track for sound effects. The timeline is the area where you’ll organize and sequence all of these different tracks.
To create an animation track, you’ll need to select the object that you want to animate in the Unity editor. This could be a character, a camera, or any other game object. Once you’ve selected the object, you can right-click in the Timeline window and select “+” button in the top left of the Timeline Tab. Then add an object with an animator attached to it like this Capsule with an Animator.
There are many different types of tracks that you can add to your animation sequence. Some of the most common include:
- Animation Track: This track allows you to animate the properties of an object over time, such as position, rotation, and scale.
- Audio Track: This track allows you to add sound effects and music to your animation sequence.
- Activation Track: This track allows you to activate or deactivate game objects during the animation sequence.
- Particle System Track: This track allows you to animate particle effects, such as fire or smoke.
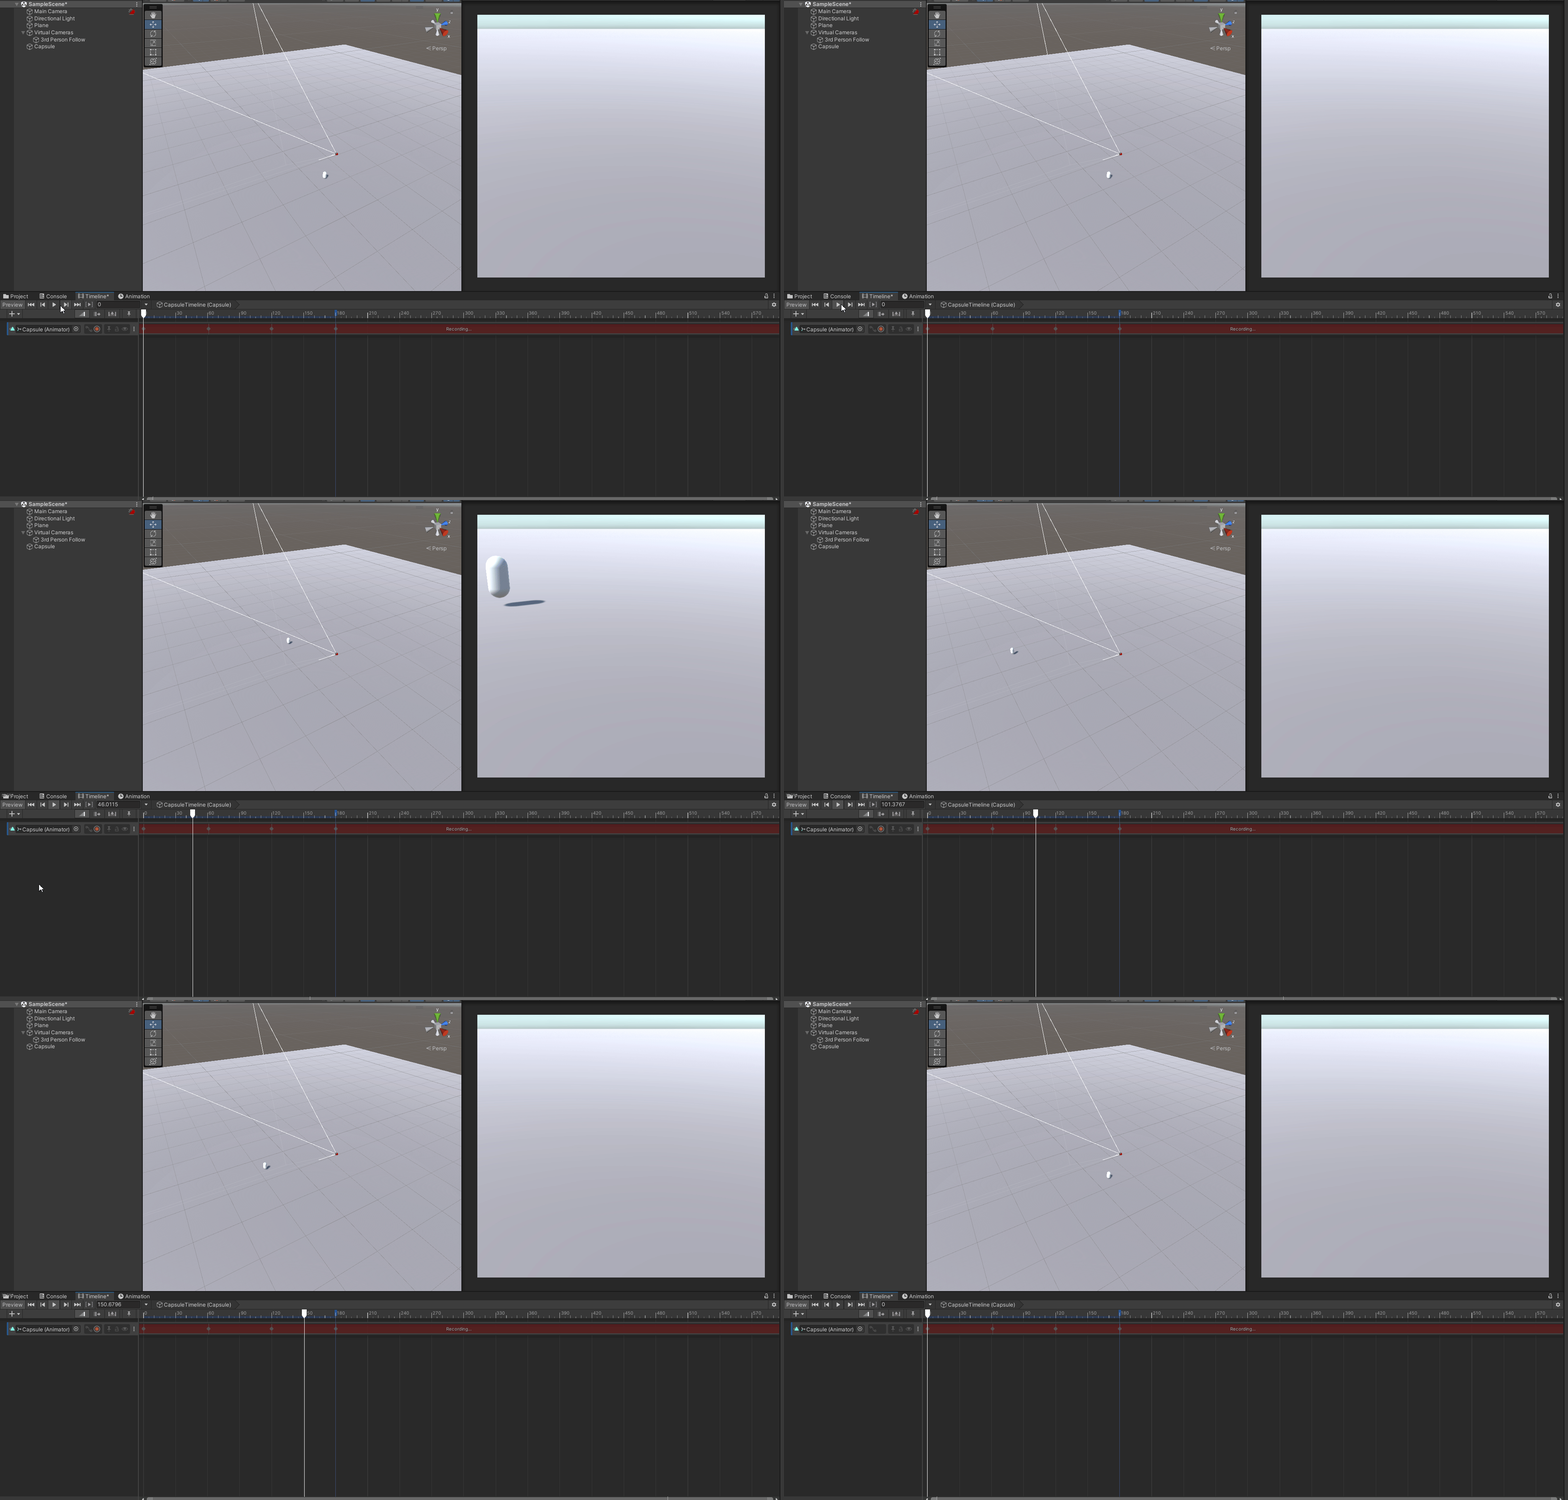
Once you’ve created your tracks, you can start adding keyframes to your animation sequence. Keyframes are points in time where you want something to happen in your animation. For example, if you want a character to move across the screen, you would add a keyframe at the beginning and end of the movement.
To add a keyframe, you’ll need to select the track that you want to animate and then move the playhead to the point in time where you want the keyframe to be, hit the Record button. You can then use the Inspector to adjust the properties of the object. For example, if you want a character to move, you can adjust their position, rotation, and scale. Then while the Record button is active move the object accordingly to your proposed movement.
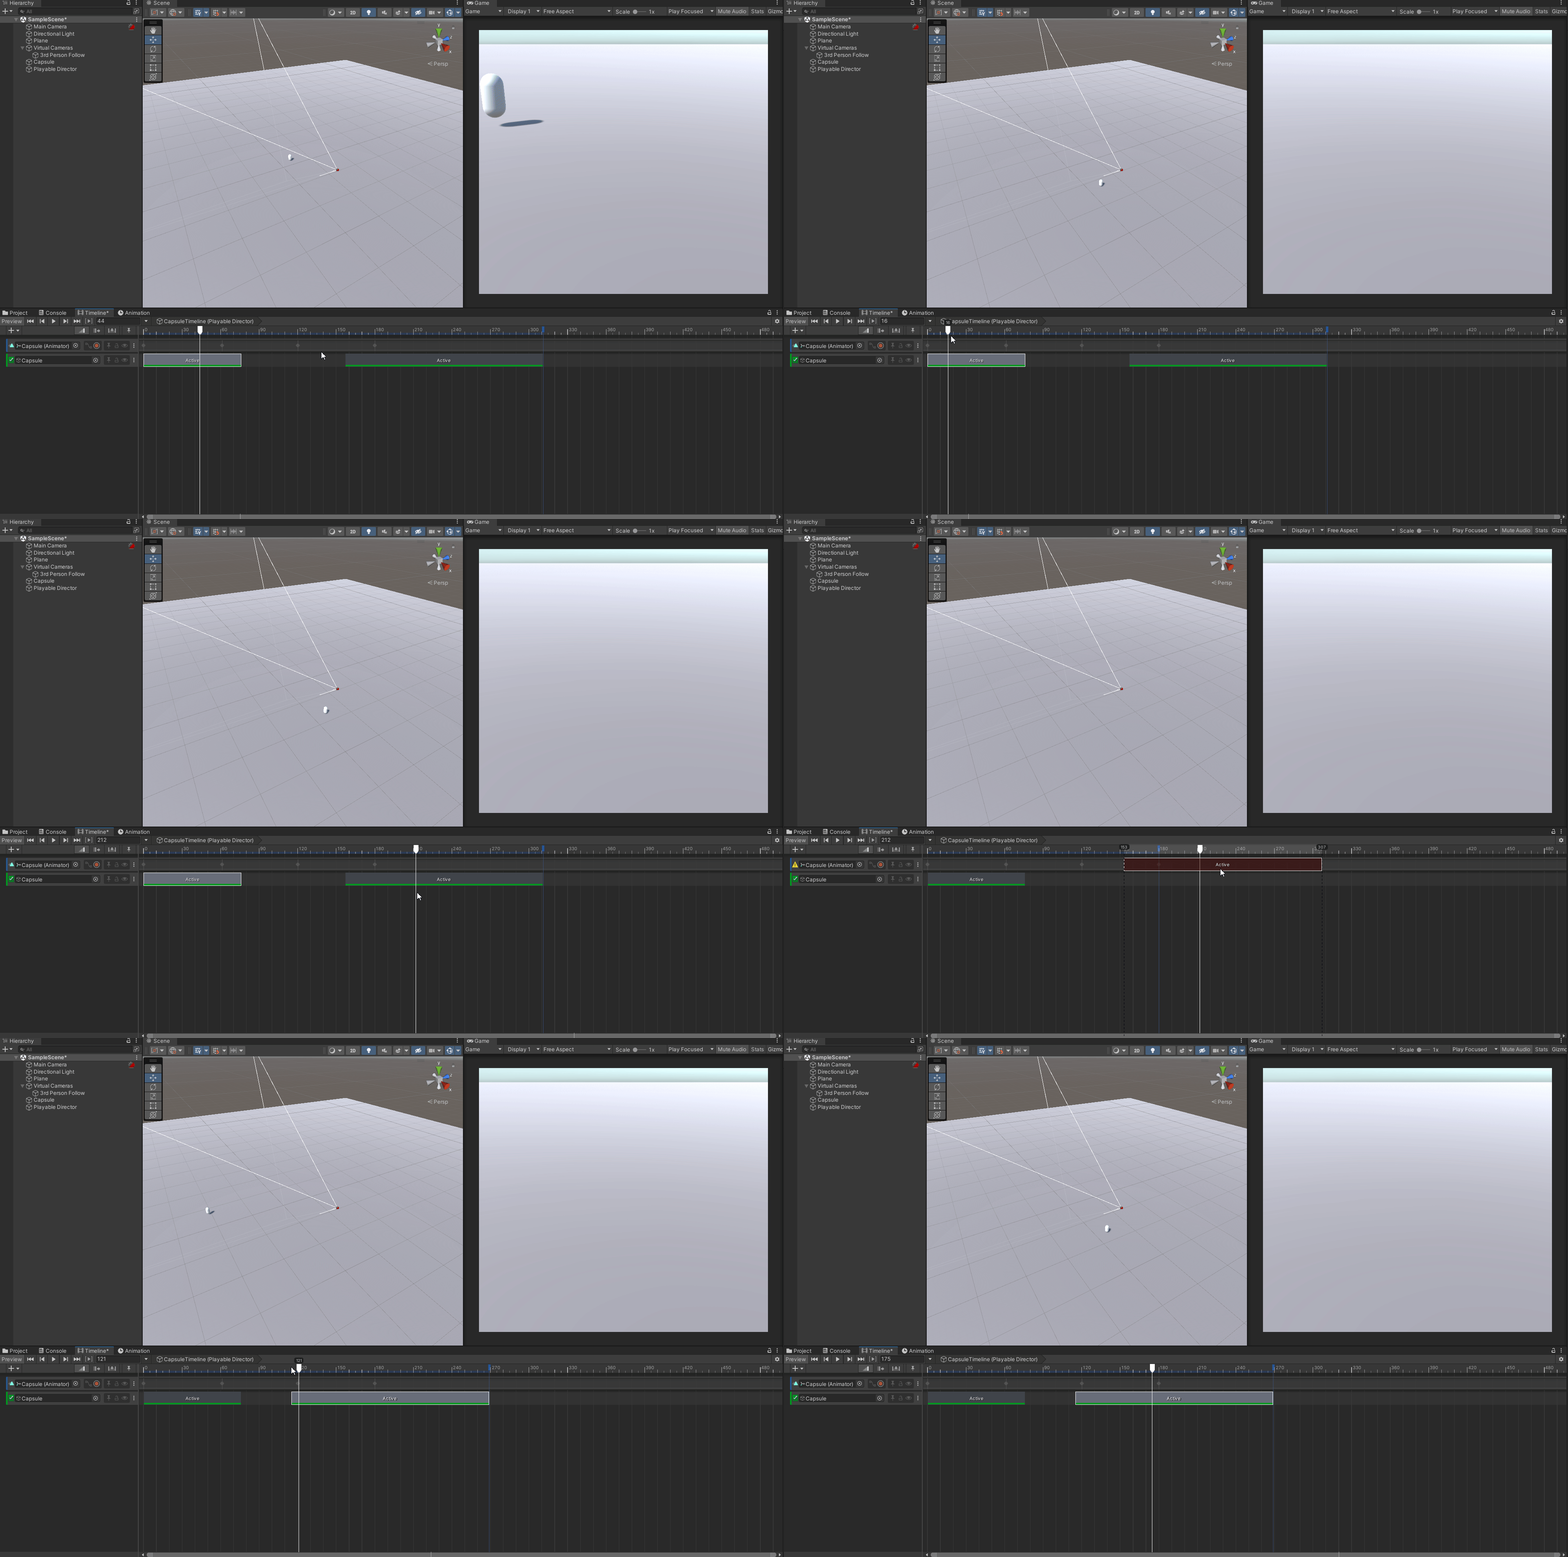
Once you’ve created your animation tracks and added keyframes, you can start sequencing them in the Timeline editor. This involves organizing the tracks in the order that you want them to play and adjusting the timing of each track.
To sequence your animation tracks, you can simply drag and drop them into the timeline in the order that you want them to play. You can then adjust the timing of each track by moving the edges of track on the timeline.
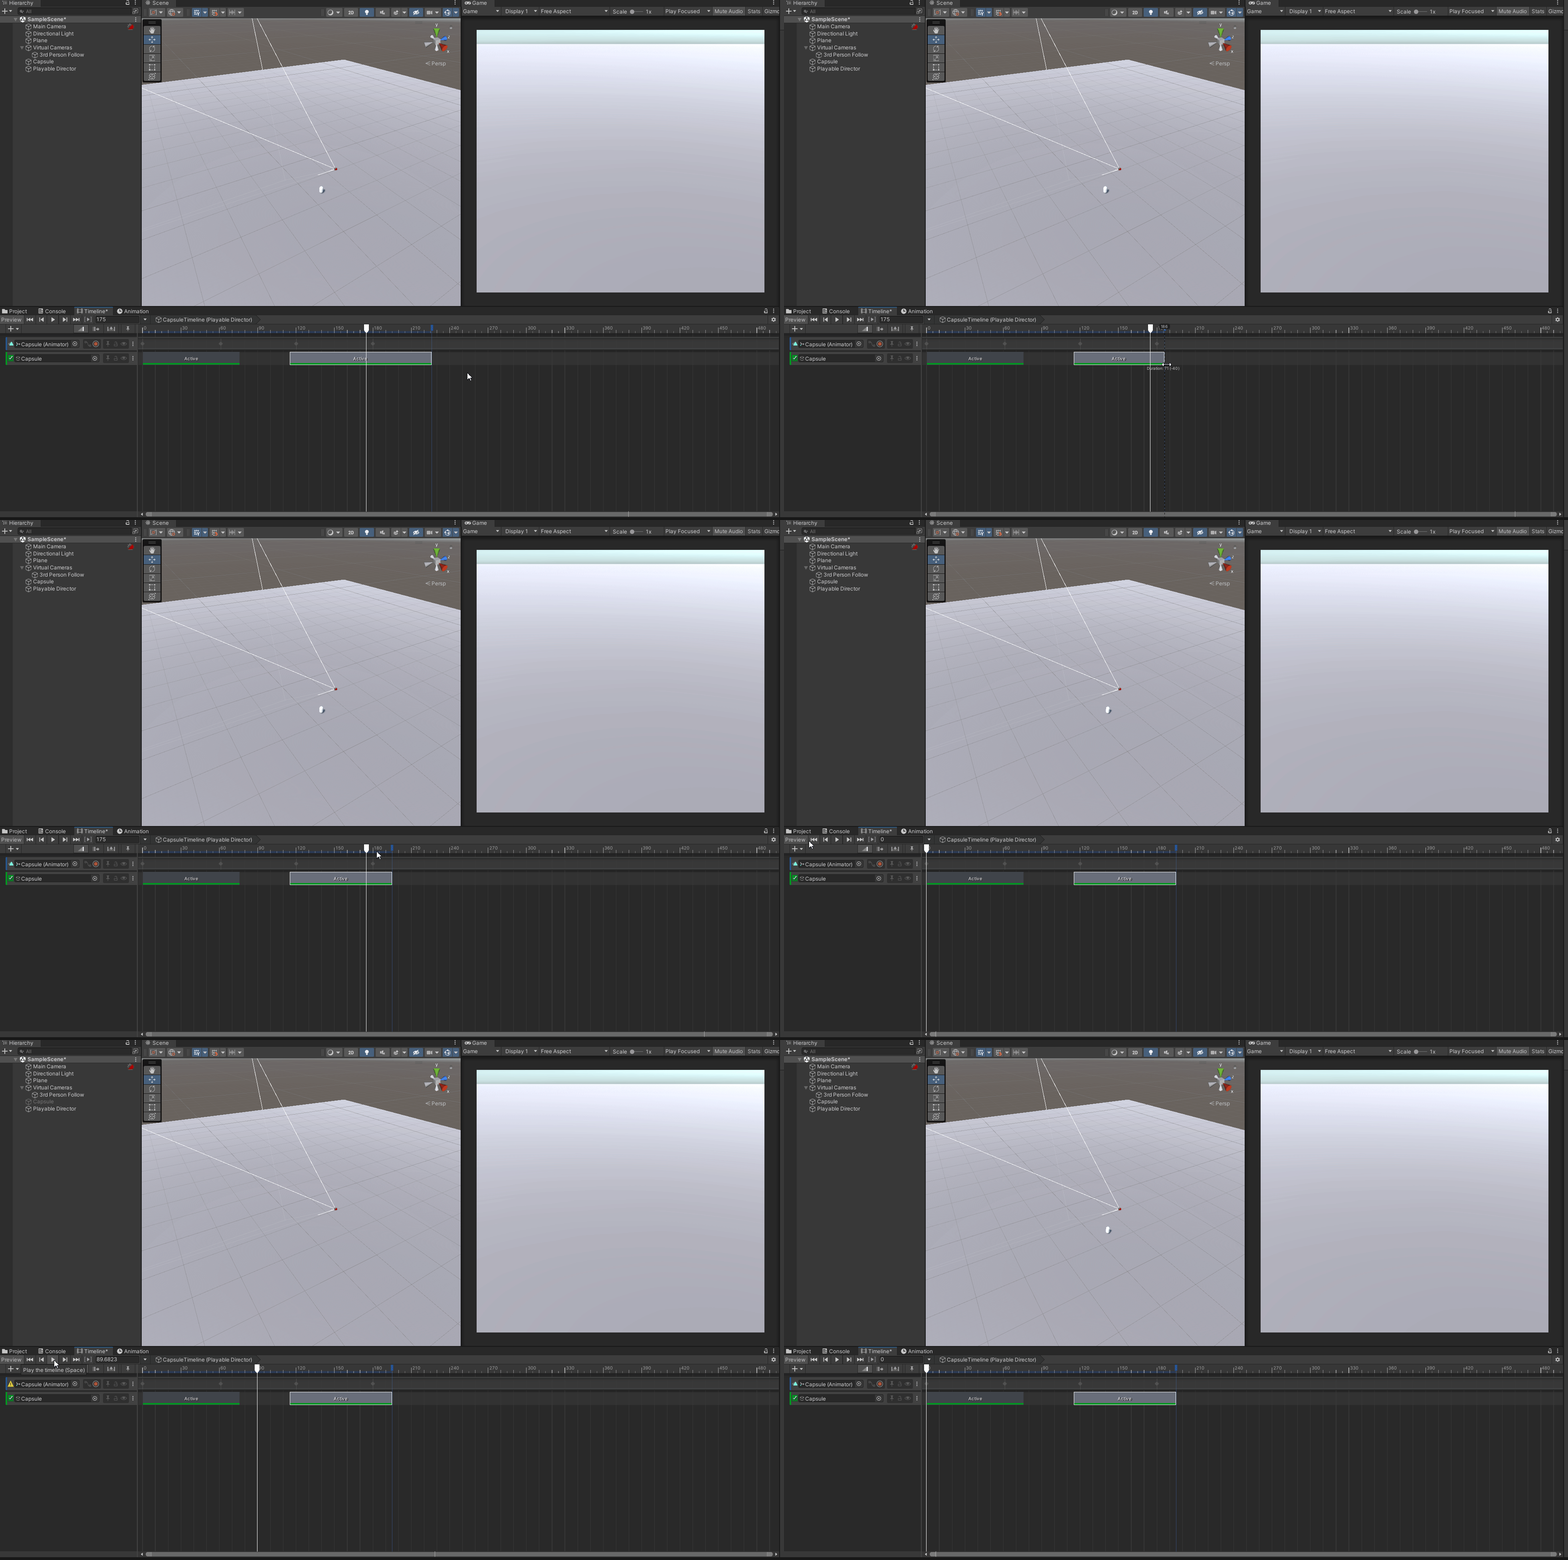
Once you’ve adjust the sequence, you can test it in the Unity editor by pressing the “Play” button on the timeline. This will play the timeline in the scene/game view so that you can see how it looks in real-time or by clicking the “Preview” button you can see it move in realtime as you scrub through the Timeline. Timeline’s ability to drag, drop, adjust, and record allows you a centralized spot to tweak not only cinematic moments in your game but set piece functionality, and even gameplay such as doors swinging in conjunction with sounds or anything your imagination can dream up. Until next time, happy coding.
