

Unity Timeline is a powerful tool that enables developers to create cinematic experiences and cutscenes in their games. It allows users to create and edit tracks, which are containers for individual elements that control different aspects of the scene, such as animation, audio, and effects. There are several types of tracks in Unity Timeline, each designed to handle specific types of content. In this article, we will explore the different types of tracks available in Unity Timeline.
Animation Track
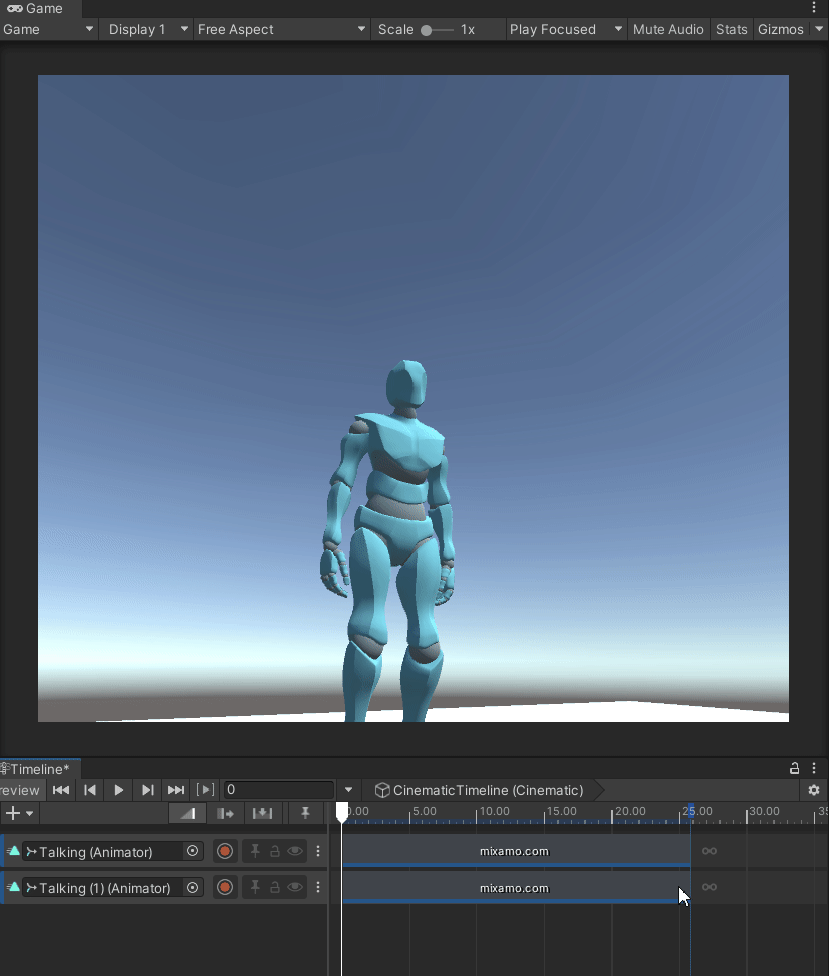
The Animation Track is one of the most commonly used tracks in Unity Timeline. It is used to create animations for game objects and characters. Users can add keyframes to the track, which define the position, rotation, and scale of the object at a particular point in time. By setting different keyframes, users can create smooth and realistic animations for their game objects. You can then convert them into clip tracks that allow you to adjust and tweak the track.
Activation Track
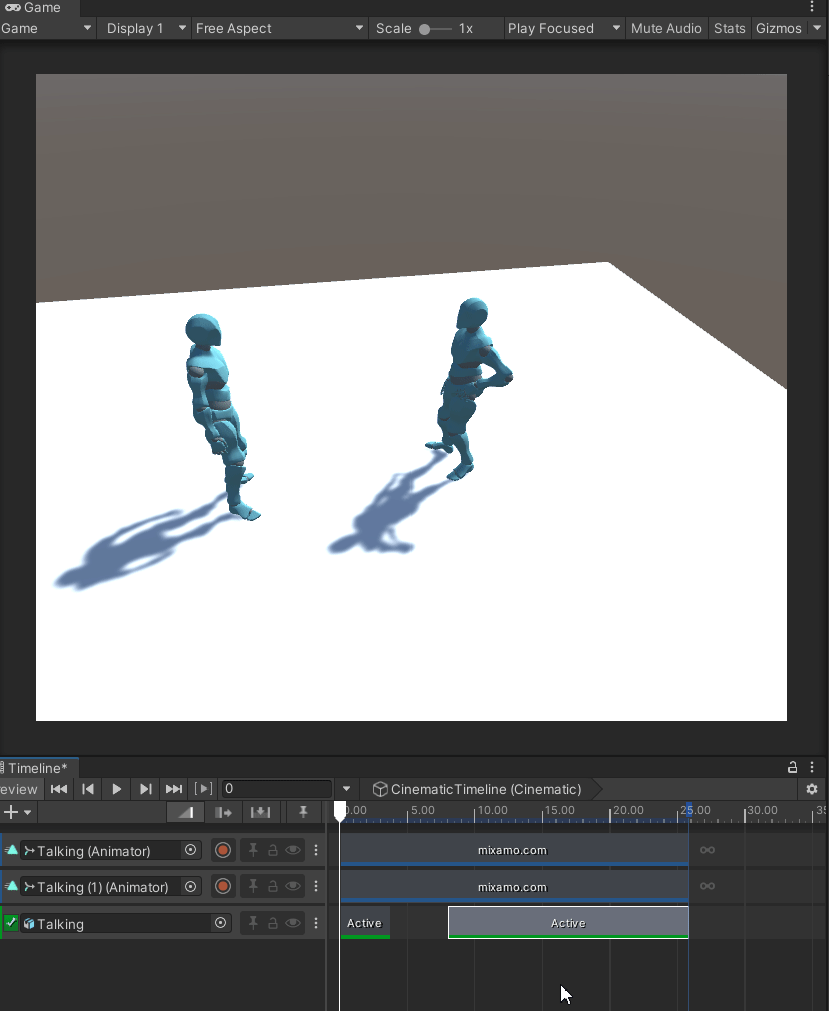
These tracks allow you to activate (and deactivate) tracks at will. This useful for removing objects from a scene, and making it appear again. It also turns off the gameobject and any associated scripts/particles/etc attached to it. This is much more intuitive than doing it via script which can get clunky but will provide more versatility if you need particular functionality in addition to the deactivation. Users can add keyframes to the track to change the state of the objects at specific points in time.
Audio Track
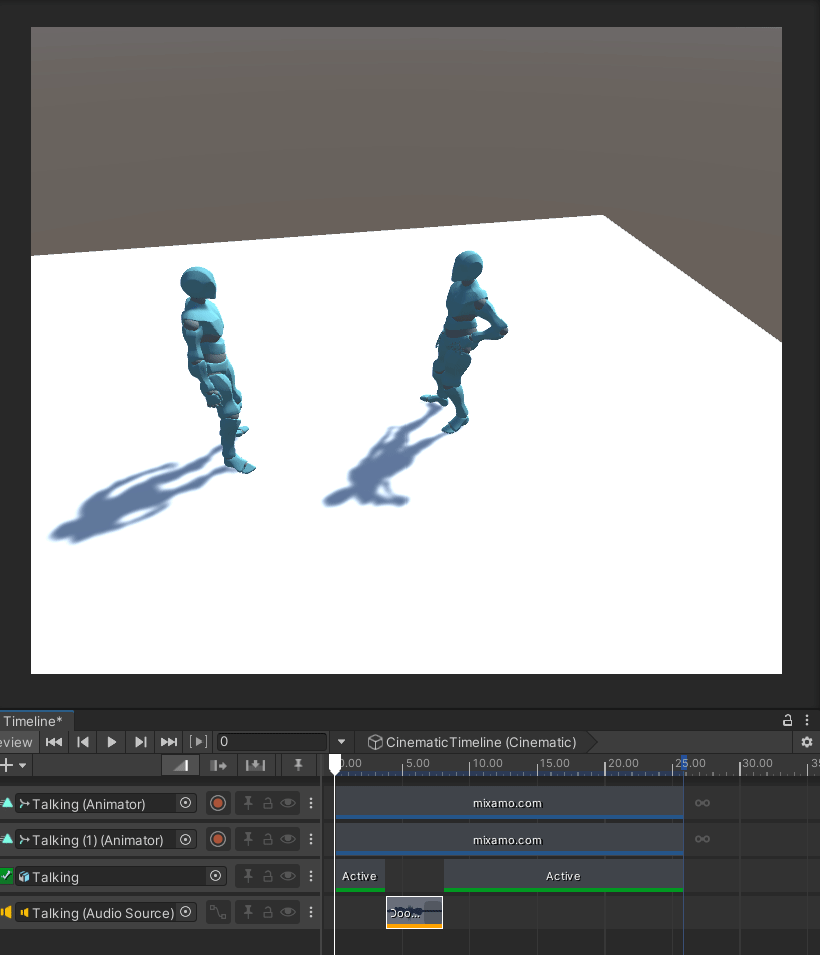
The Audio Track is used to add sound effects and music to a scene. Users can add multiple audio clips to the track and adjust their volume and playback time. The track also provides options for looping, fading, and syncing the audio with the other tracks in the scene.
Control Track
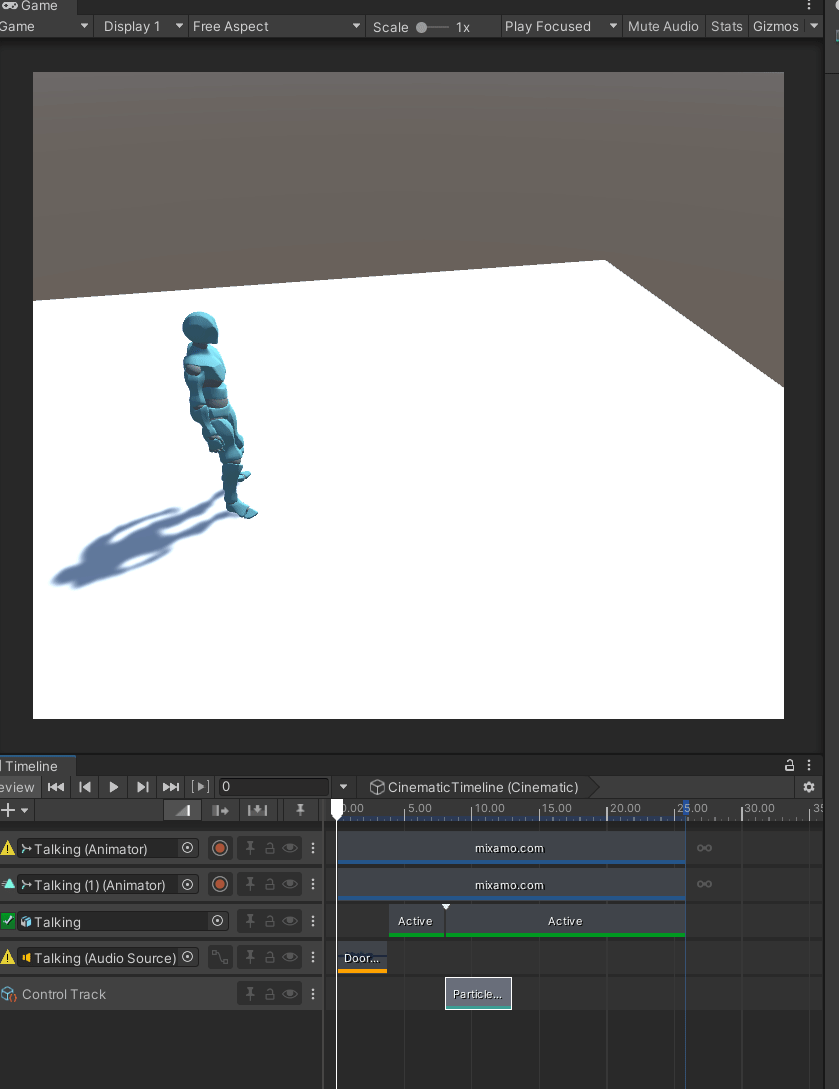
The Control Track is used to create custom animations and effects using scripting. It allows users to control the values of variables and properties in scripts attached to game objects. Users can add keyframes to the track to change the value of the variables over time, creating complex animations and effects. This is especially useful for particle systems and other Playable Directors so that you can create cascading effects.
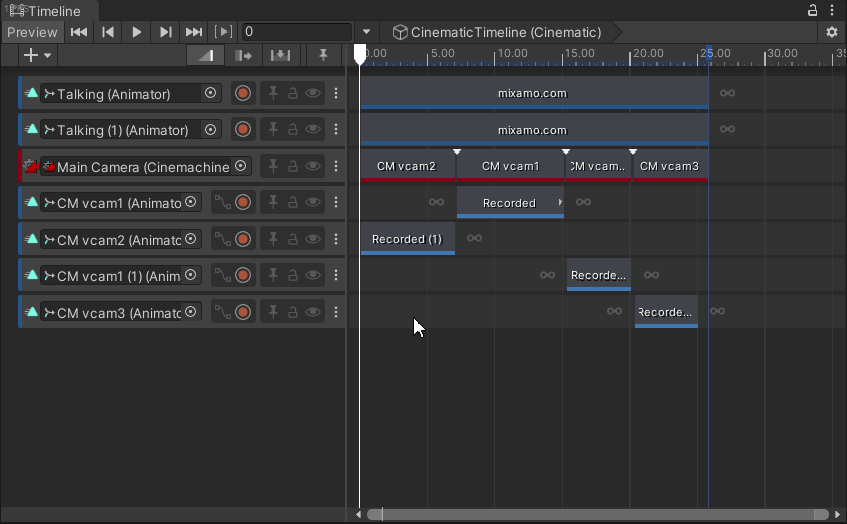
Cinemachine Track
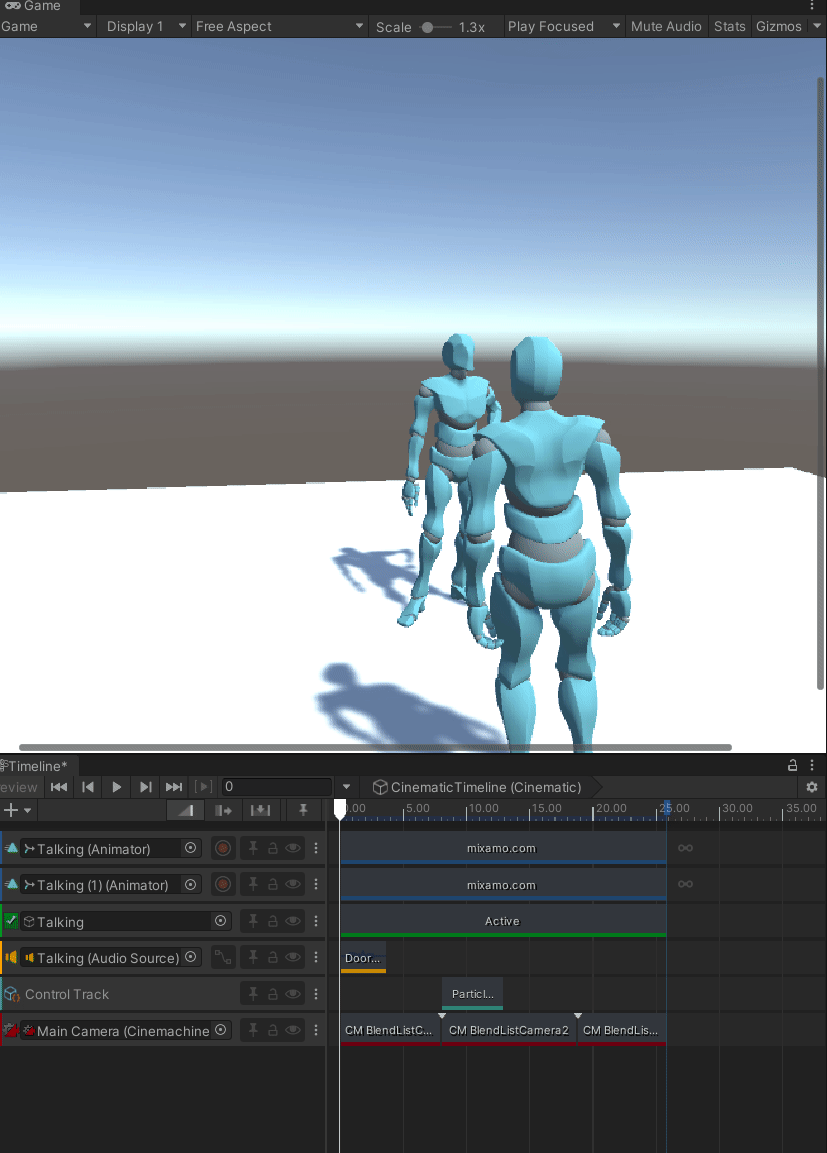
The Cinemachine Track is the final track we’ll cover in this list but arguably one of the most important ones for pairing Timeline and Cinemachine together. This allows you to have multiple VCams (driven by the Cinemachine Brain) match the rest of the elements of the Timeline. In this gif you can see 3 independent blended lists that provide different aspects of the scene and they can be adjusted easily by dragging and drawing their respective clips.
In conclusion, Unity Timeline provides a range of tracks to help developers create cinematic experiences and cutscenes in their games. Each track is designed to handle specific types of content, such as animation, audio, effects, and scripting. By using these tracks, developers can create complex animations and effects that enhance the immersion and gameplay of their games. Whether you are creating a simple cutscene or a complex cinematic experience, Unity Timeline has the tracks you need to make your vision a reality.