As your games grow and they become larger and larger with more graphical fidelity it becomes increasingly important to utilize optimization techniques to better utilize the player’s hardware. Even though hardware is vastly outpacing the the rate of fidelity that most games produce, it is still important to try to reach the widest number of players who may not be running the latest and greatest hardware as well as maintain stable frame rates for a consistent experience.
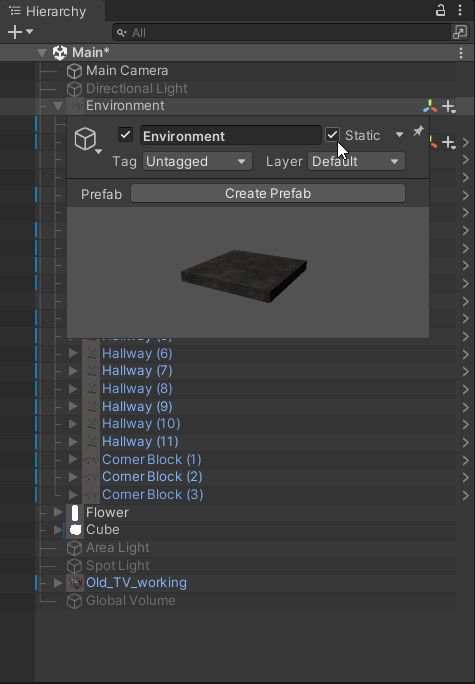
Let’s start by opening our project, I’ll be using an existing project I’ve been working on the last couple articles but you can use any project you’d like. Occlusion Culling works when objects are marked as static in the scene. You should mark objects that won’t move as static so that it knows to cull those objects. You can also set dynamic objects (ones that move) to be viewed as static but in this scene we don’t have any of those objects. So let’s start by setting all the objects in our environment to static.

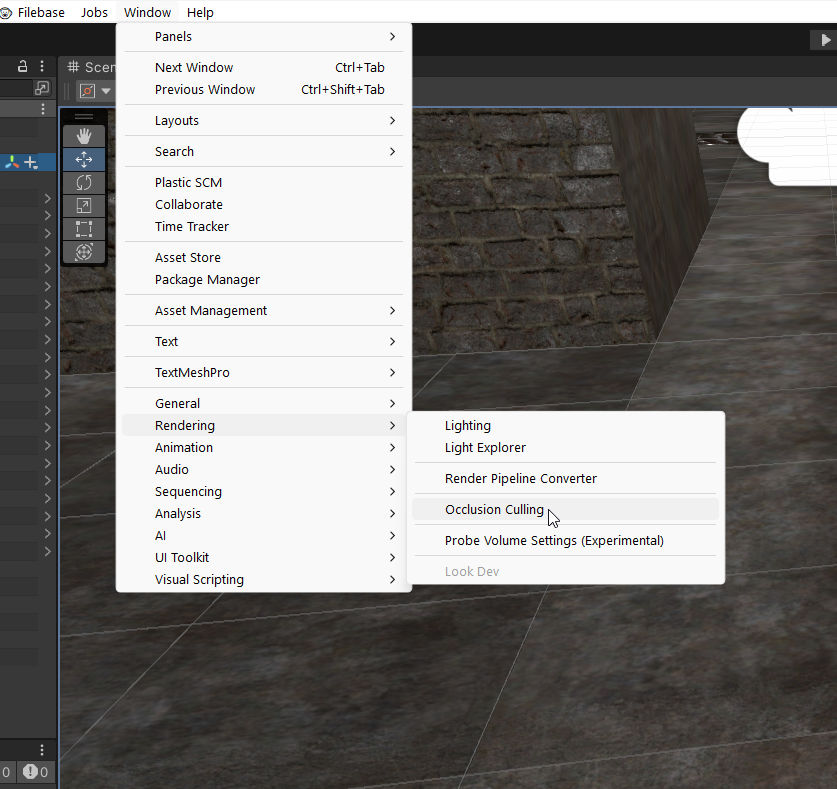
Next we’ll go to Window > Rendering > Occlusion Culling and this will bring up the Occlusion Culling Window in the inspector.


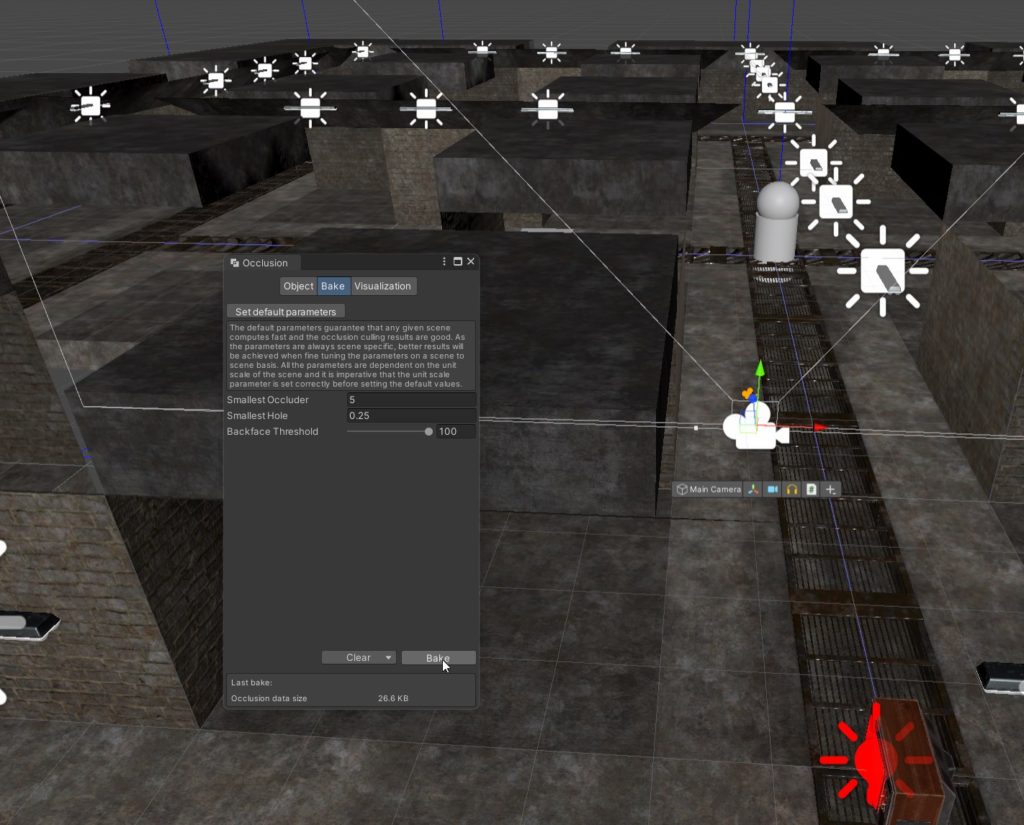
Click Bake and then click on the Visualize Tab then select your Main Camera to see the results. If done correctly your scene should look somewhat like mine.You can see the difference by clicking back and forth between the Bake and Visualize tabs like below.

If you look at the stats in the top right of the game view you can see the comparison before occluding and after. Almost 100 less batch calls in static scene is pretty good!


There you have it. Easy optimization in a can. Occlusion Culling can be a very powerful tool for making your games performant in addition to other performance saving measures. These sorts of savings can translate to running on more platforms, reaching more of your audience, and ultimately more sales. Until next time, happy coding.
