Let’s break the sound barrier in your game by implementing some audio into your game. In this tutorial we’ll cover implementing a basic sound effect, triggering it, and then we’ll cover the basics of the Audio system in Unity so that you can expand this into a whole cacophony of sound.
Start by opening a new or existing Unity Project. We’ll start with a blank scene to get a clear slate. I’ll be using this coin pickup SFX (You can get it here) but you can use any audio file of your choice. Unity’s audio system is basically broken down into two fundamental parts Audio Sources (these are where the sound comes from) and Audio Listeners (this is what can hear the sound) ther are more aspects to it but this is your bread and butter.
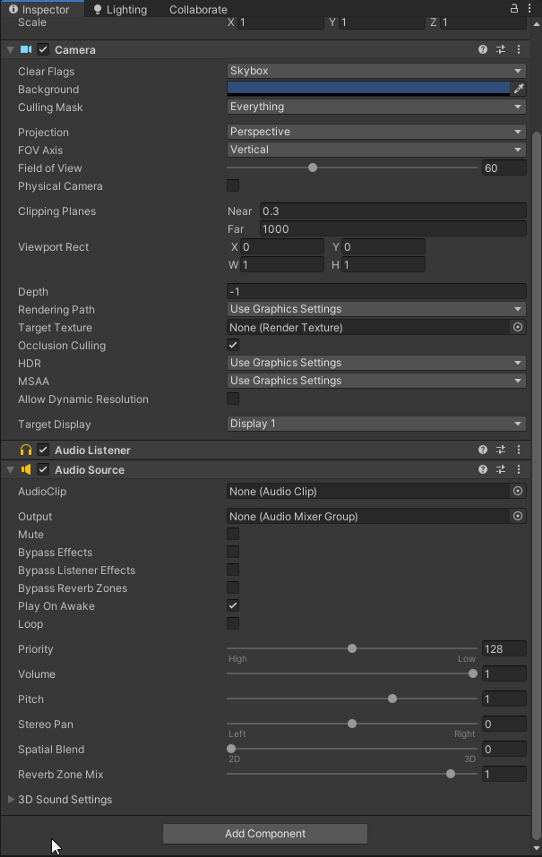
This camera has both an Audio Listener and an Audio Source has been added to it. You can learn more about Audio Sources (here) and Audio Listeners (here) from the Unity API. Let’s start by adding an Audio Source to our Main Camera, you can do that by clicking on the Camera and then click Add Component > Audio > Audio Source and it should like above.
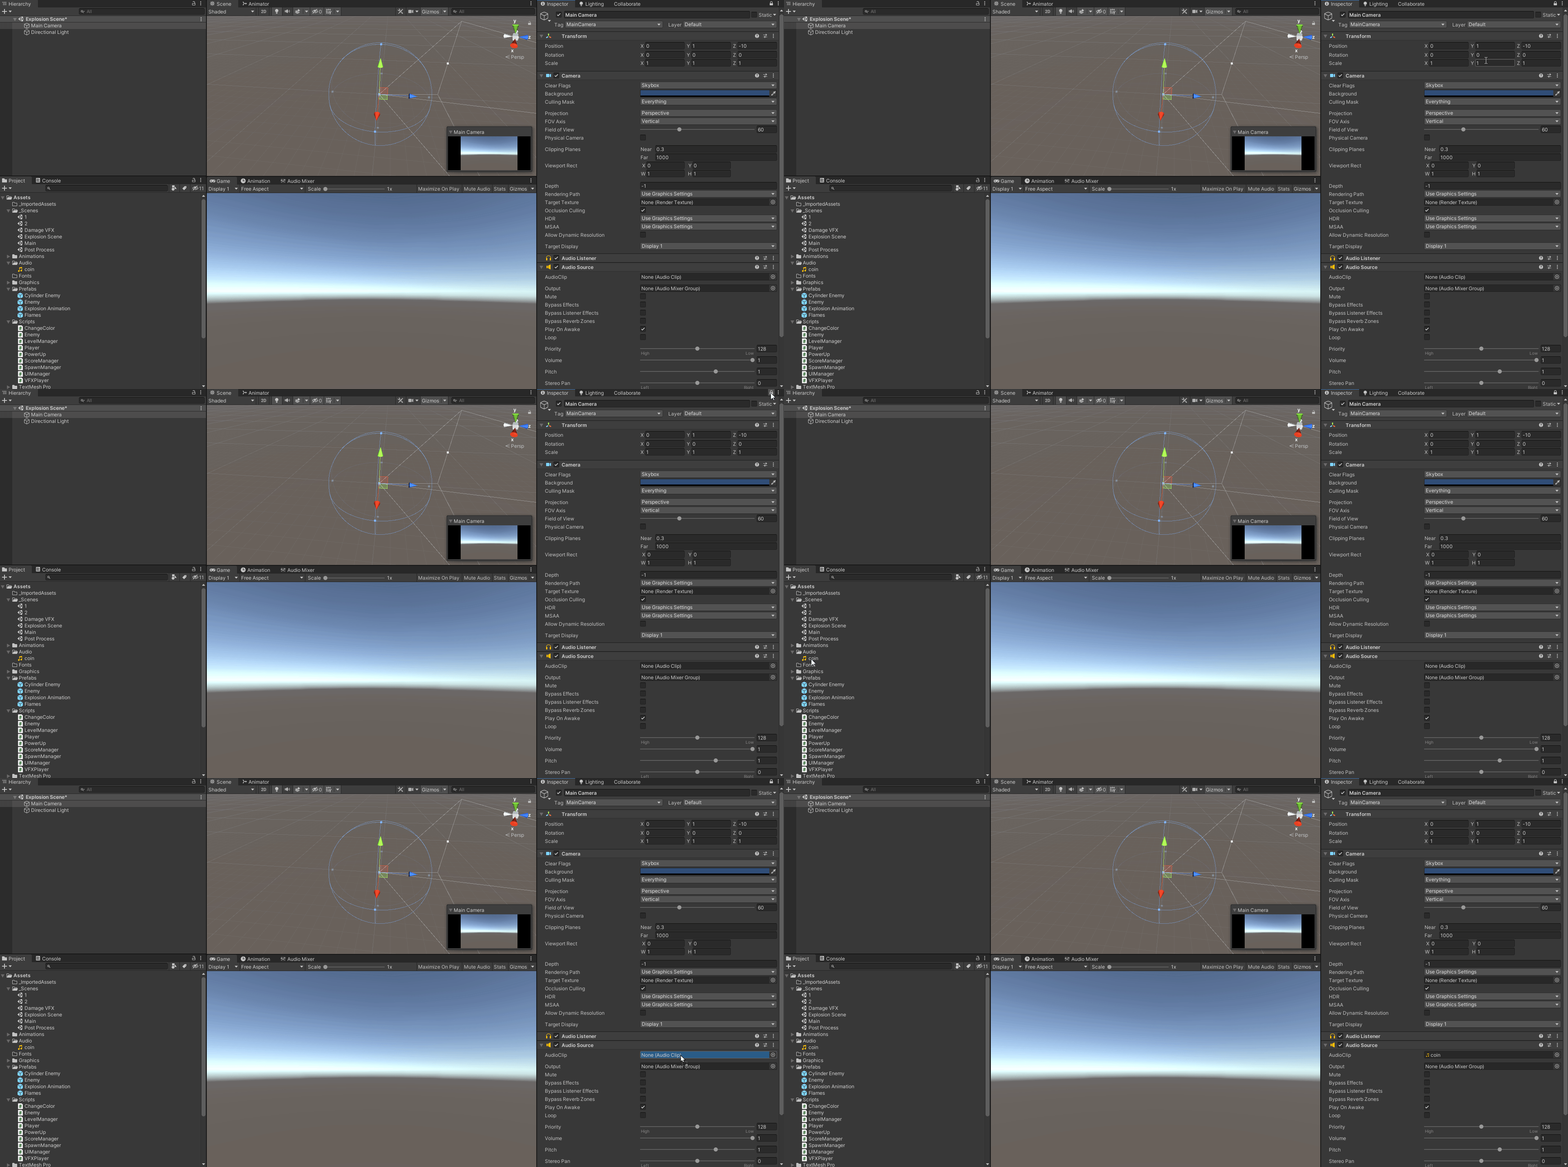
Next let’s import our audio asset, you can do so by dragging and dropping the asset into the Project window of the project or by Right Clicking > Import New Asset > [Name of your sound file] do keep in mind that Unity only really recognizes certain sound files (here) but this is .wav file so it sound be fine.
Now drag your audio file over to the Audio Source on your Camera into the Audio Clip slot like so. You may need to lock the inspector in the top right to let you drag it over.
Now if you press Play the sound should fire automatically. By default audio sources will play an audio clip if the Play On Awake box is checked. Confirm you can hear the sound before you uncheck it. If you can’t make sure the scene is muted in the game tab or that the file type you’re using isn’t incorrect. Additionally check the volume on the audio source to ensure it isn’t set to zero. There you have it your first SFX implemented but it’s not terribly useful at the moment. Let’s write a little logic so that when a player clicks their mouse button it will play the sound.
Create a new script named SFXClick and attach it to the Camera, this will be a real simple script that will play the audio clip when the player clicks their mouse. Open the script in your IDE of choice, the completed script will be down below.
So breaking down the above script we create a Audio Source variable that will hold the Audio Source attached to the camera. Then we create an Audio Clip variable that will hold the sound effect. With the audio source assigned then check for a player click and assuming the audio clip isn’t null we play the sound effect. PlayOneShot is a useful method in Audio Source that allows you to play a single defined song once at a set volume without having to assign the audio clip to the audio source, these are useful for sound effects. You can learn more about the methods in Audio Source (here) by exploring the Unity Scripting API.
This was a dead simple implementation of a sound effect in Unity, with this knowledge you can now scratch the surface of Audio in Unity and begin implementing your own sounds. It’s an incredibly deep and engaging topic and has a lot of nuance. Here are some resources to help you along on your journey to delivering unforgettable soundscape (here, here, and here) Until next time, happy coding.


