Post Processing in Unity is the ability to use screen effects such as Bloom, Ambient Occlusion, and Motion Blur as well as other effects (you can learn about here) to jazz up your game’s visual flair. In this tutorial we’ll learn about how to implement Post Process into your game to get you started.
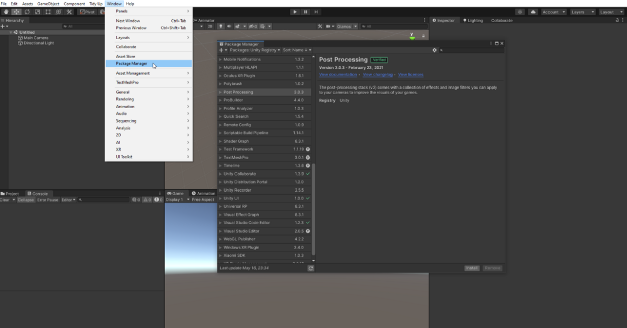
Start by opening a new project or an existing one. If you don’t have the Post Process stack installed you can do so by going to Window > Package Manager > Post Processing and then Install.
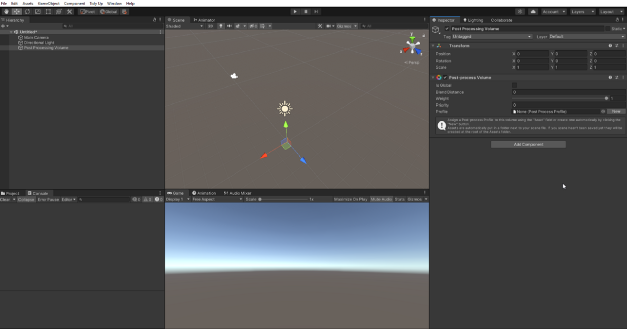
Next add an empty object named Post Process Volume and then add the Post Process Volume component to it via the inspector.
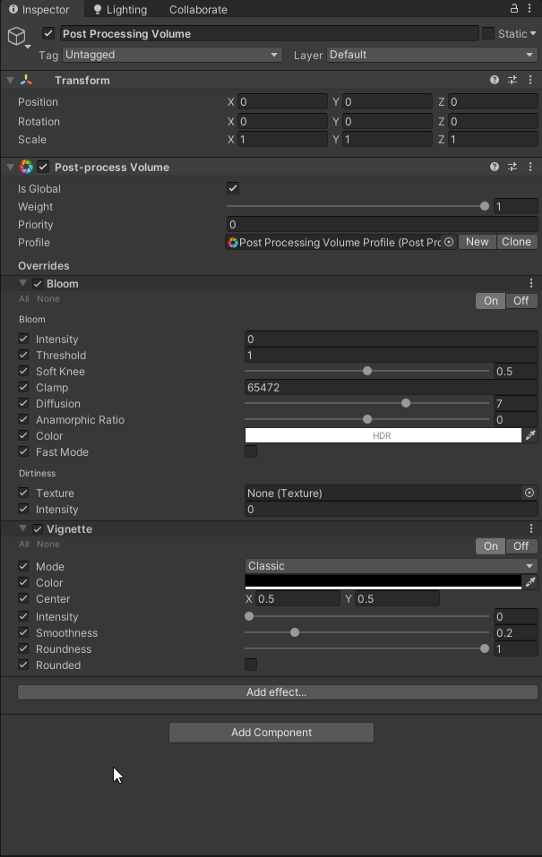
Next create a new Post Process Profile in the volume by clicking the “New Button” and this will create a new profile that you can add effects to. Check Global so it can affect everything in the scene. You can add effects by clicking the “Add Effect” button on the bottom, nothing will happen till we create a Post Process Layer and create the layer it affects. We’ll do that next.
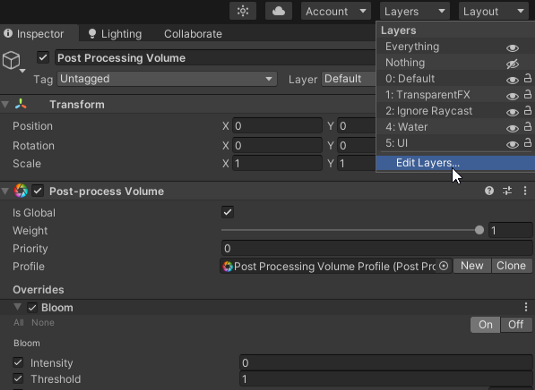
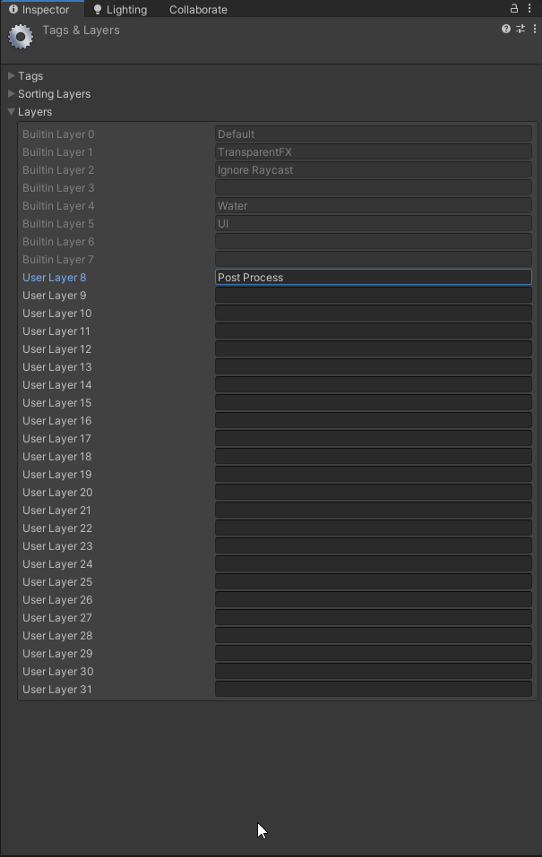
Go to the top right and click on Layers to edit the layers like so. Then click Edit Layers to do just that.
Now create a new layer named “Post Process” and that should do it.
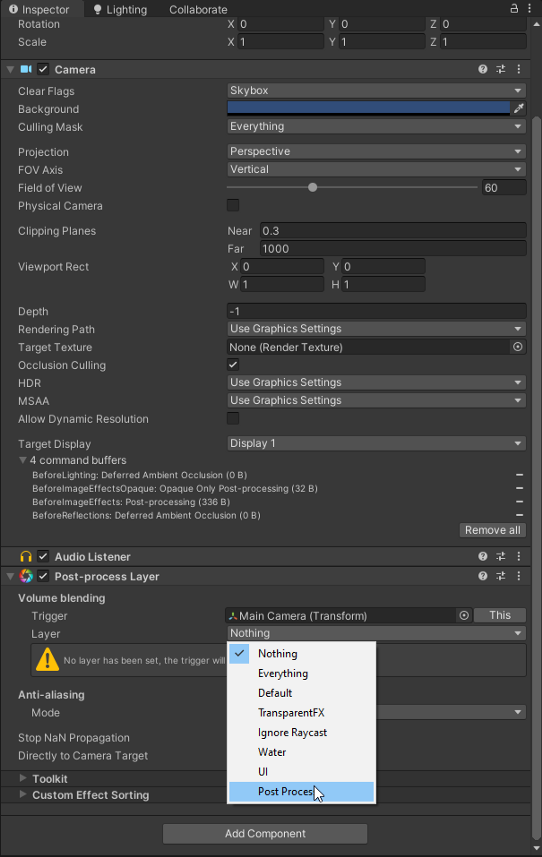
Next we’ll add the Post Process Layer component to the Main Camera. Select the newly created Post Process layer we just made like so.
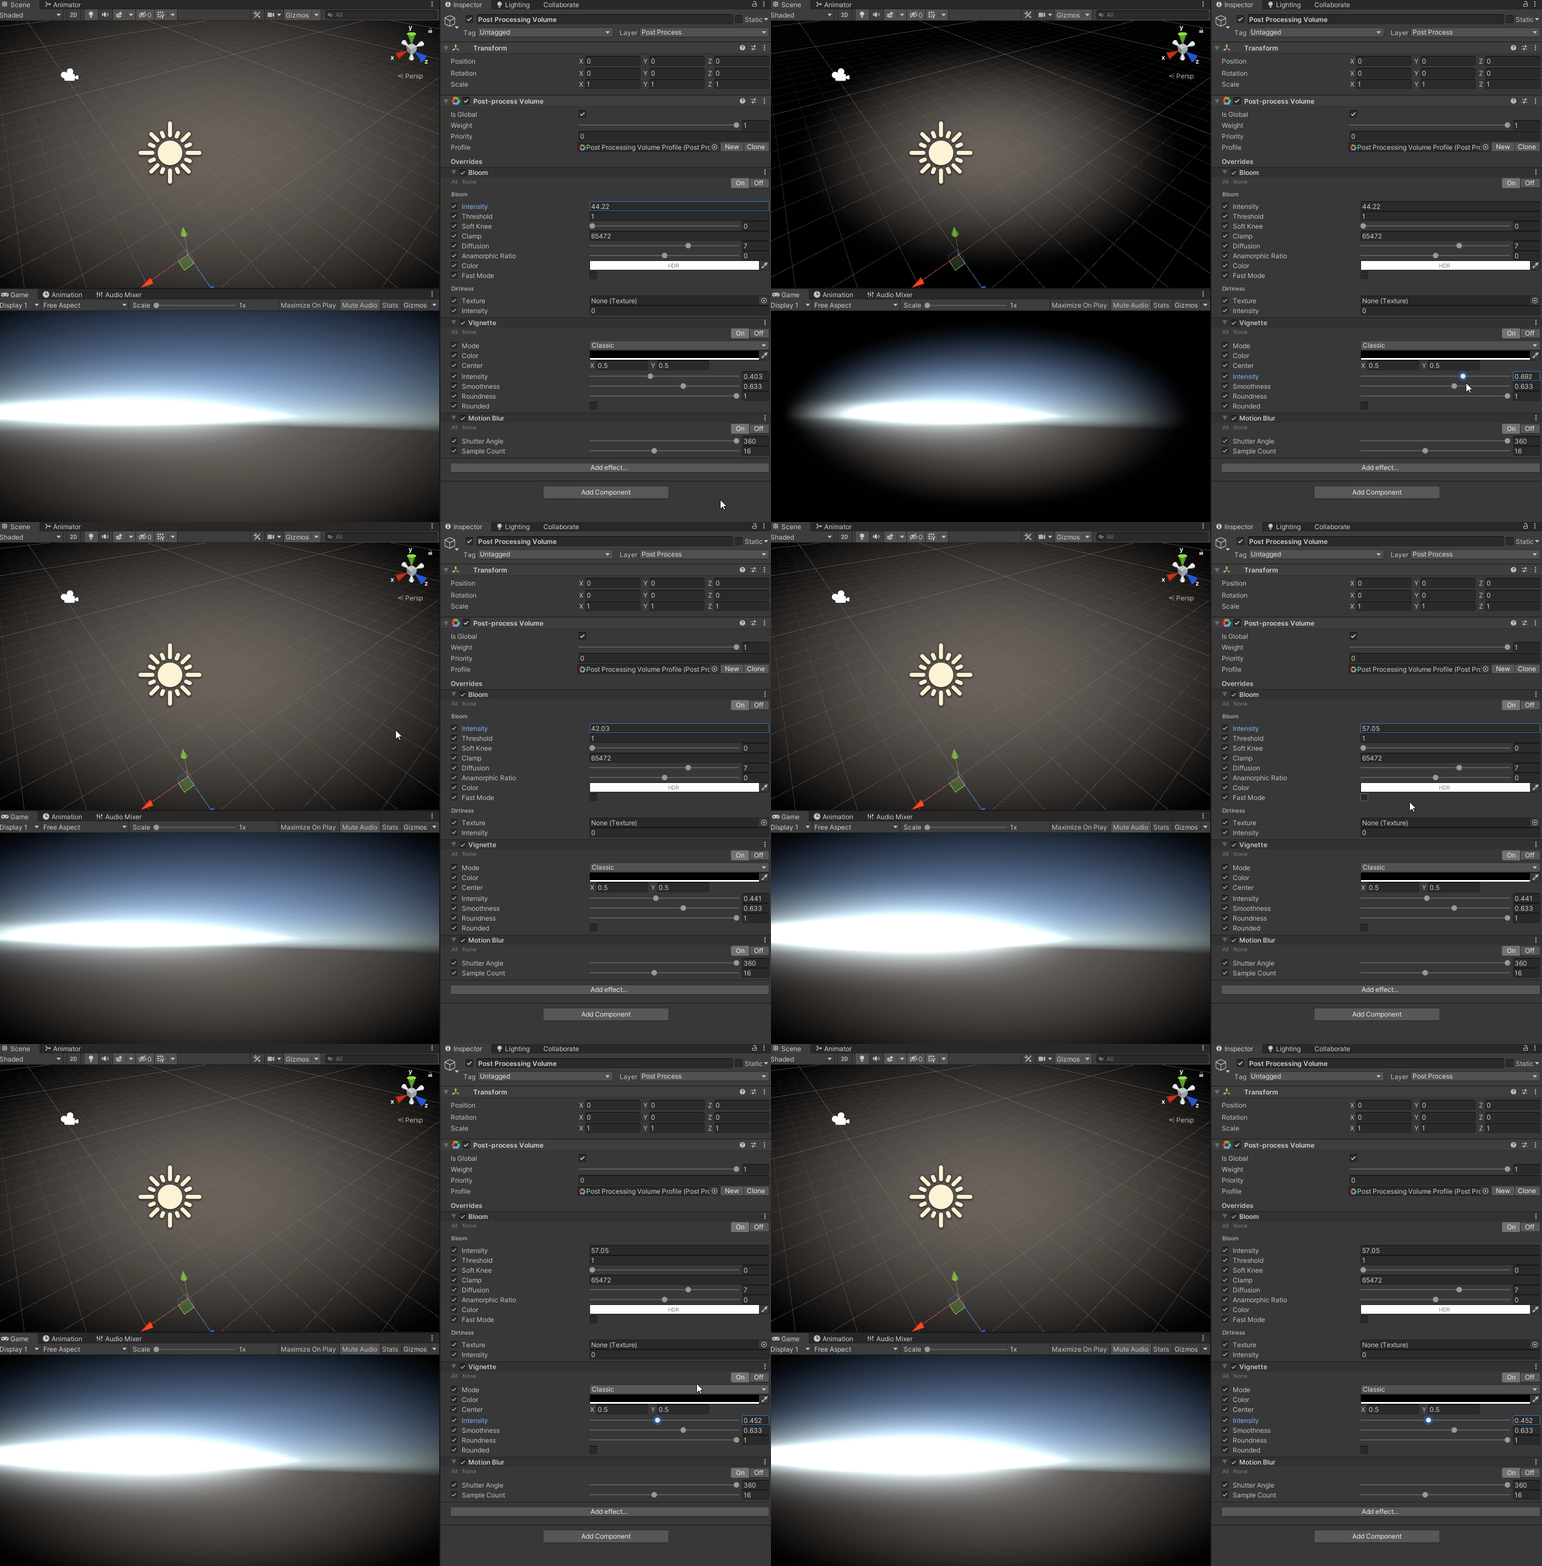
Now lastly set the Post Process Volume’s layer to Post Process and the effects you select (provided they’re enabled) should begin to be reflected in the game scene like you can see below. There you have it. Post Processing effects!
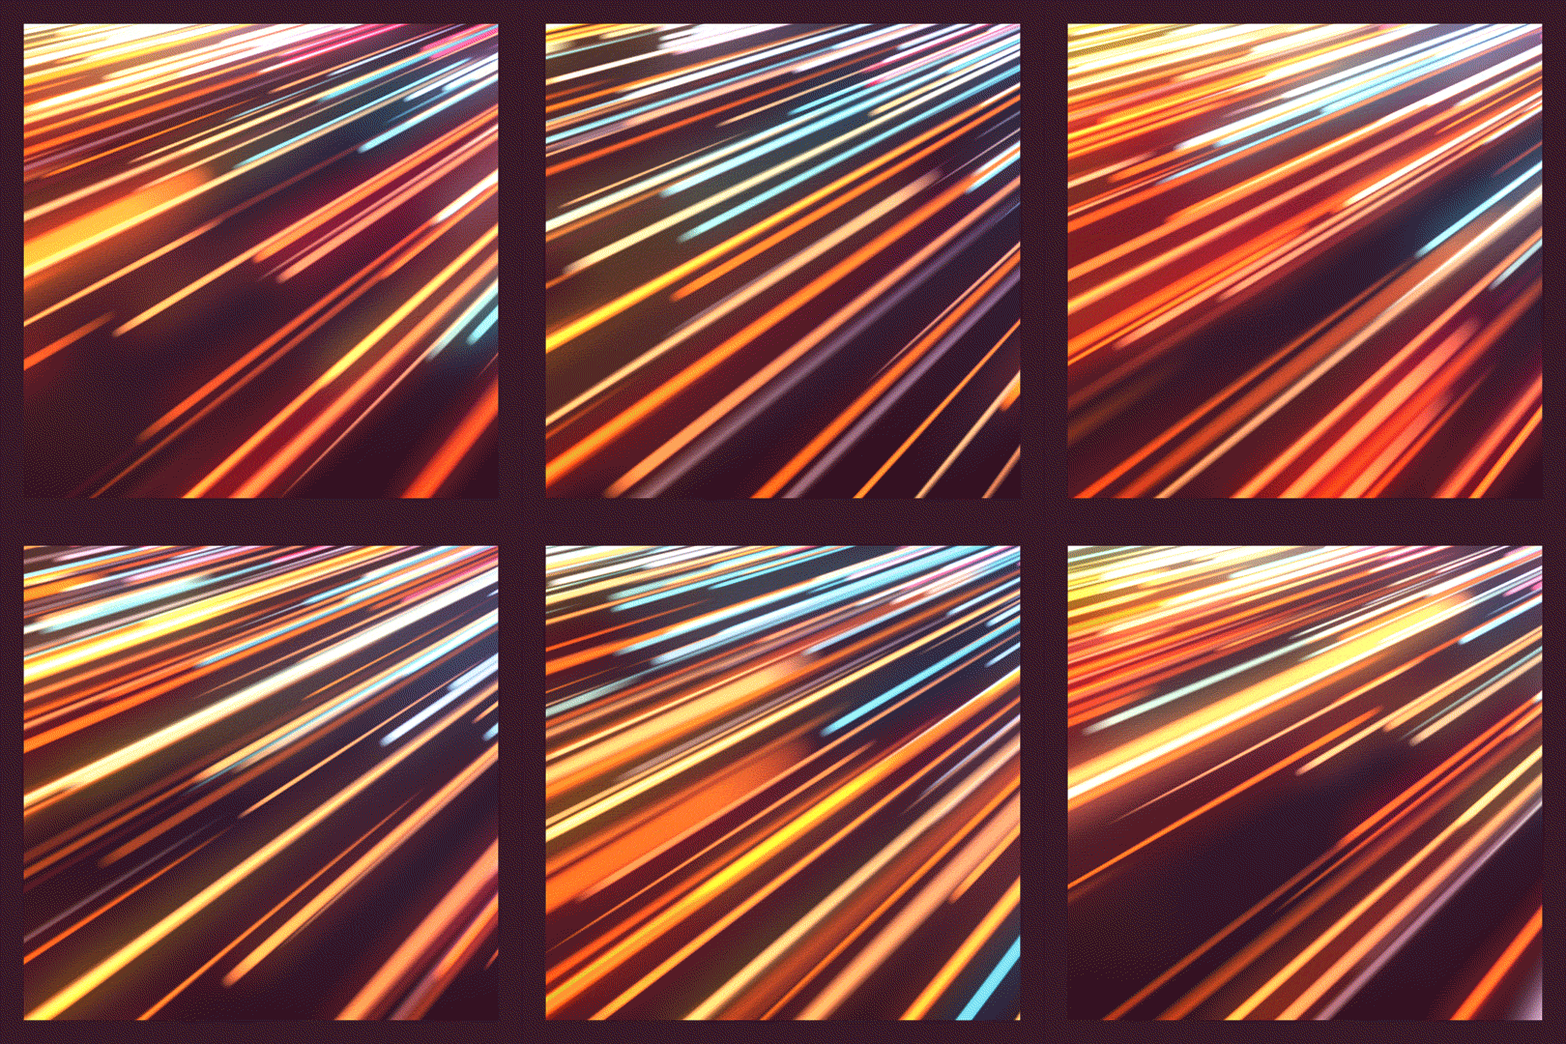
This is but a small taste of the kind of Post Process effects you can make but with these you can elevate the level of polish your game can achieve in a easy to understand and use format. Want to create a damage indicator that creates a deeper vignette every time you get hit? Make light sources pop with bloom or convey a sense of kinetic motion with a blur effect when turning. Anything is possible with these tools provided by the Post Process Volume, just play around with it and when in doubt check the Unity docs. Until next time, happy coding.

