Time to get those bones moving and grooving using Unity’s animation system. In this article we’ll take the player character we’ve been building over the last few articles and get them animated.
Start by opening up your project (or starting a new one) and set up your scene like so. I’ll be using my previous scene from before. Next grab the Lowpoly Skeleton by CoinCoin over on OpenGameArt here. Import it into your project.
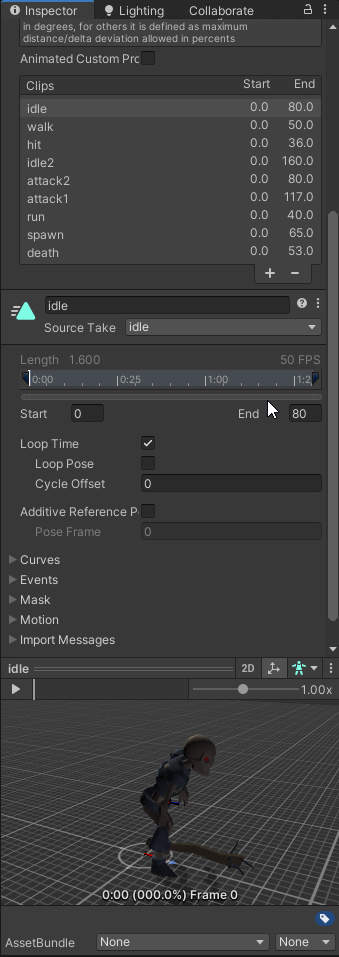
Click on Squelette and we’ll tweak some of the motion clips that come with it so that they loop seamlessly. Look for Clips in the inspector and click on Idle (this will be one of two clips we’ll be using, the other is run) and then click on the option Loop Time then Apply to save the change. You may have to scroll down the inspector as it’s kind of a lot of information.
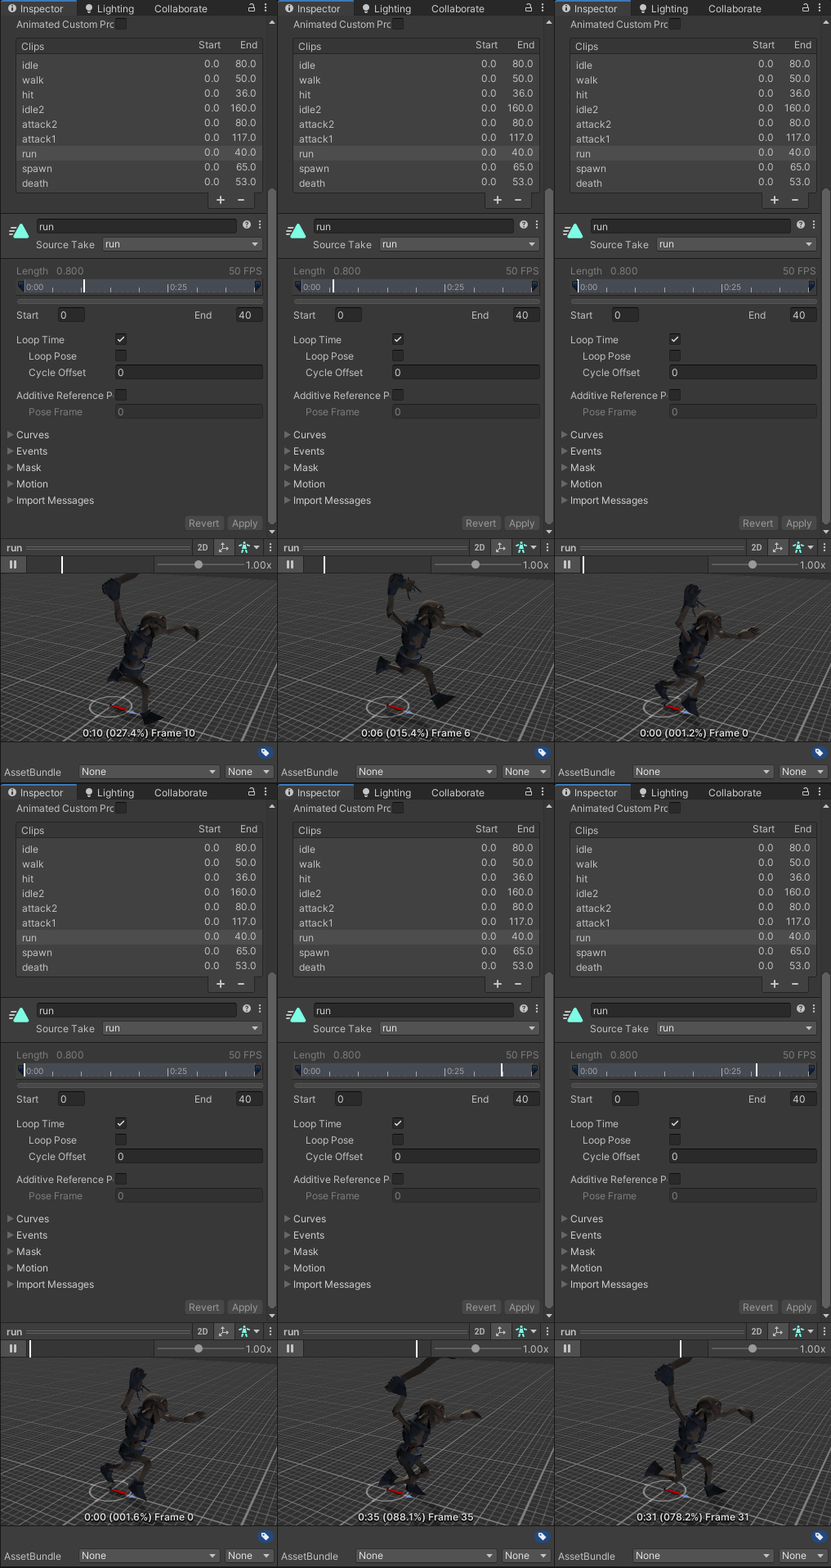
Now do the same for Run as that will be the animation clip we’ll use when we move the player. You can preview the clip in the inspector to get an idea of what it will look like. Super spooky.
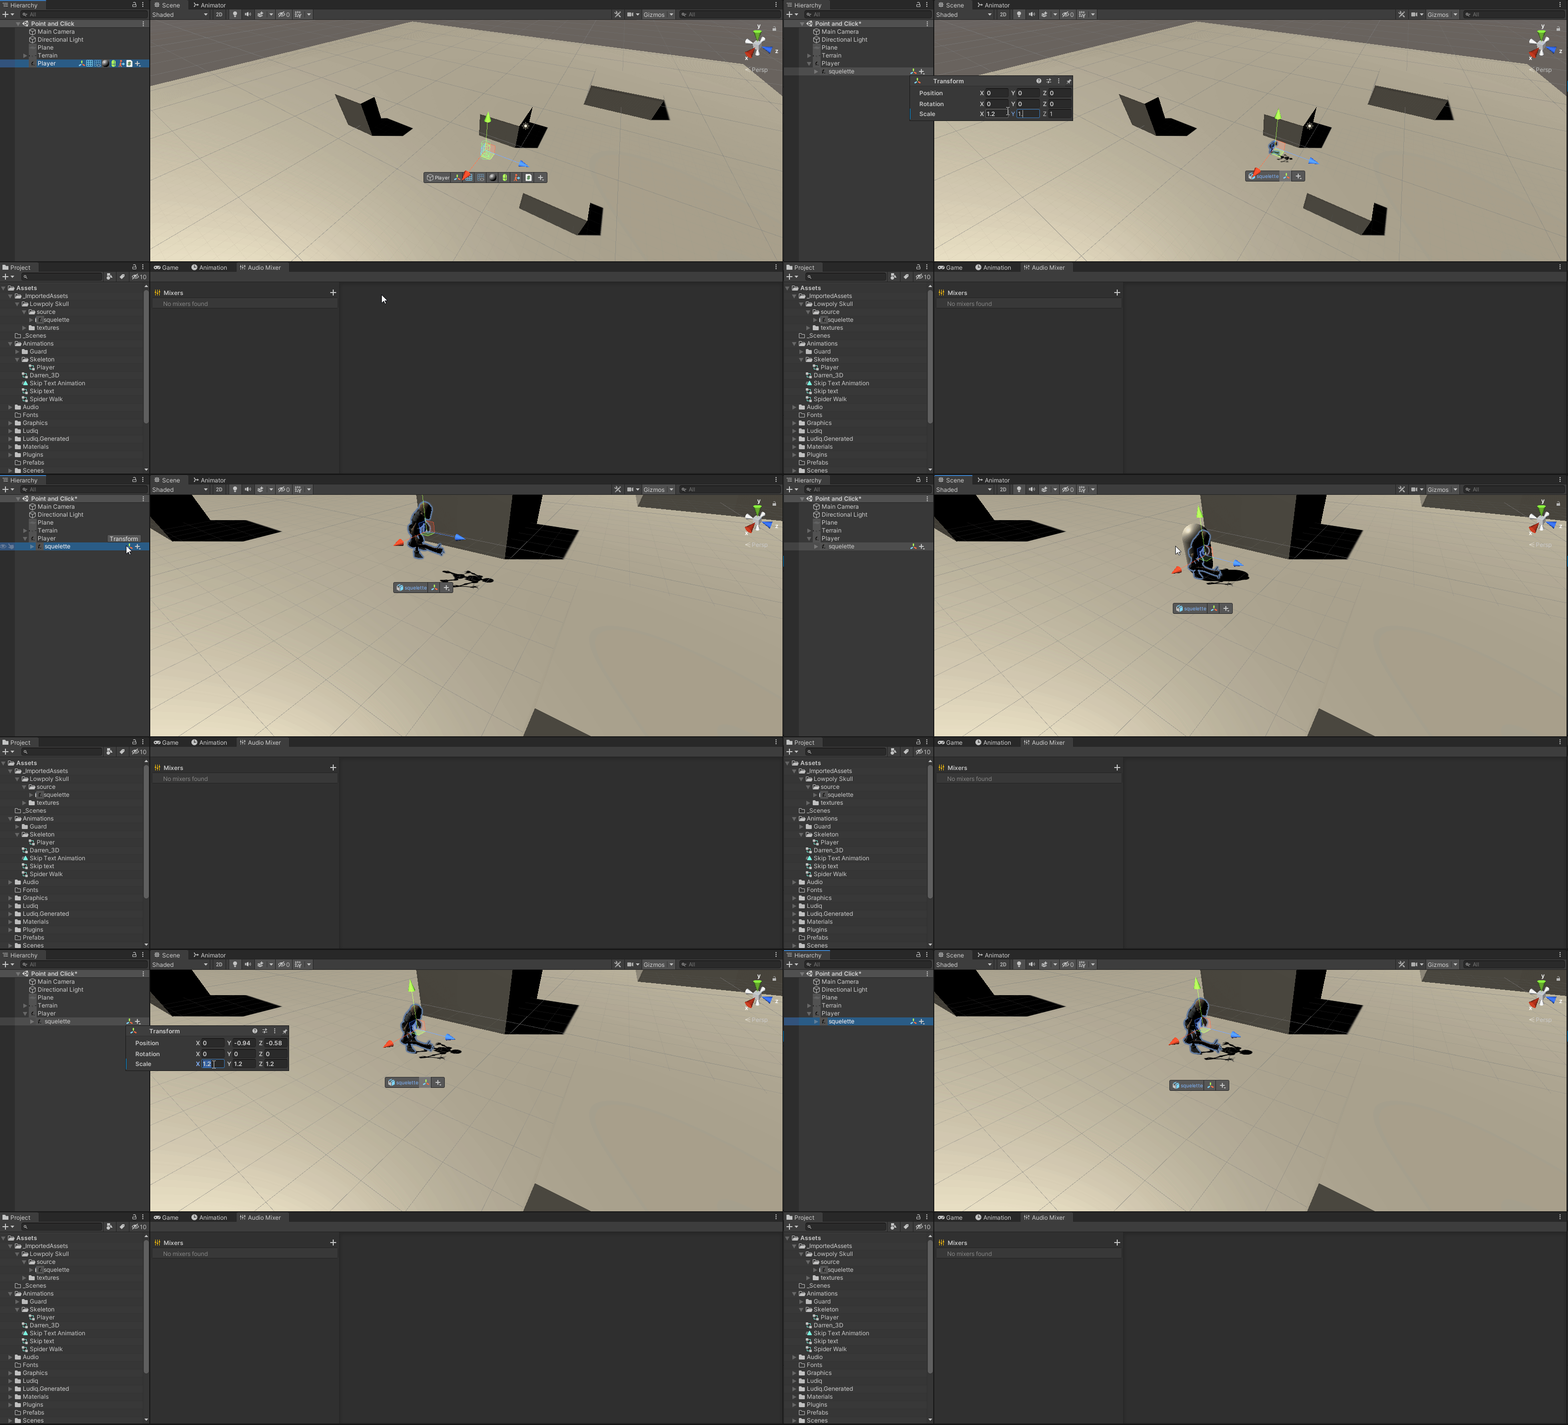
If following along from before, disable the Mesh Renderer on the Player object to hide the capsult and drag Squelette to be a child of the object. You may need to adjust the transform a bit to make it look just right. I found a scale of 1.35 is about right. Turning the mesh transform back on will help you tune the child object.
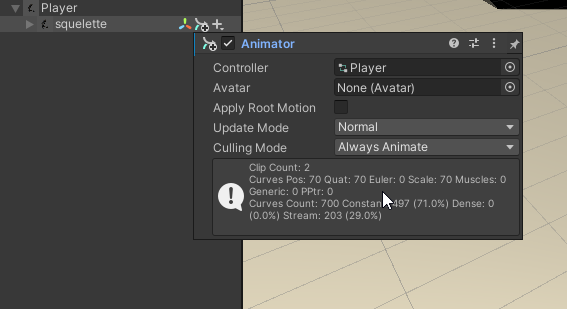
Now we’ll add an Animator to Squelette (because that’s what’s animating) and we’ll name the Animator Controller “Player” to make it easy to remember.
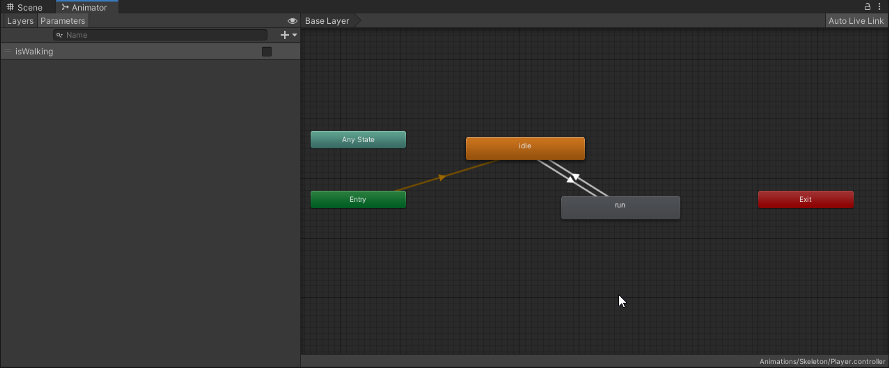
Now in the Animator tab (you can bring it up by go to Window > Animation > Animator) you’ll want to create two new states called Idle and Run. You’ll also want to create a parameter called isWalking which will tell the Animator when the player is walking and not and to play the appropriate clips. Now link Idle to Run and Run back to Idle.
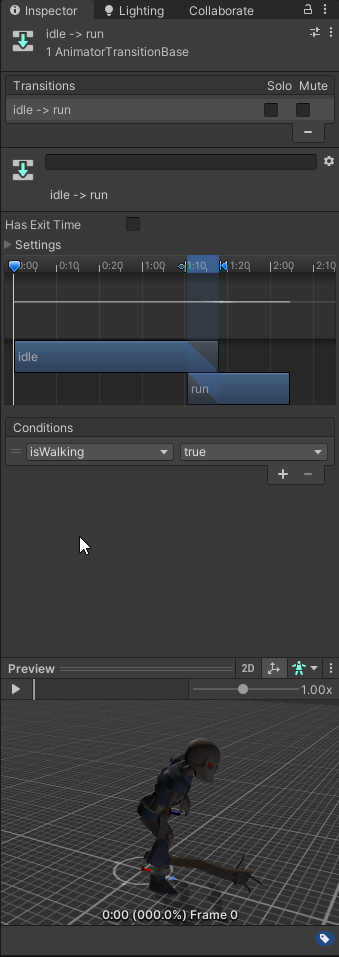
On the Walk > Run link add the isWalking parameter and set it to true. Do the same for the Run > Walk link but set it to false. Uncheck Exit Time on the Idle > Run link but leave it checked for the Run > Walk link.
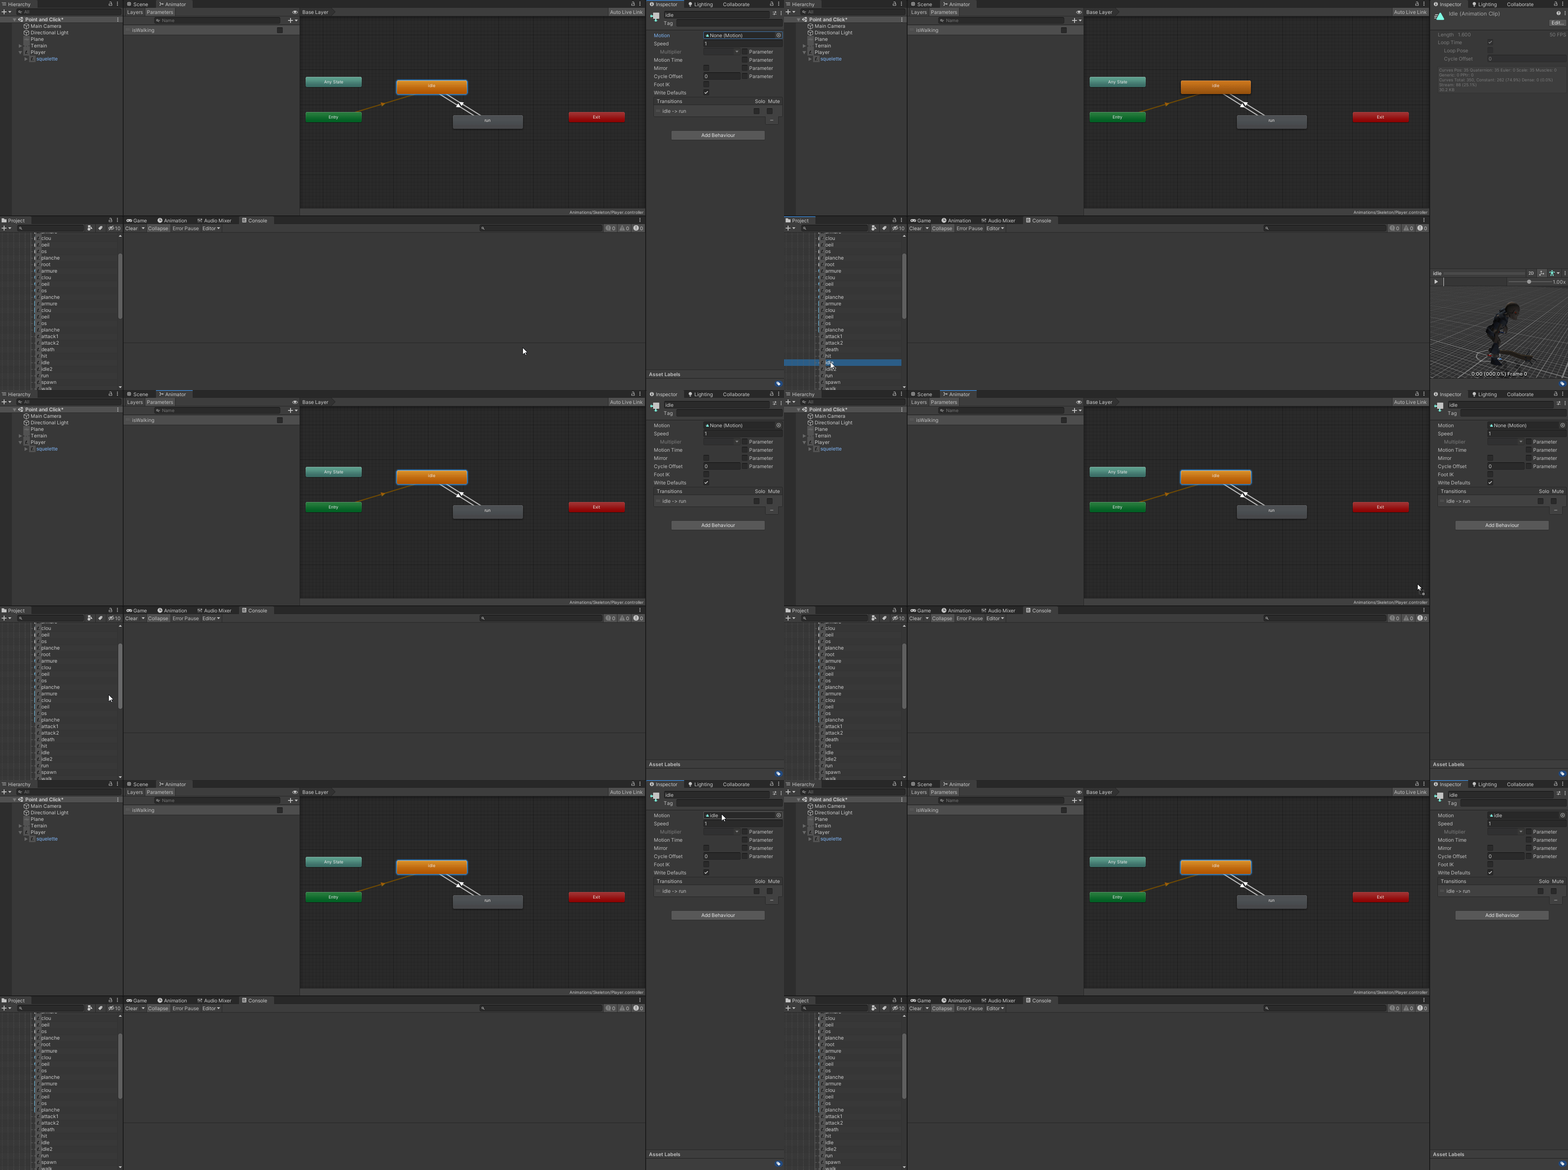
Now add the correct clips to Idle and Run. Click on the state and then in the inspector you can either double click it and search or just drag and drop it from the project window under Squelette. I prefer dragging as it makes it really clear which is which. Do the same for Run as well.
Now using our modified Click Move script we’ll use that set the Animator on the child object and then communicate to the Animator when to start and stop animations.
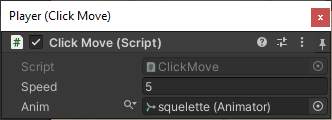
Don’t forget to set the child object (Squelette) to the Animator object in the inspector for the script otherwise you won’t see any changes on the Player object.
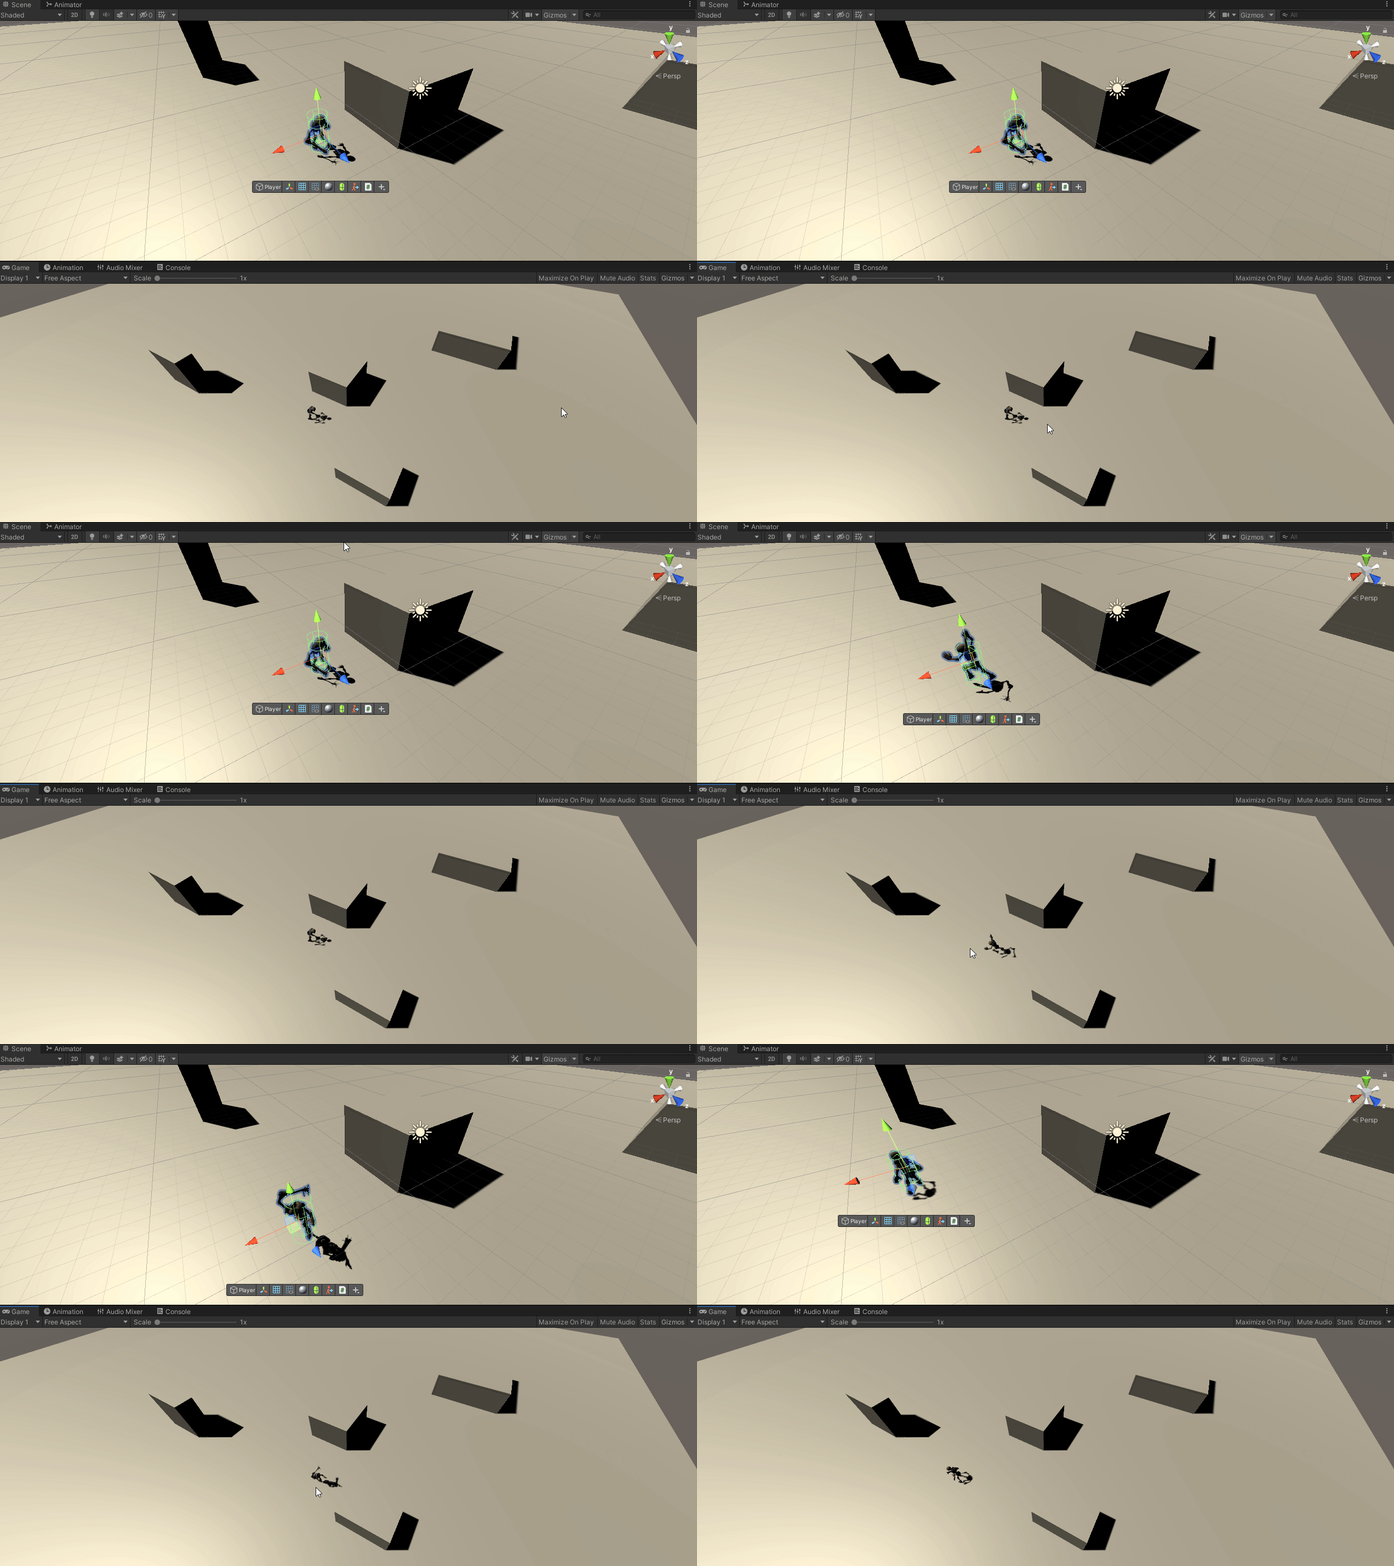
Now let’s see if we can get this baby moving. If working as intended we should see the skeleton run all the way to the destination and stop/idle when it arrives.
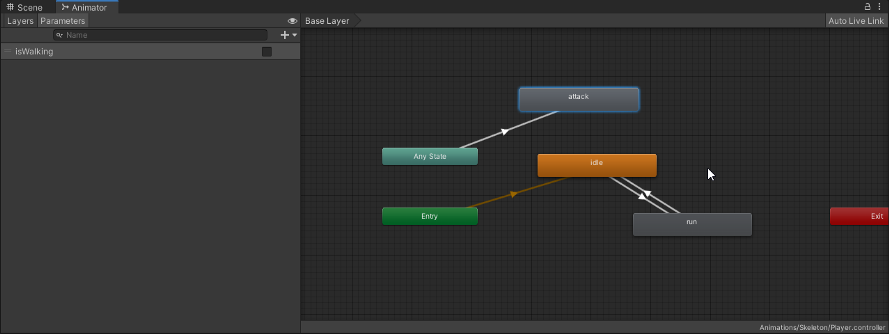
There you have it. A very crude but effective animation system dictated in code by when the player moves and stops. This is a pretty rudimentary system but extendable to add all sorts of animations with just a few lines of code. Next we’ll add a simple attack when the player clicks the right mouse button. Start by adding a new state called Attack and we’ll link that from Any State as the player can attack at any time. So your state machine should look like the one below linking Any State > Attack.
Let’s add a new parameter called isAttacking and set it as a trigger on the Any State > Attack link. Triggers only activate once per call and we’ll have the player stop moving to do the wind up attack. Since this is a single shot attack and not continuous no need to have the animation loop. Add the attack1 animation to the state and we’ll code the logic.
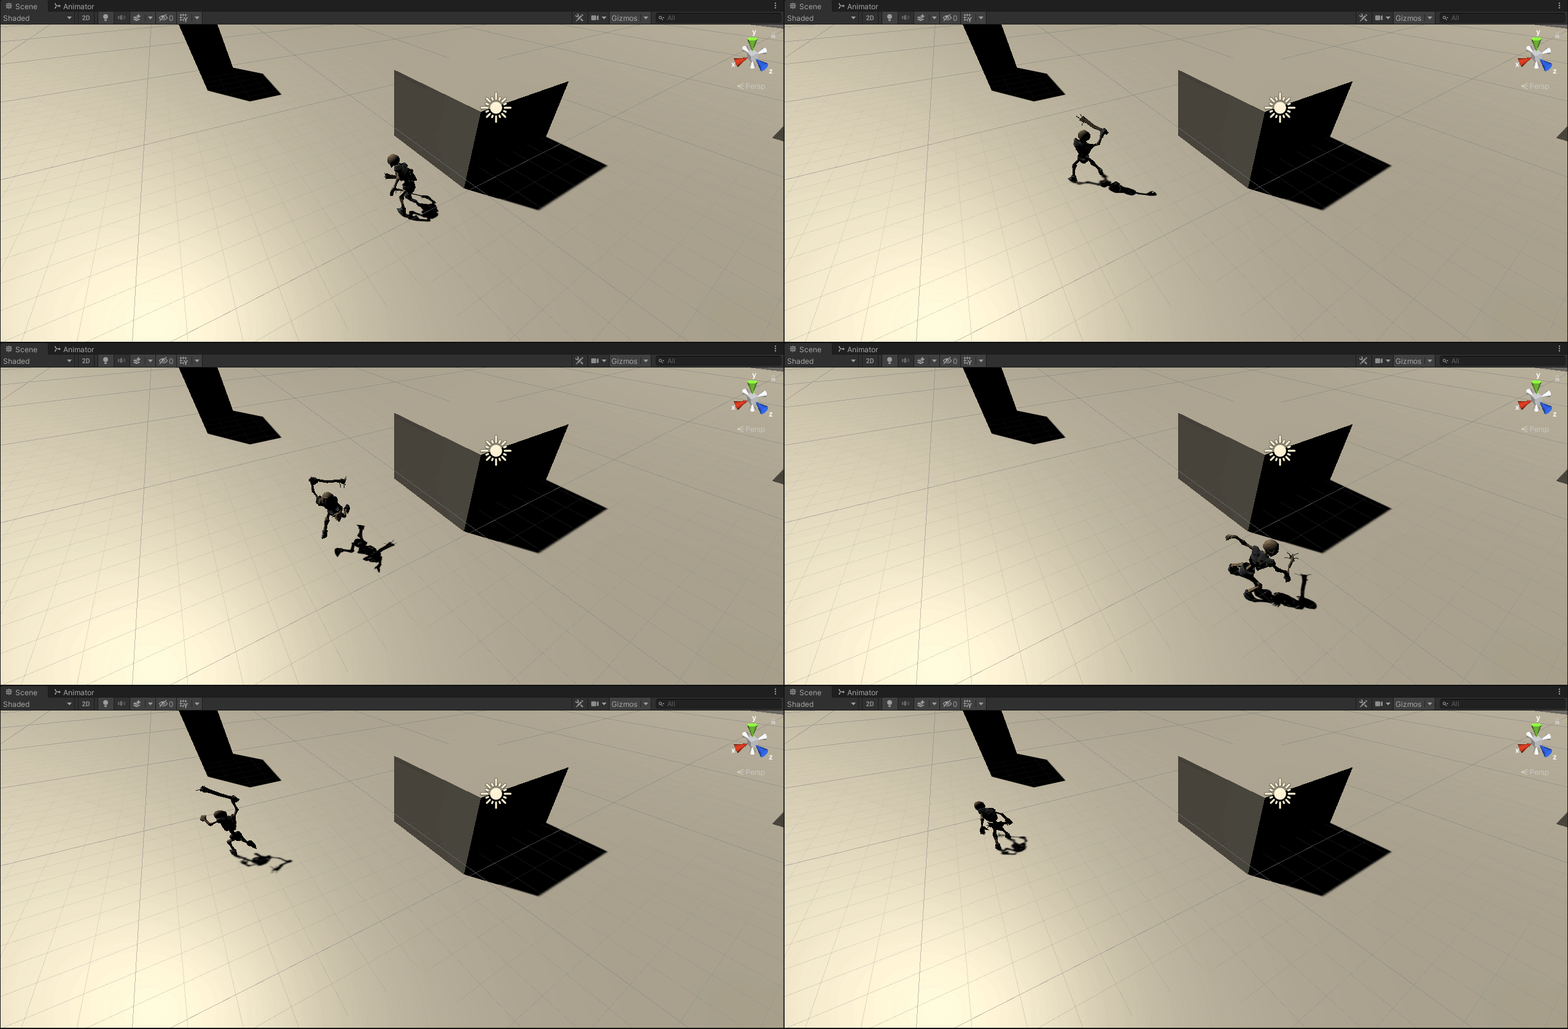
So here it is in all it’s glory. The logic is pretty basic and easy to follow. When the player left clicks Squellete will move to the desired location playing the move animation. However if either idle or moving the player right clicks, then the attack animation will fire while telling the animation controller to stop moving assigning the agent destination to the current transform position. Then the player can either move elsewhere or attack again. It is important to note that the player will not move when attacking. Let’s see it in action.
Looks like it’s working great. There you have it. A completely animated model with both movement and a simple attack animation. With this knowledge you should have the building blocks of making your own animated characters using Unity robust animation system. Until next time, happy coding.


