
As you build and design levels it may become increasingly important to change and edit the tone and feel of your levels. One easy way to do this is to simply edit the existing textures of your models that you create or import into your project. These simple edits will help you deliver the experience you’re looking for and save you time in the long run.
You’ll want to start by importing (if it isn’t already imported) the desired model with it’s appropriate textures. Locate the texture you want alter in your Project Tab under Assets in this case I’ll be altering the texture map to my stone floors.
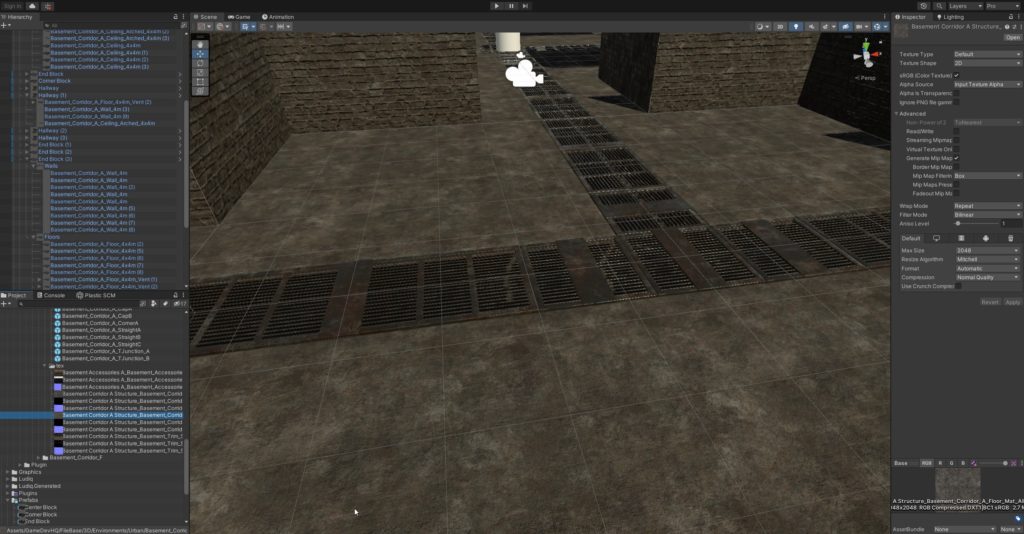
Double click the texture you want to alter and it should open it into the desired editing program. In my example that’s GIMP (which is free to use and download) but that could be Photoshop or any other image editing software you may have.
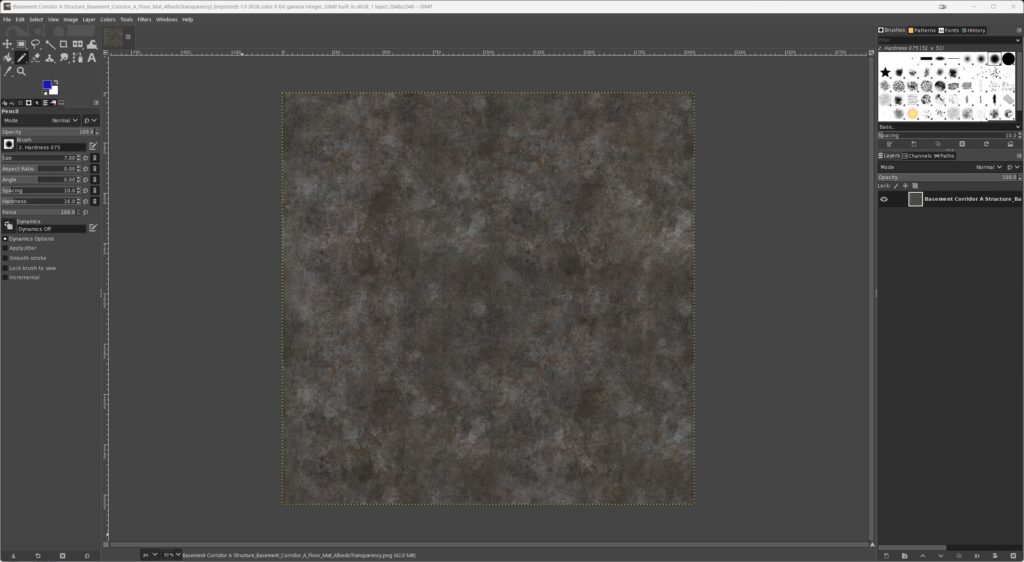
I’m going to change the hue of my existing texture to blue to change all of the 3D models in my scene to this blue texture because I think it would be calming for the player. This is a great way to experiment with different color palettes to see if they fit your scene’s desired outcome. In GIMP you would go to the Hue-Saturation option and then tweak the colors. Once finish you would overwrite the desired texture and if it works correctly, Unity should detect the changes immediately and apply the changes across all the relevant models like below.
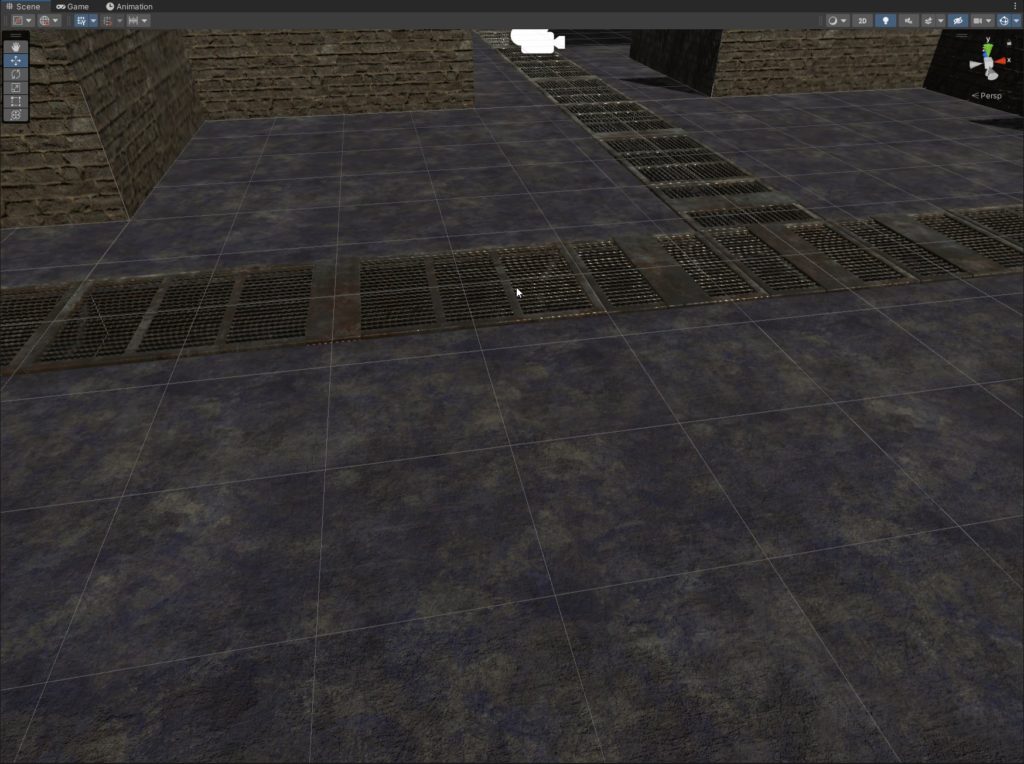
As you can see, the floors now have a lovely hue. Let’s get a bit crazier, let’s make a wild pattern to spice things up, edit the texture and the overwrite the existing texture so that Unity will propagate the changes.
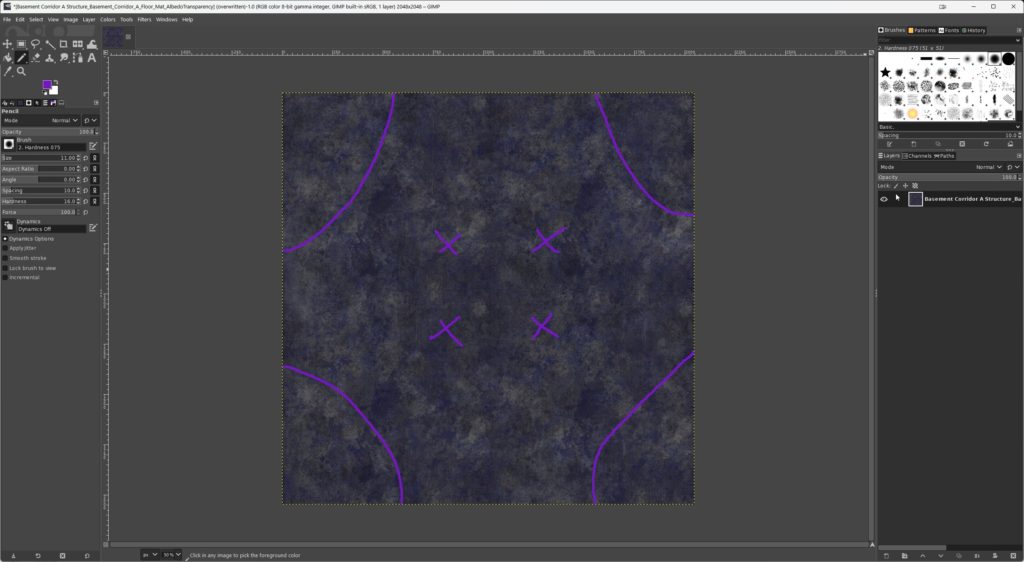
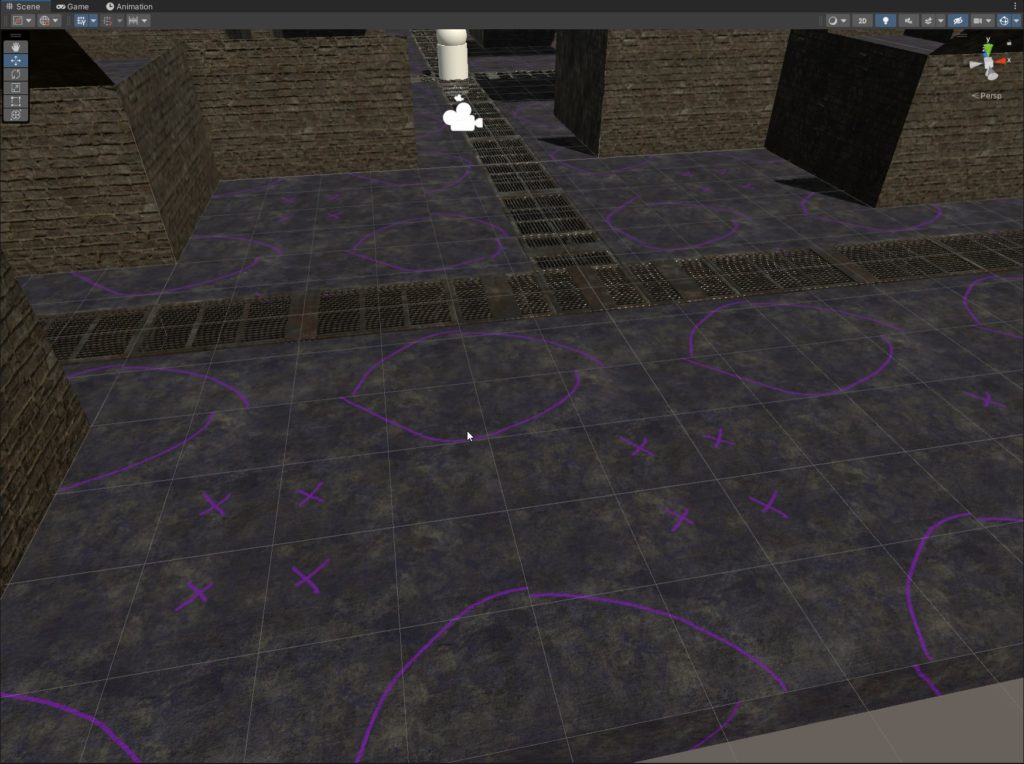
Perfection. Probably not gonna keep that since it looks like a hot mess but you get the idea. The simple editing of these pre-built textures is incredibly powerful. Instead of relying on others (since indies often have to make do with no or very small teams) as well as adapting existing (created or purchased) can extend the life of your work and create a ton of variety or necessary changes with very little work. Hopefully this tutorial will serve you well into the future, until next time happy coding.
