
Part of the benefits of using Cinemachine and it’s virtual cameras is the versatility in the extensions that they have. You can create storyboards, add camera shake, and even setup custom post process profiles for your virtual cameras to help organize and convey the game you want to the player. We’ll cover all three methods in this article and hopefully give you some ideas to help make your games come to fruition. This article assumes you have a project already created if not go ahead and create a new project and add a Capsule to the scene. Be sure to add a Rigidbody component, this will be important later.
Storyboard Reference Extension
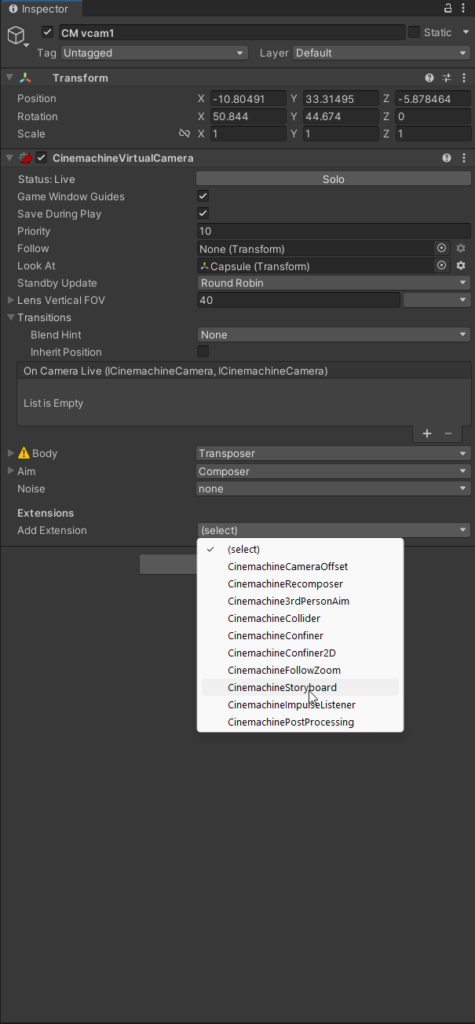
We’ll start with the first extension Storyboard References, create a new virtual camera (Hierarchy > Right Click > Cinemachine Virtual Camera) this extension essentially creates a overlay for your to put your Storyboard Reference so that you can use it as a guide for you composing your scene. On the Virtual Camera’s inspector click on Add Extensions and select CinemachineStoryboard this will add a blank overlay to the camera’s view and give you a host of options like below.
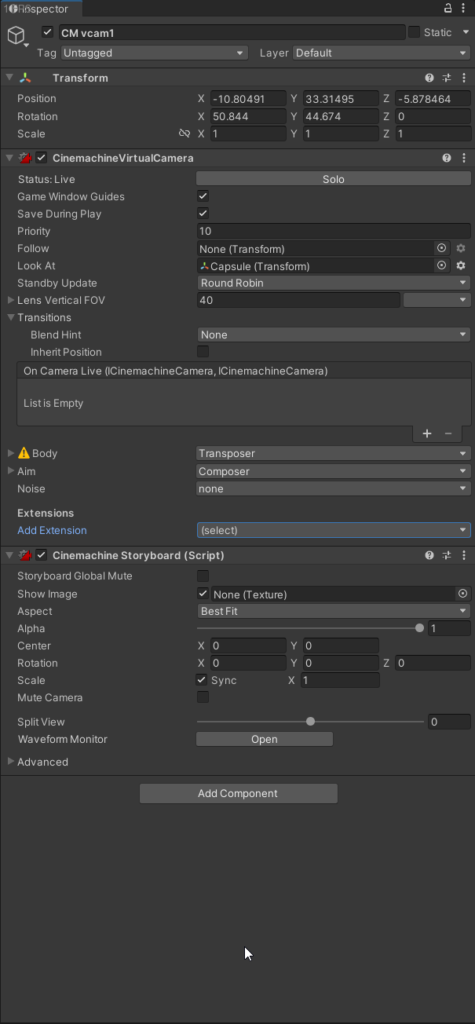
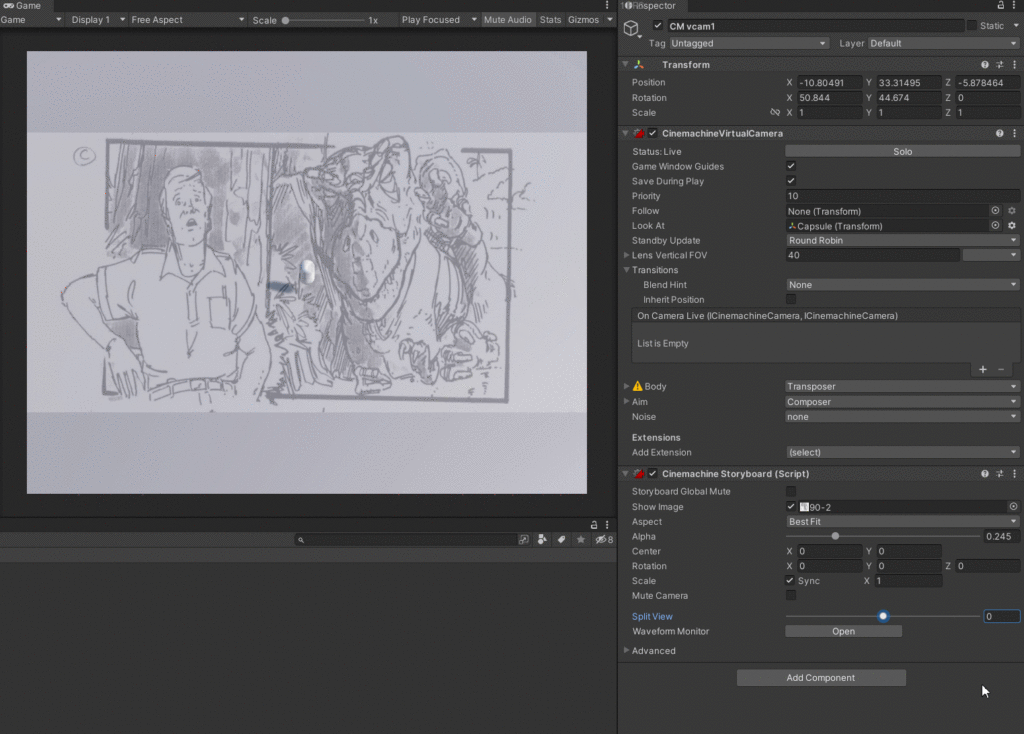
In the Show Image slot is where you will add your storyboard reference image. I’m using a sample storyboard from the internet but this is where you would add your key art to compose your scene. There are options to change the opacity using Alpha or offset the transform to your desired location. Here we can see it in action.
Camera Shake Extension
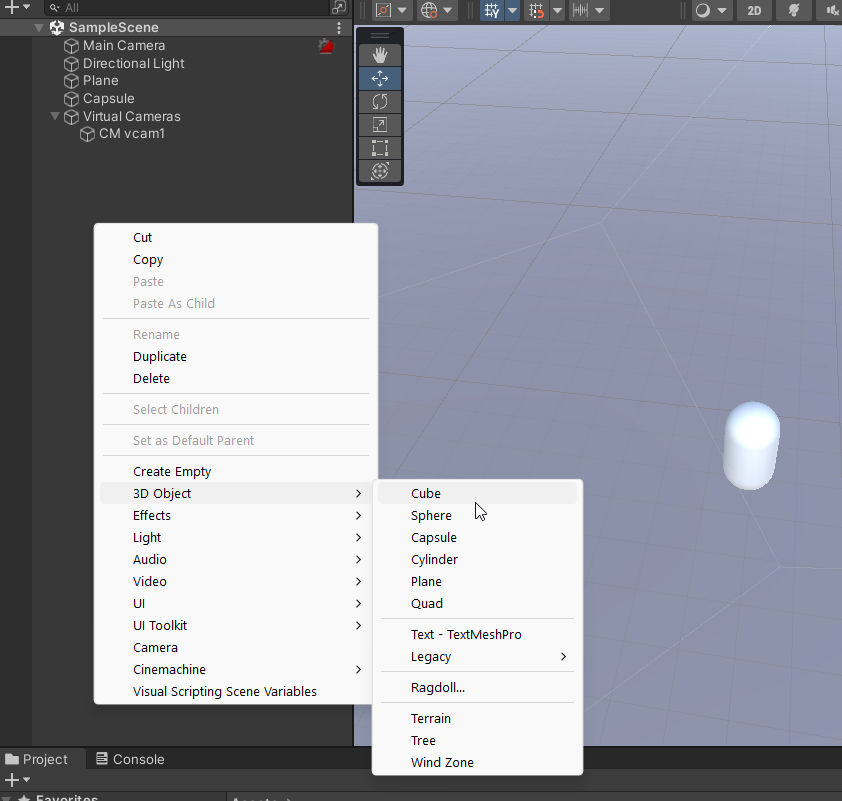
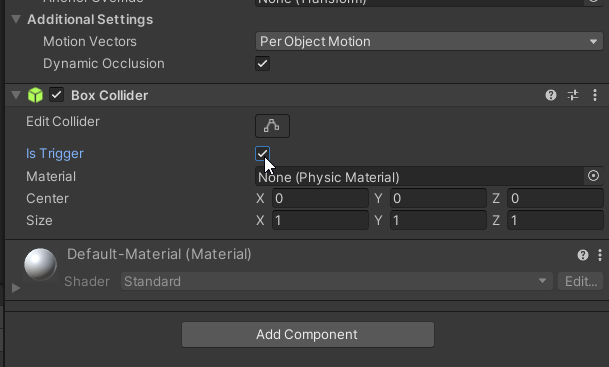
Next we’ll look at the camera shake extension, in this example we’ll have it shake the camera when the capsule enters a trigger area. Start by adding a cube to the scene (Hierarchy > Right Click > 3D Object > Cube) then we’ll go ahead and make the collider on it a trigger area.
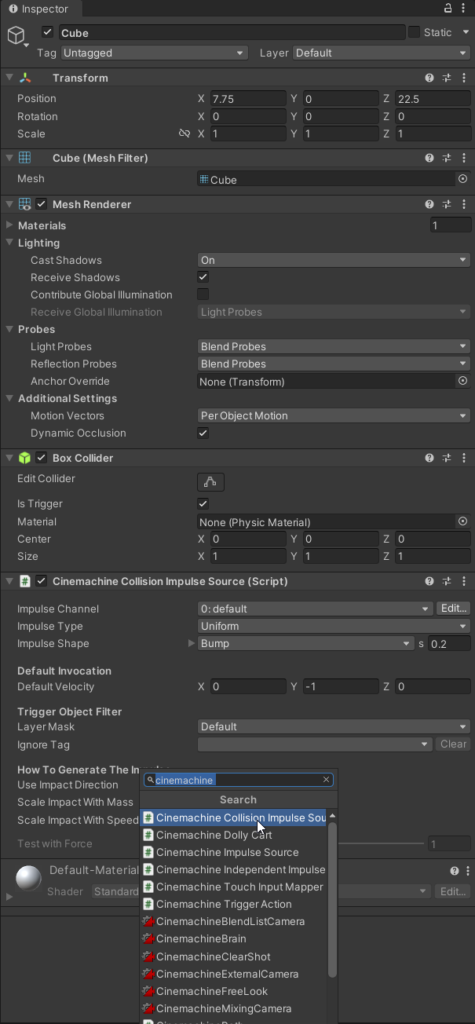
Now add the Cinemachine Collision Impulse Source. This will make the cube the source of noise when the capsule enters the trigger area of the cube. The default settings are fine but feel free to experiment!
Now collide your cube into your capsule like below. If you aren’t getting a reaction, be sure to check that the capsule has a rigidbody added to it, otherwise it will not be able to detect collisions with the cube.
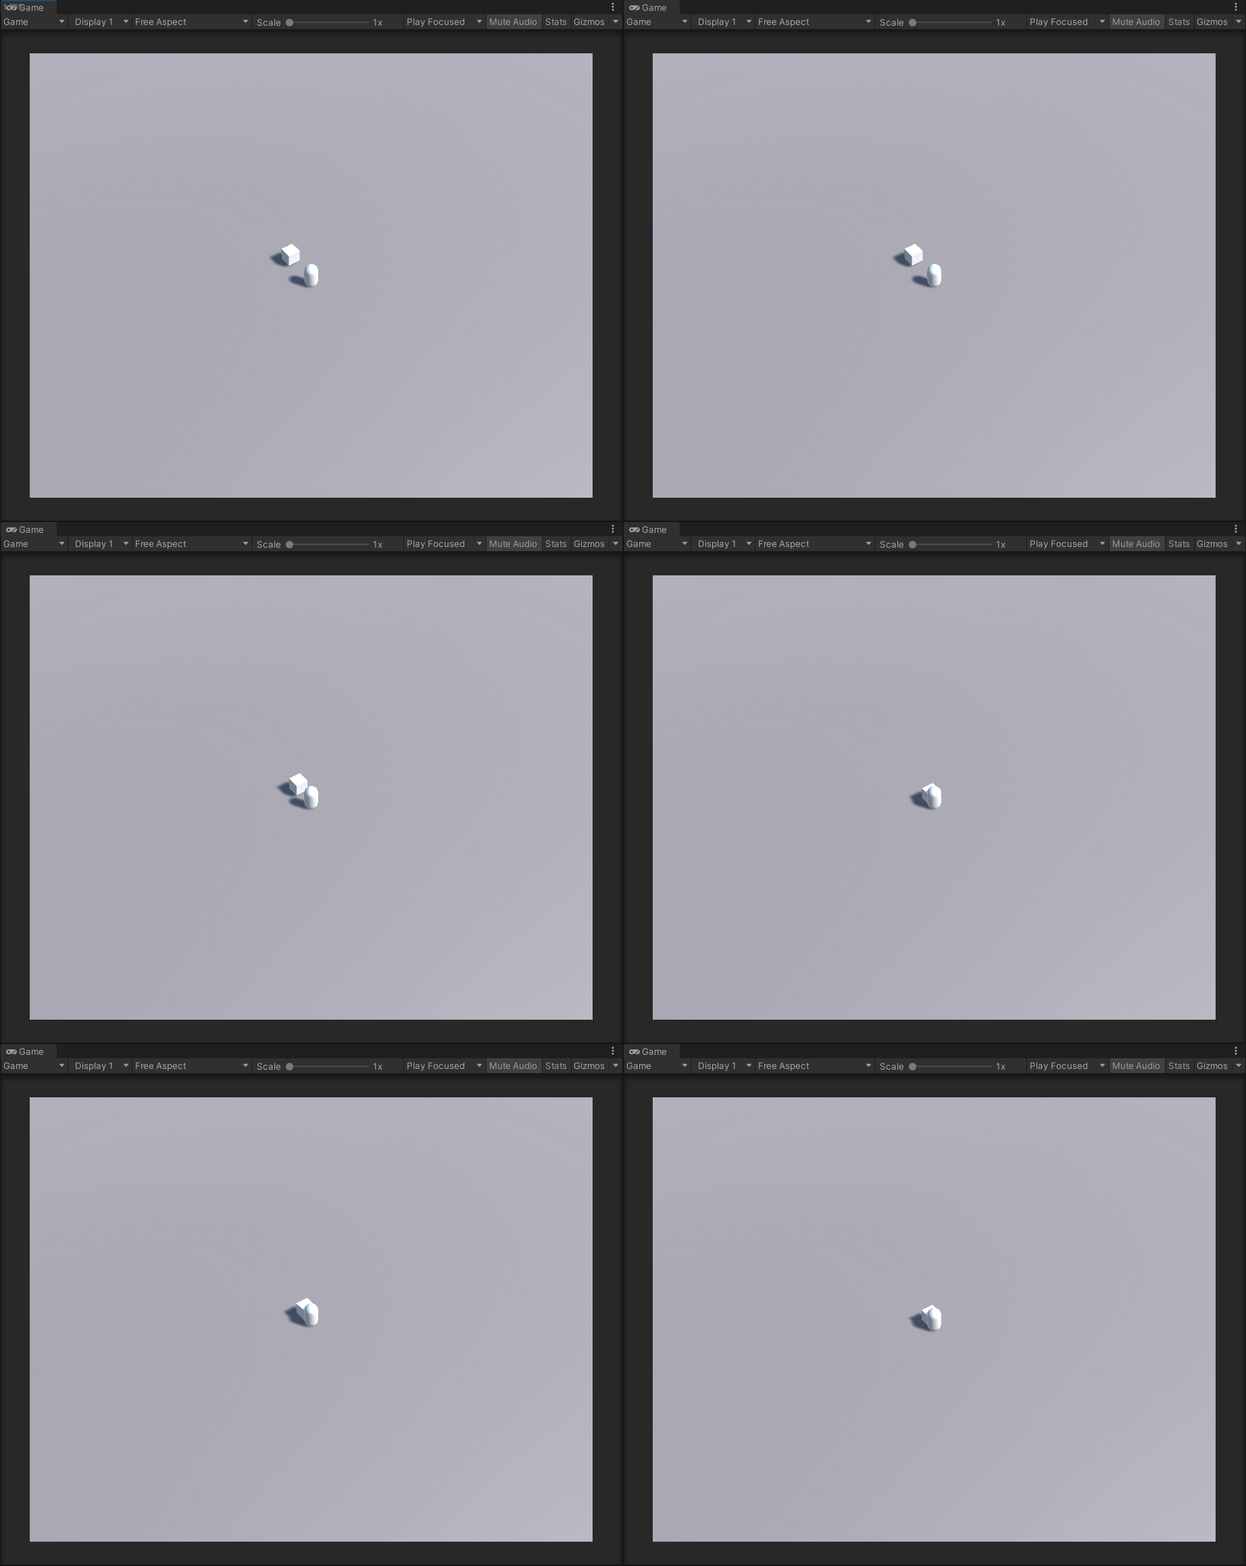
There you have a simple camera shake on collision. Be sure to experiment with the various settings, this can work with projectiles, invisible triggers, and variety of other setups. You can also tweak the type of shake, it’s duration. Next we’ll look at custom Post Process profiles that you can slot into your virtual cameras.
Custom Post Process Profiles Extension
This section we’ll tackle is custom post process profiles, with this extension you’ll be able to swap post process profiles between cameras allowing you to create dramatically difference experiences. One example of this would be using a security camera to display a grainy picture and then pivoting back to the player’s clear view. Let’s start by making sure the Post Processing Stack is installed in the project. You can do this by installing it (Window > Package Manager > Post Processing > Install) through the Package Manager.
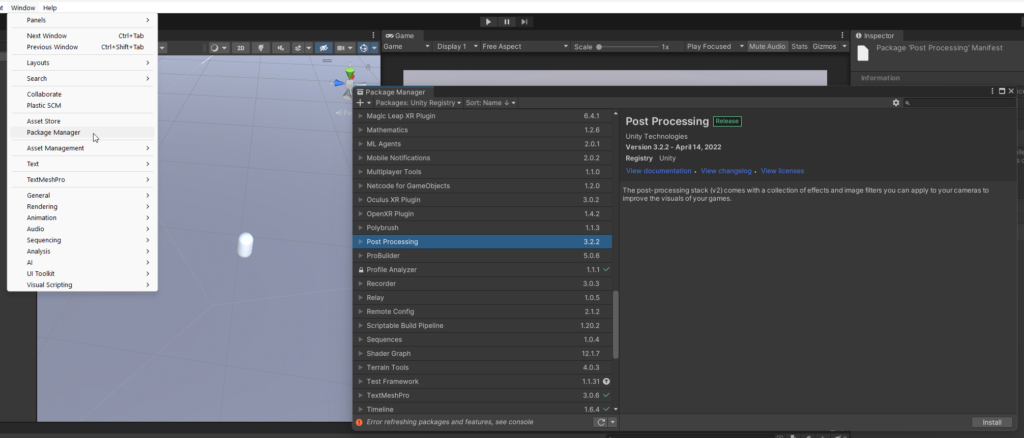
Next make sure that you have two Virtual Cameras (Hierarchy > Cinemachine > Virtual Camera) in your scene. If you followed along from above you should already have one in the scene. Next create an empty object named “Post Process Volume” and then add the (yes, you guessed it) Post Process Volume (Component > Rendering > Post Process Volume) and create a new profile by clicking the New button on the component. This will add a new volume profile to the Scenes folder with that scene’s name.

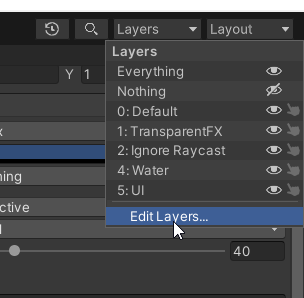
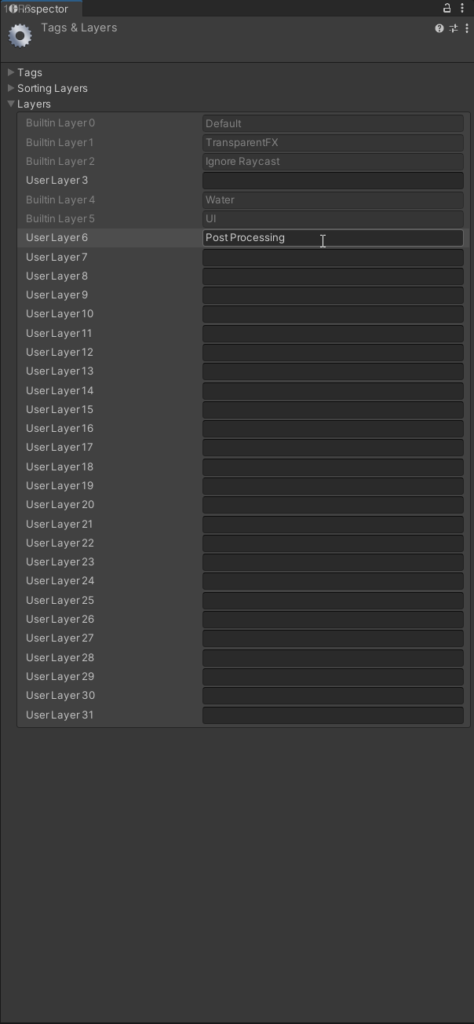
Next we’ll want to head over to Layers in the top right and click on Edit Layers and in one of the open slots (I used 6) add a layer called Post Processing like below.
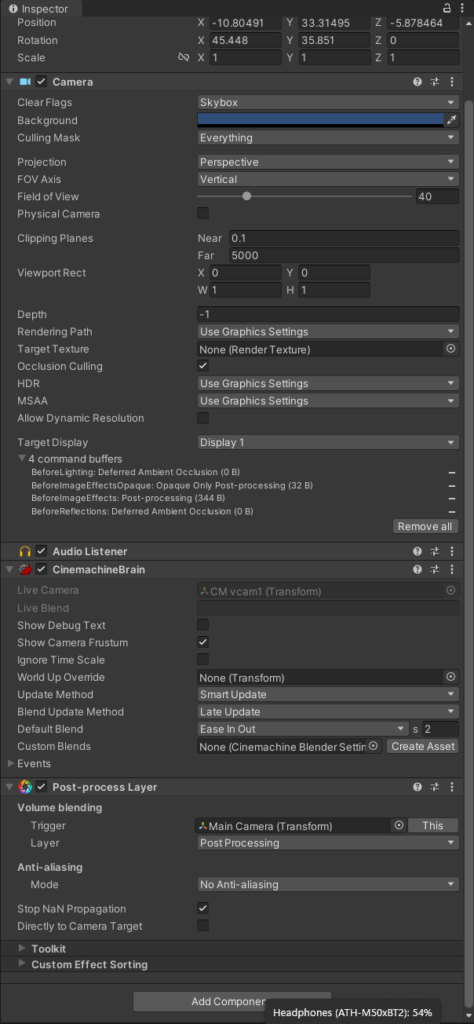
The last piece of the puzzle is the Post Process Layer on the Main Camera (or where the Cinemachine Brain is located) this will dictate to the camera which layer to use to apply the Post Processing to. In our case the Layer is called Post Processing, it should look like below.
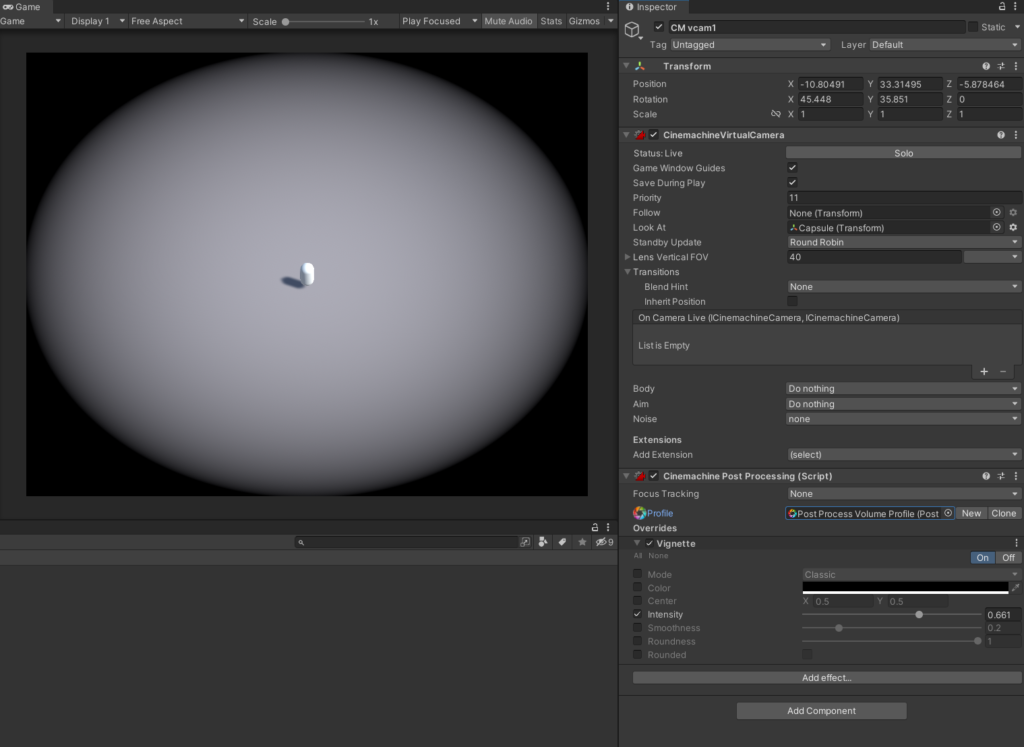
Now with the Post Processing Stack setup completely we can begin adding them to our Virtual Cameras. Let’s start with vCam1. Click Add Extension on the inspector and add CinemachinePostProcessing. In the profile slot select the freshly created profile and it should reflect (a vingette in my case) on the camera.
Now on vCam2 do the same process. Add the Cinemachine Post Process extension, and this time create a new Post Process Profile. This will automatically create and place the new profile in the same folder as the other. This time we’ll add a Color Grading Effect to help illustrate the difference. Now when you click Solo on Virtual Camera component, it should switch between the two different profiles like below.
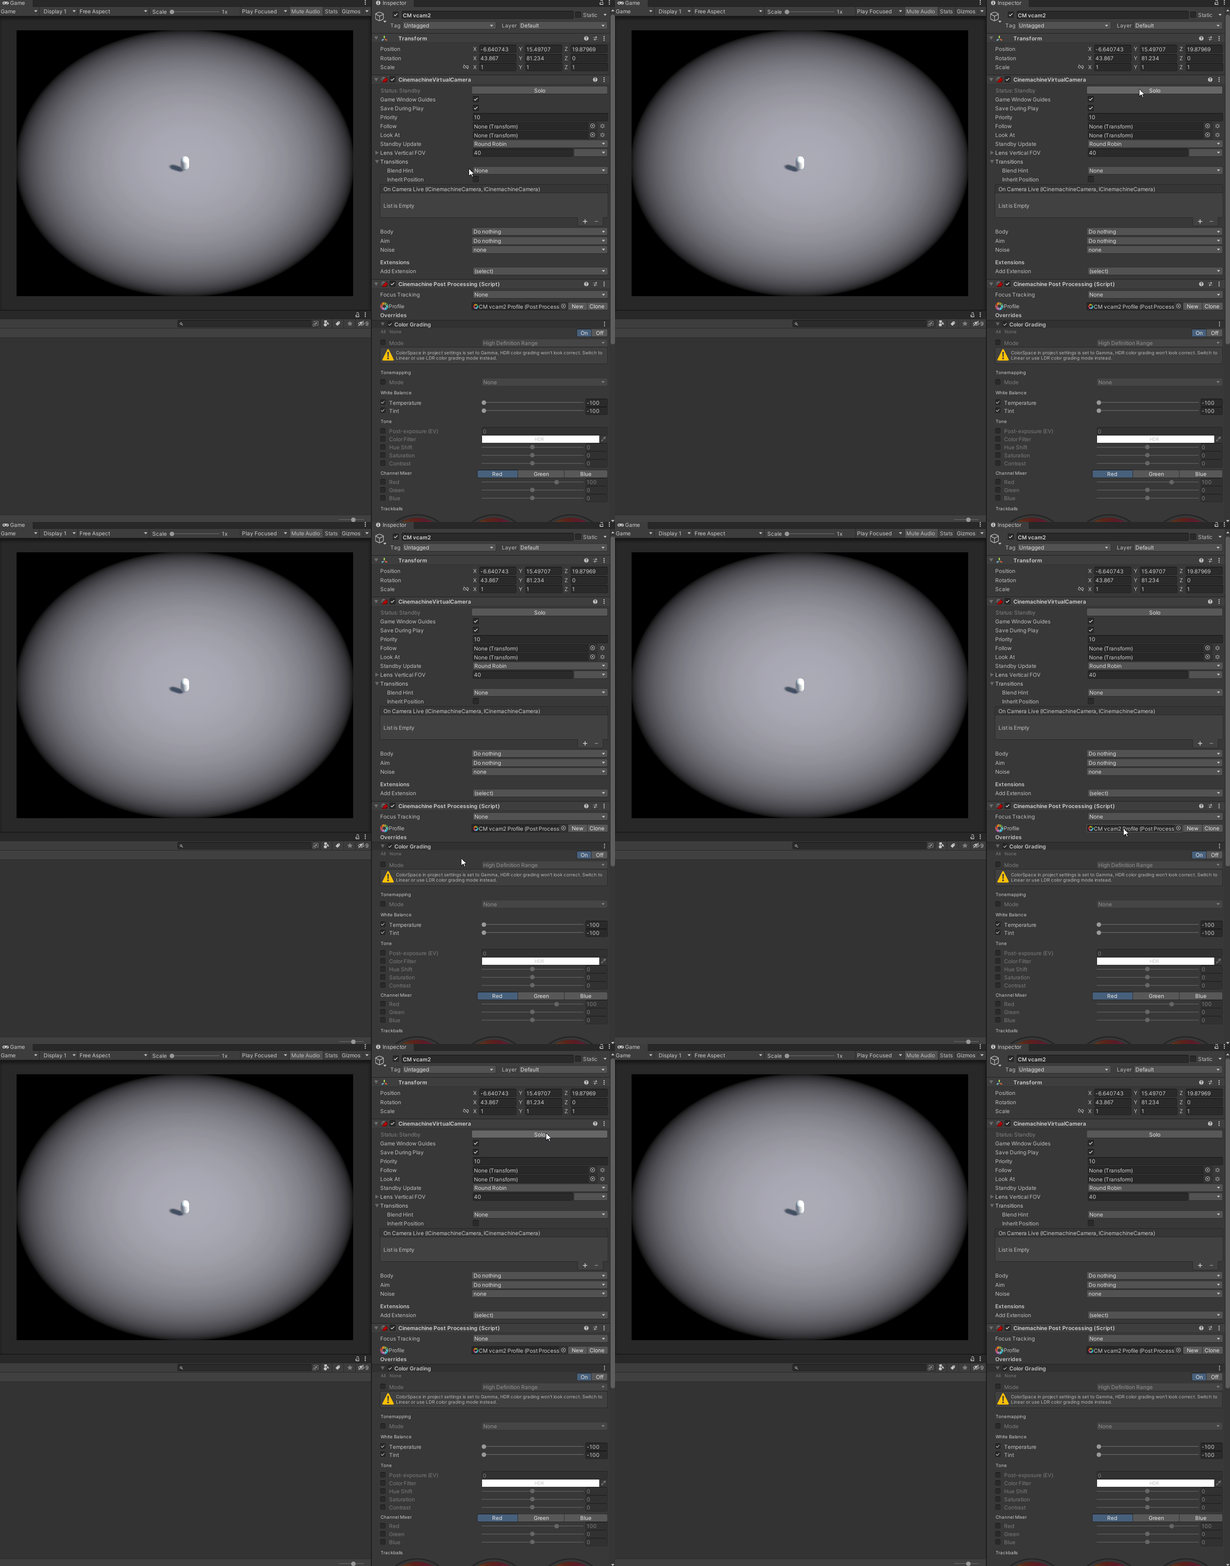
There you have it. The ability to quickly and seamlessly switch post process profiles based on the vCam chosen. You can add 3, 4, or however many vCams each with their own unique (or even the same) post process profiles allowing you to specifically tailor your scene views to your exact vision.
These 3 extensions are highly specific in their function but their versatility allows them to let you modify and more importantly modularly implement these features with very little overhead on your part. As always, experiment, break and refer back to this article if you get lost. Until next time, happy coding.
