The flexibility of Timeline allow creators to animate game objects mid-Timeline using the keyframes directly in Timeline to make objects move similar to Unity Animator system (check that out here) but it is rather limited in what you can realistically do. For more complex animations it is far more feasible to import complex animations into Unity and then use them in editor but how do you that with Timeline? Well that’s a snap, like plucking strings on a puppet.
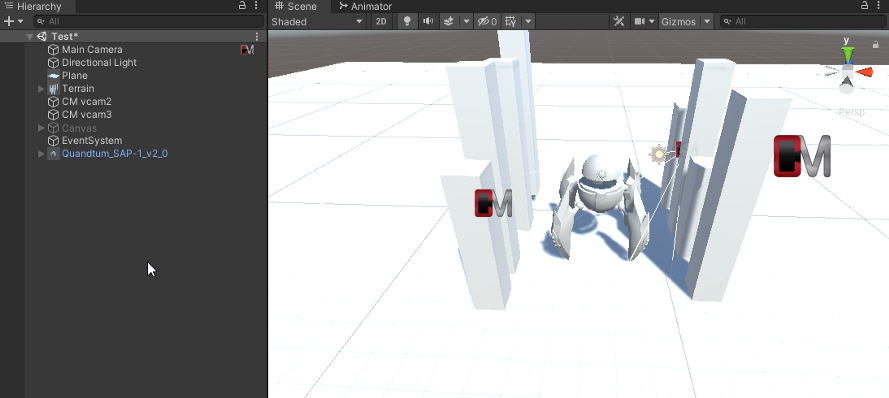
Start by opening or creating a new project. For this example we’ll be using a complex animation you can get for free from Open Game Art called SAP-1 Sapper Bot Mark I (here) which is a fun looking robot complete with animation. After exporting it from blender into Unity as an FBX file (don’t forget to disable the camera component in Blender or in Unity as it has lights that jack of the scene’s lighting) drag into your scene like so.
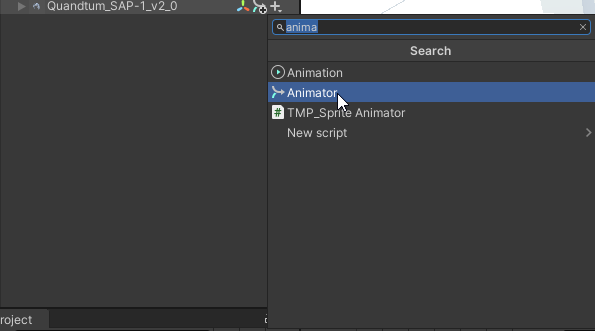
Next you’ll want to add an animator component to the SAP-1. This will allow it to be animated with the animation clips imported along with it.
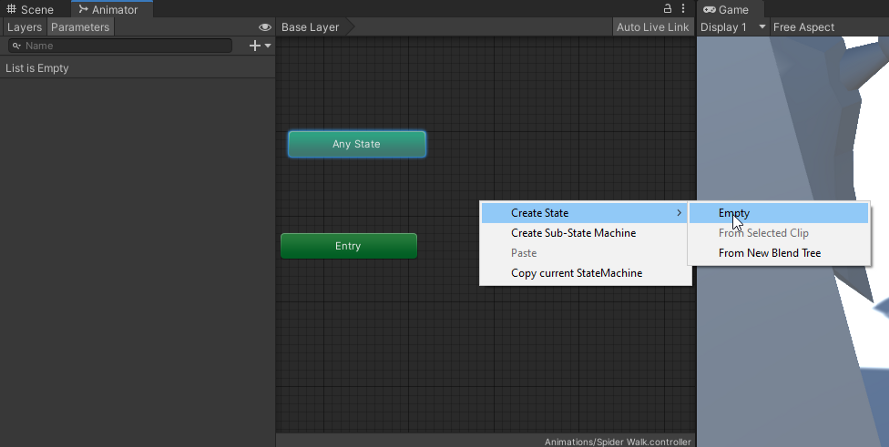
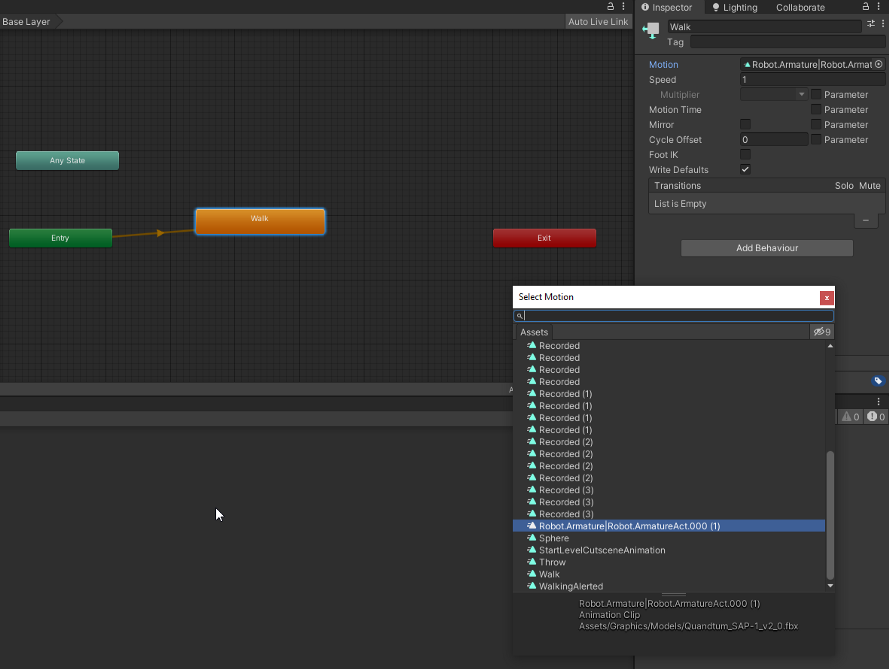
Next we’ll create an animation controller and name it Spider Walk. Attach it to the animator, this will inform the animator to play the clip when the game starts. Next go into the Animator tab and create a new State named Walk. Then attach the SAP-1’s walking animation which should be named Robot.Armature|Robot.ArmatureAct.000 to the Walk State.
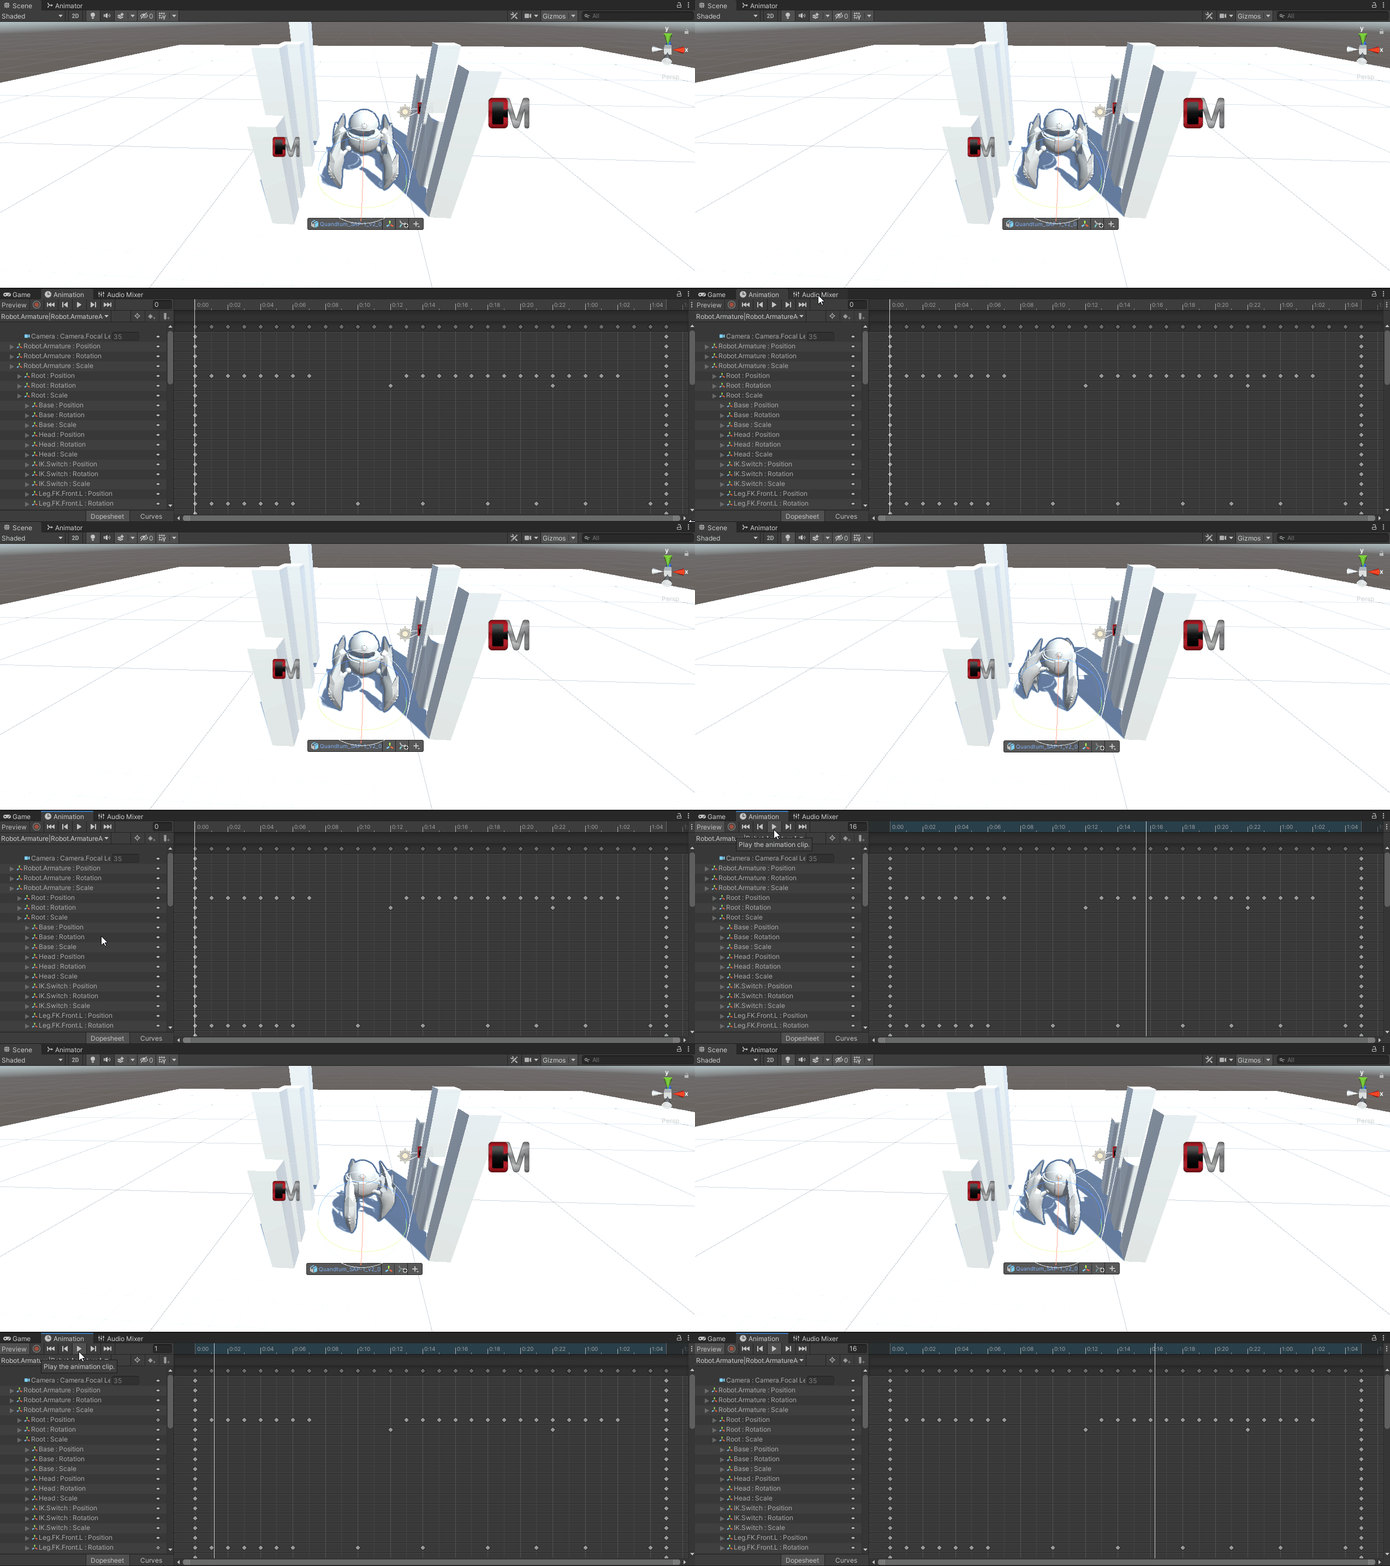
You can then test if it works by pressing the play button or clicking on the SAP-1 Game Object and looking at the Animation Tab preview like below.
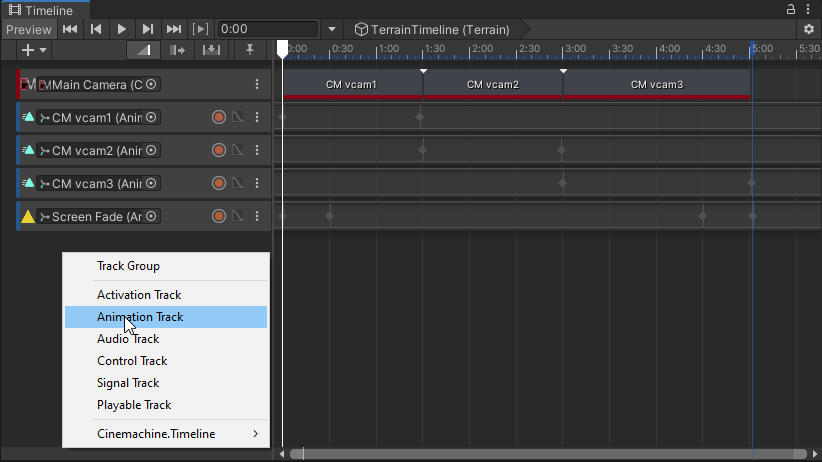
Now we can get to the meat and potatoes of this article, playing animation in Timeline. If you have a model with animations already implemented and ready to go you can just skip to here. First bring up Timeline and then right click or press the + sign in the top left of the tab to bring up the Track Add menu. Then add an animation track to the timeline.
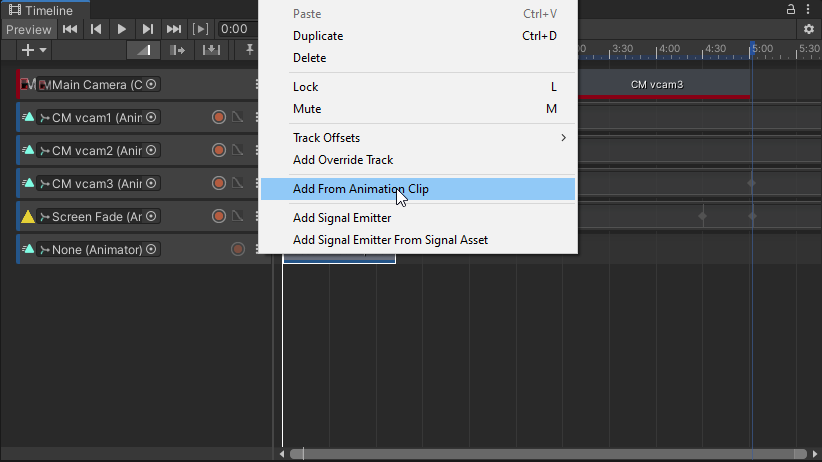
On the currently empty Animation Track click on the right hand menu like below and select Add From Animation Clip. This will let you search for the correct clip and add it to the timeline. In our case this is Robot.Armature|Robot.ArmatureAct.000.
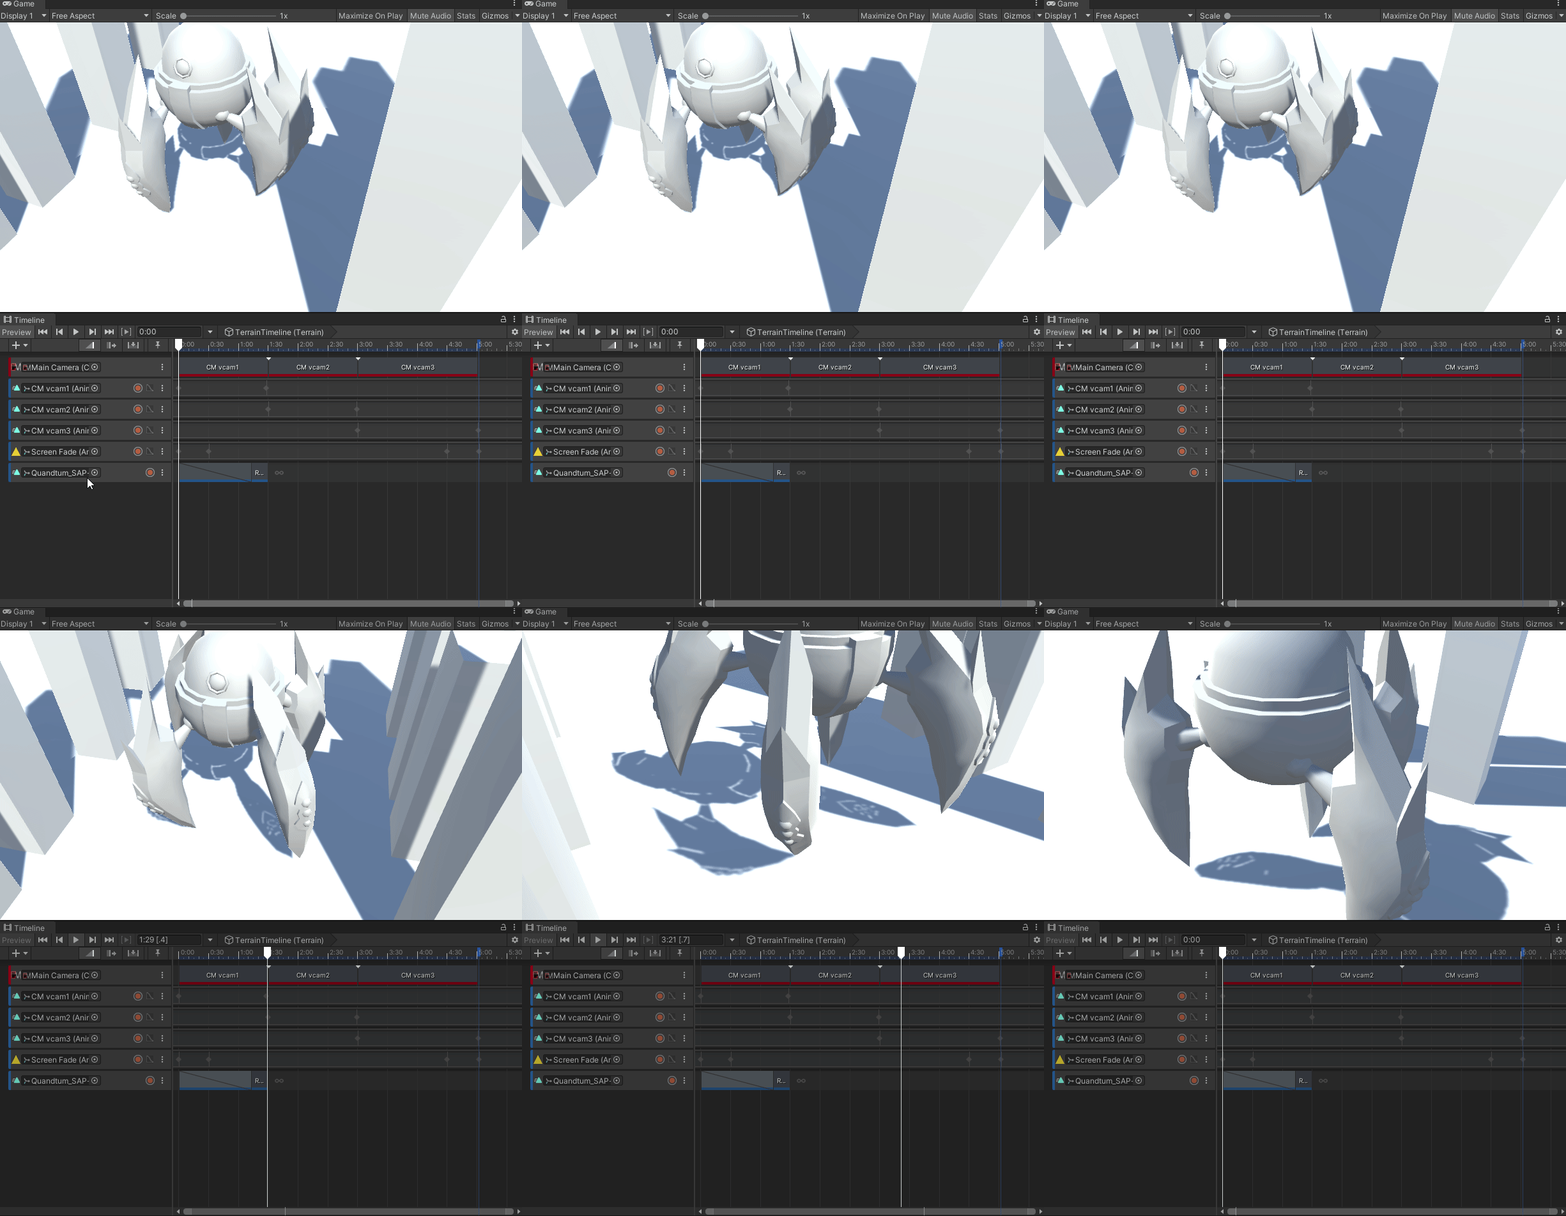
Then you can adjust the length of the animation clip to conform to the rest of your timeline. Be sure to drop in the object you’re animating (with it’s appropriate animator) into the empty field on the Animation Track.
There you have a fully animated game object from a animation clip all on Timeline. This is incredibly powerful as it allows you to bring in bespoke animations, edit them into your timeline, and activate various other effects to create in-game cinematics for your projects with a ton of polish in a short period of time. Until next time, happy coding.

