Setting up camras in Unity is a pain but with the built-in Cinemachine package, you can allay those concerns with a powerful set of cameras and tools that make composing the perfect scene a snap.
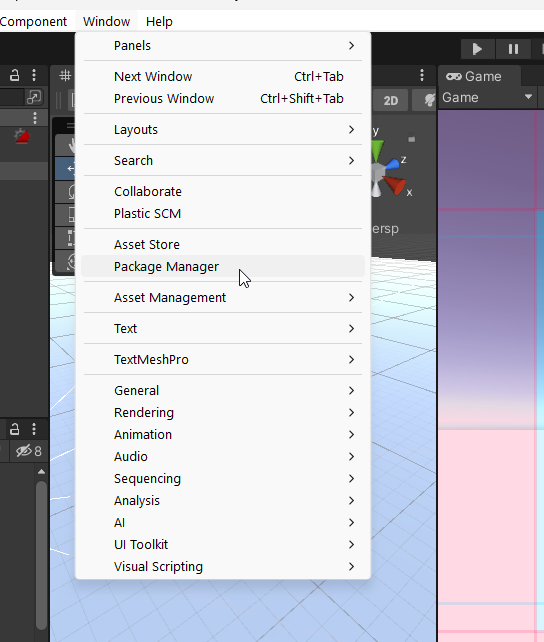
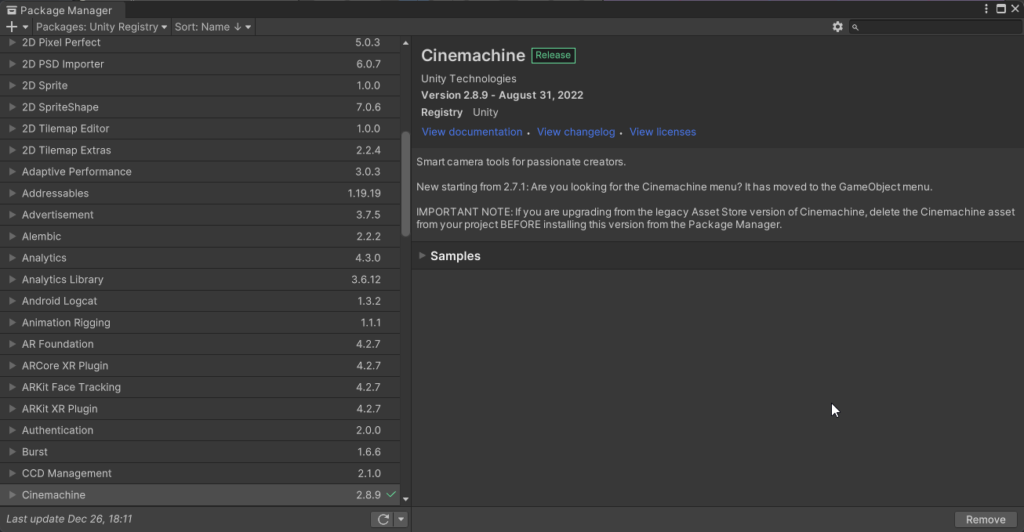
If you haven’t already, start by heading to Window>Package Manager to bring up the Unity Package Manager and search for Cinemachine under the Unity Registry drop-down. Click Install and add it to your project.
Next make sure you have a Main Camera in the scene (if not add one) and then in the heirarchy Right-Click>Cinemachine>Virtual Camera this will automagically add a Cinemachine Brain to your Main Camera and add a Cinemachine Virtual Camera named CM vcam1 to your scene.

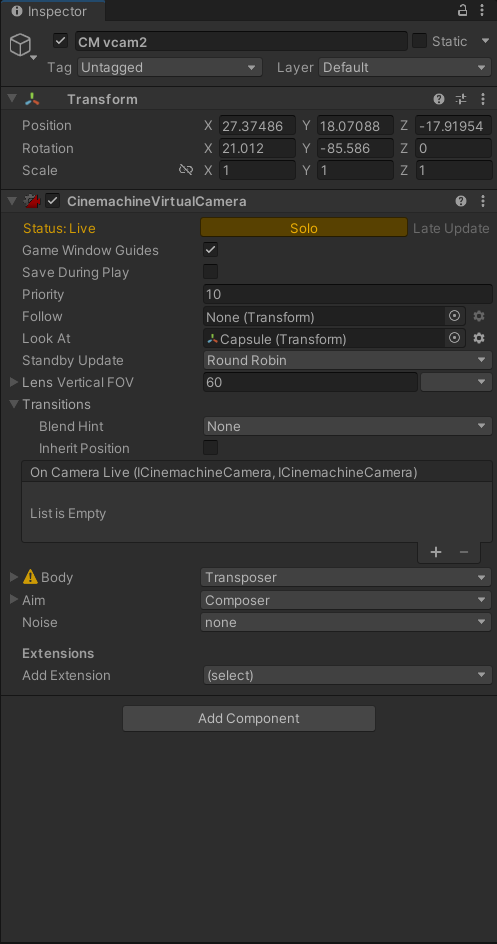
If you click on the Virtual Camera you’ll get all these fancy options in the inspector. Most are pretty straight forward but we’ll cover the basics (you can read more in-depth here) of each of the features.
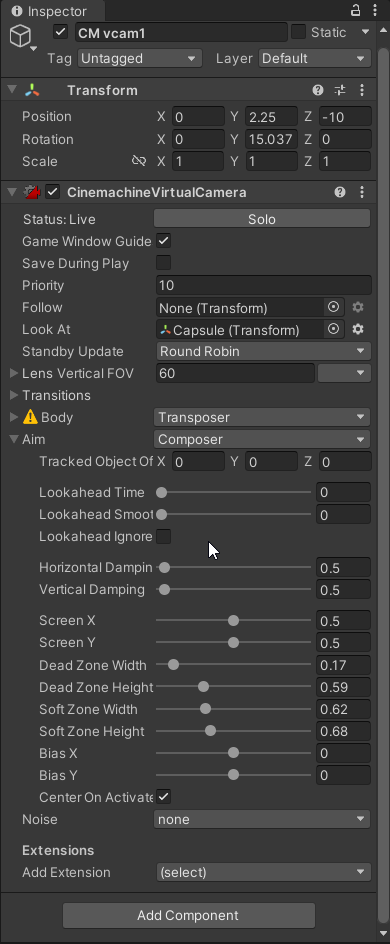
Cameras are in one of three states: Live, Standby, or Disabled. Live means it’s currently being viewed through, Standby means it is active and tracking objects but not the currently selected camera, and disabled means it is off and not functioning at all.
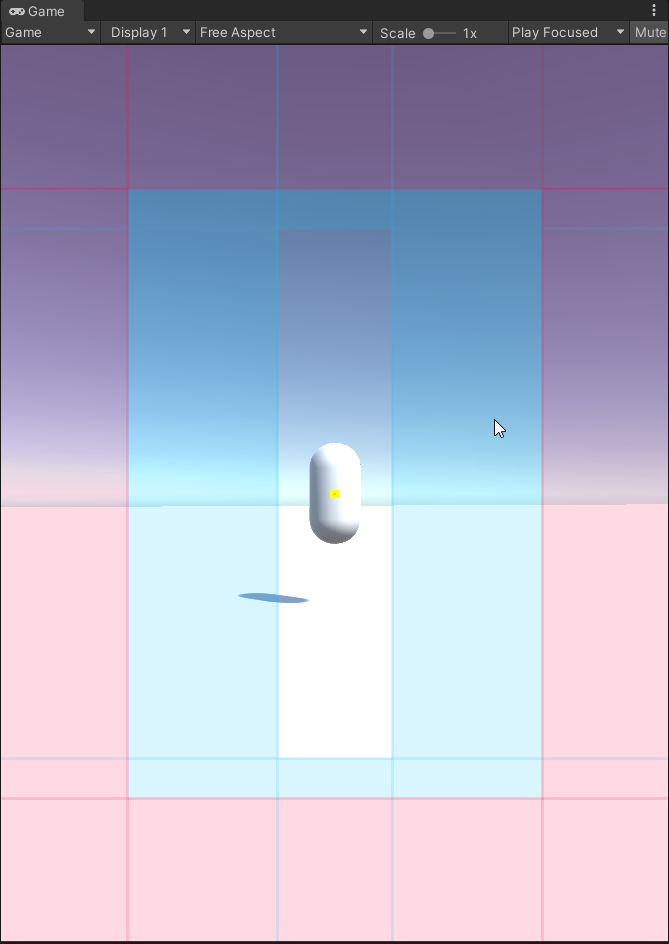
Game Window Guide: This overlays the guides of the camera on the Game View. These help compose your shot.
Save During Play: It will save any changes in Play mode.
Priority: If there are multiple cameras, higher priority comes first. If they are equal, it chooses randomly.
Follow: This will follow a target as it moves.
Look At: This will turn the camera and point it at an object.
Standyby Update: When a camera isn’t live, it will periodically update according to the option to save on performance.
Lens Vertical FOV: The field of view in degrees, this drops down to control the near and far clipping planes or how close/far something is rendered.
Transitions: This is for blending positions to and from this virtual camera.
Body: This is for the kind of algorithm that will move the camera.
Aim: This is the algorithm that will rotate the camera and the focus of this article. The following are the properties under Aim for Composer. For now leave Composer (you can learn the other algos here) we’ll change that later.
Tracked Object Offset: The offset of the object being tracked if you don’t want it framed in the center.
Lookahead Time: Adjusts offset based on the object being looked at’s motion.
Lookhead Smoothing: Smooths the offset of the object being looked at.
Lookahead Ignore Y: Ignores Y for lookahead calculations when it offsets.
Horizontal Damping: Tweaks how fast and slow it tracks the object horizontally.
Vertical Damping: Same as above but in the vertical axis.
Screen X/Screen Y: The position of the object being looked at on the screen, the camera will rotate to place the object at that position.
Dead Zone Width/Height: The dead zone in the center on the guide picture above. If the object moves in that zone, the camera will not rotate until it steps out of the dead zone.
Soft Zone Width/Height: The blue zone in the guided picture above. If the object is here then the camera will slowly rotate (based on damping) back to the desired position. If it hits the red zone it will snap the position until it’s back in the soft zone.
Bias X/Y: Changes the soft zone relative to the dead zone in either direction.
Noise: Used for adding camera shake primarily but can be use for other effects.
Extensions: These allow you to stack other virtual camera behaviors to customize your virtual cameras.
Experiment with all these features, play around with the damping, soft/dead zones and try moving objects that are being tracked around the best way to learn is by doing and breaking things. Next we’ll try switching between multiple cameras.
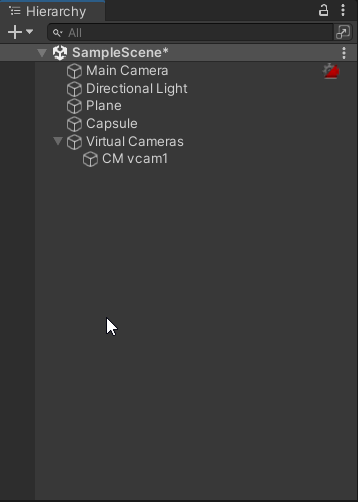
Now let’s set up our multiple virtual cameras. Start by creating an empty object and name it whatever, I went with Virtual Cameras. Add vcam1 to it like so.
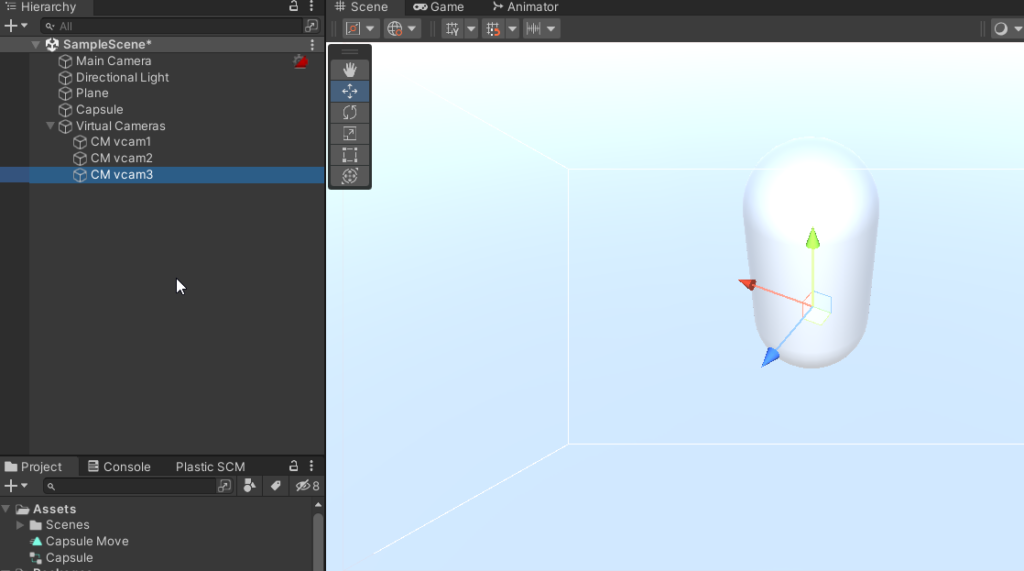
Now add 2 more cameras. The vcam will align with your scene view but they act like regular cameras (even though they are just nodes with the virtual camera script attached) so you can use something like Align With View to position them perfectly. Add them to the group like below.
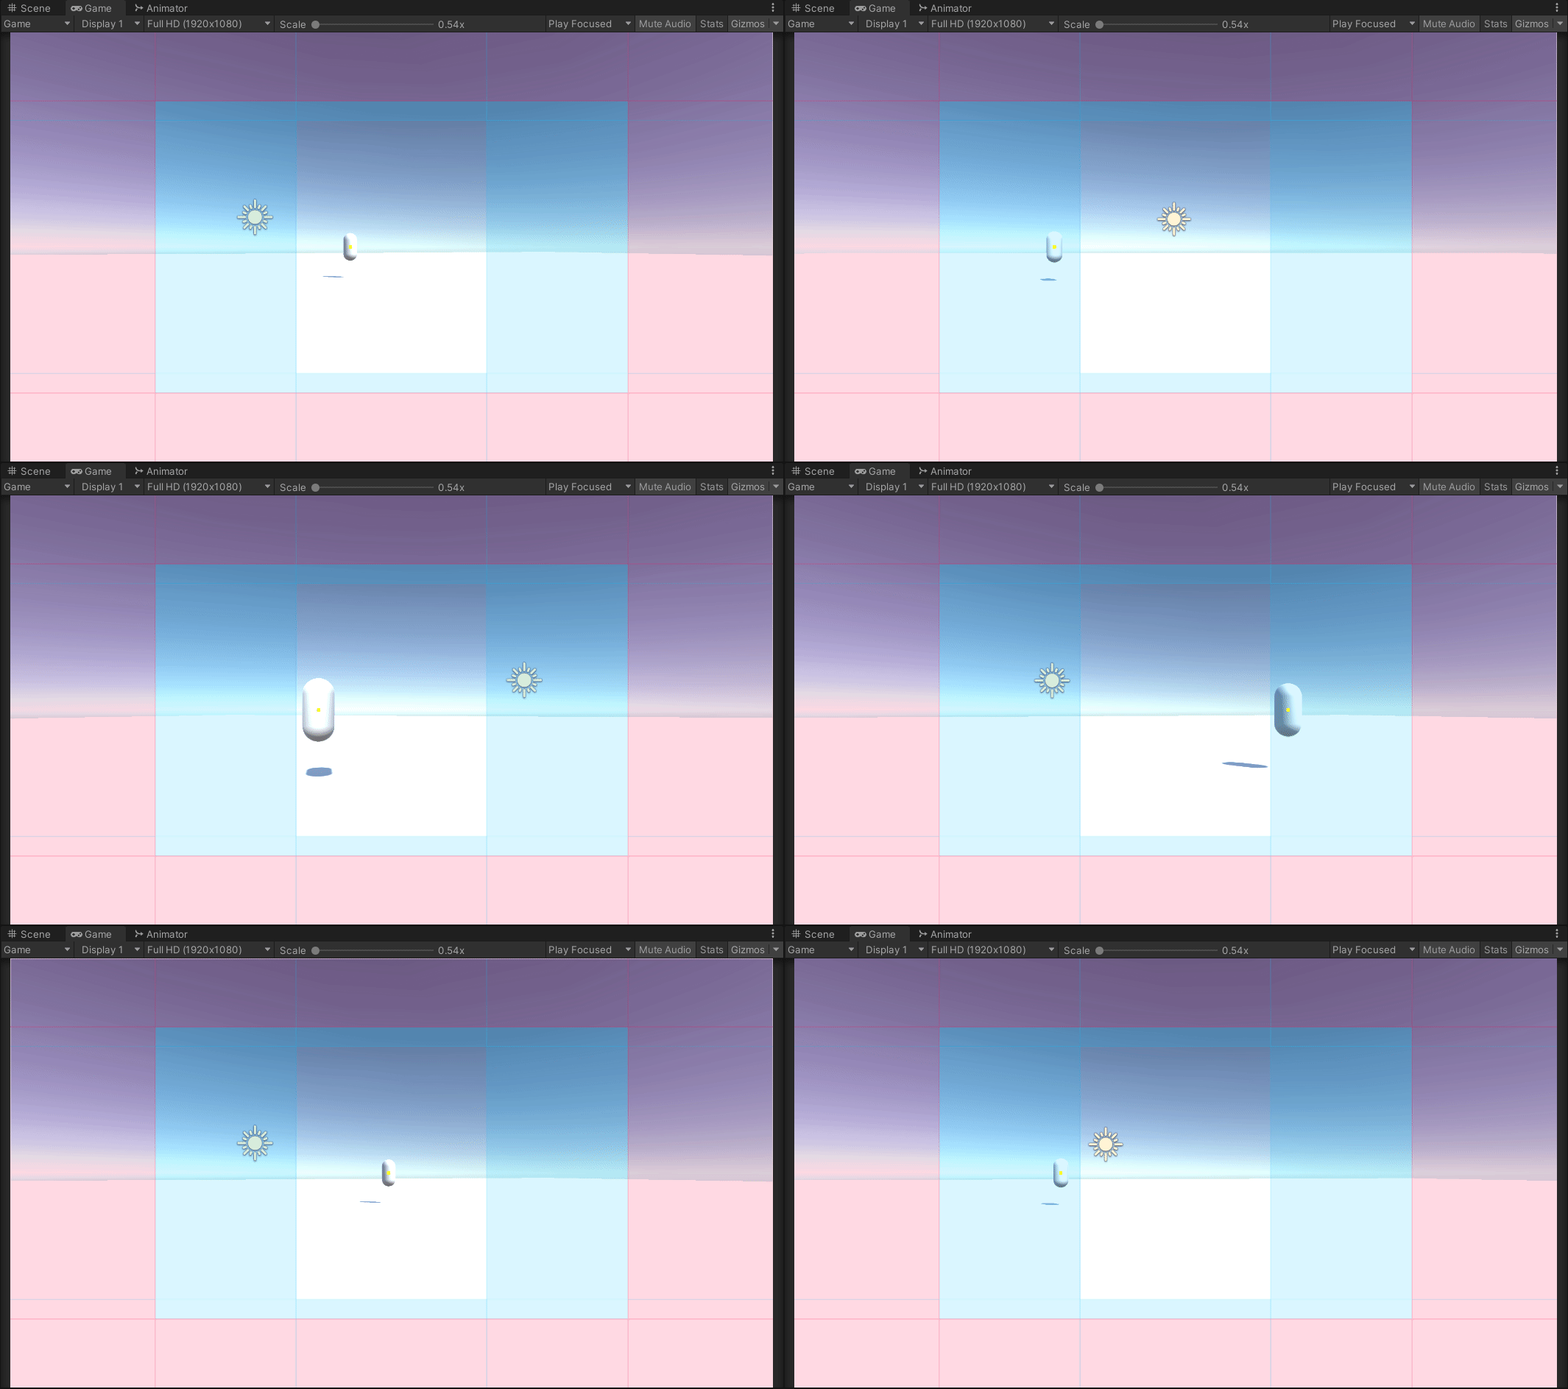
You’re probably wondering how you switch them. It’s simple if you haven’t figured it out you can hit the Solo button to switch the view of the current vcam to the selected camera. It should highlight yellow when active.
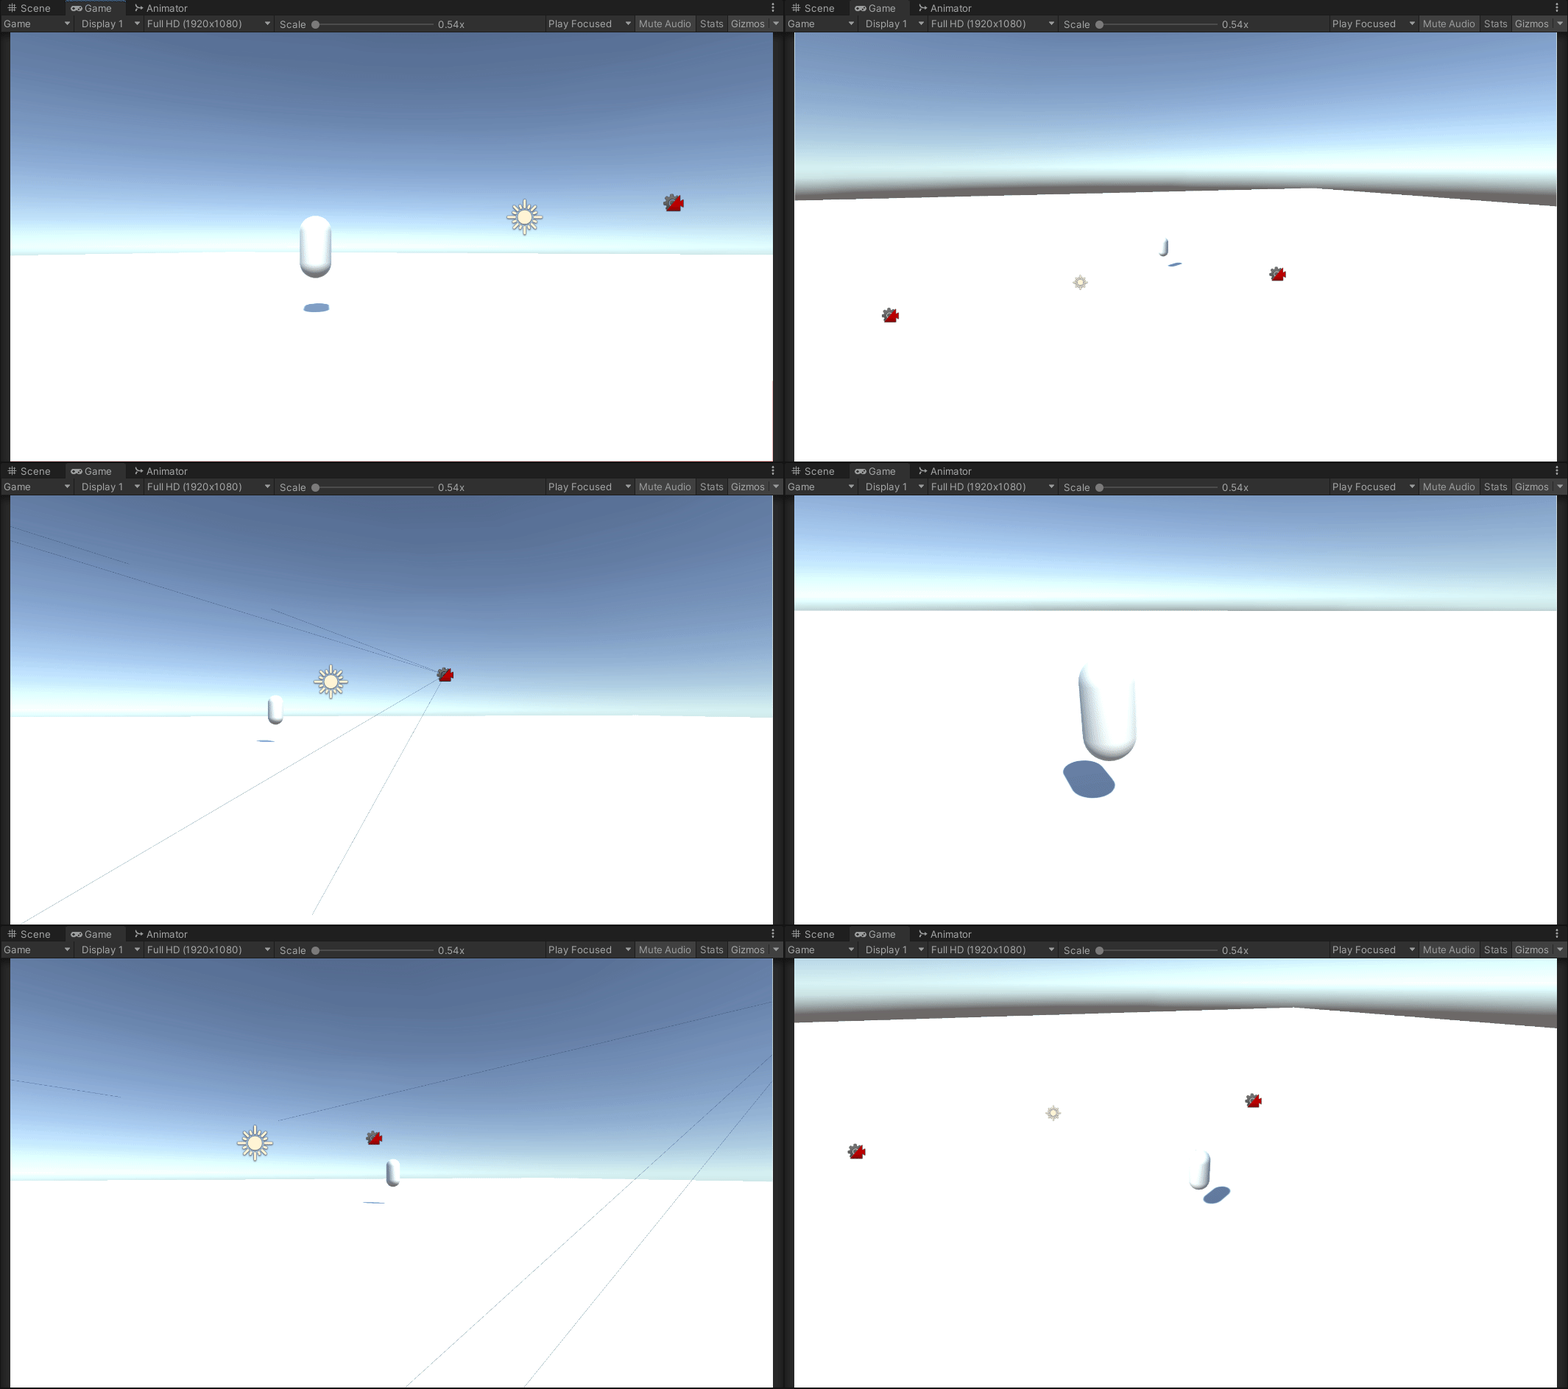
Here you can see it action swapping through the current cameras by hitting the solo button on each to change the view. Remember to set a high priority number (higher is better) to the vcam you want to act as default or it will pick randomly.
Now that we have our multiple virtual cameras, and switch through them using the Solo button in the inspector this isn’t very efficient let’s write a bit of code to control them. Create an empty object and add a script to it, we’ll name the script Camera Controller. We’ll step through it below.
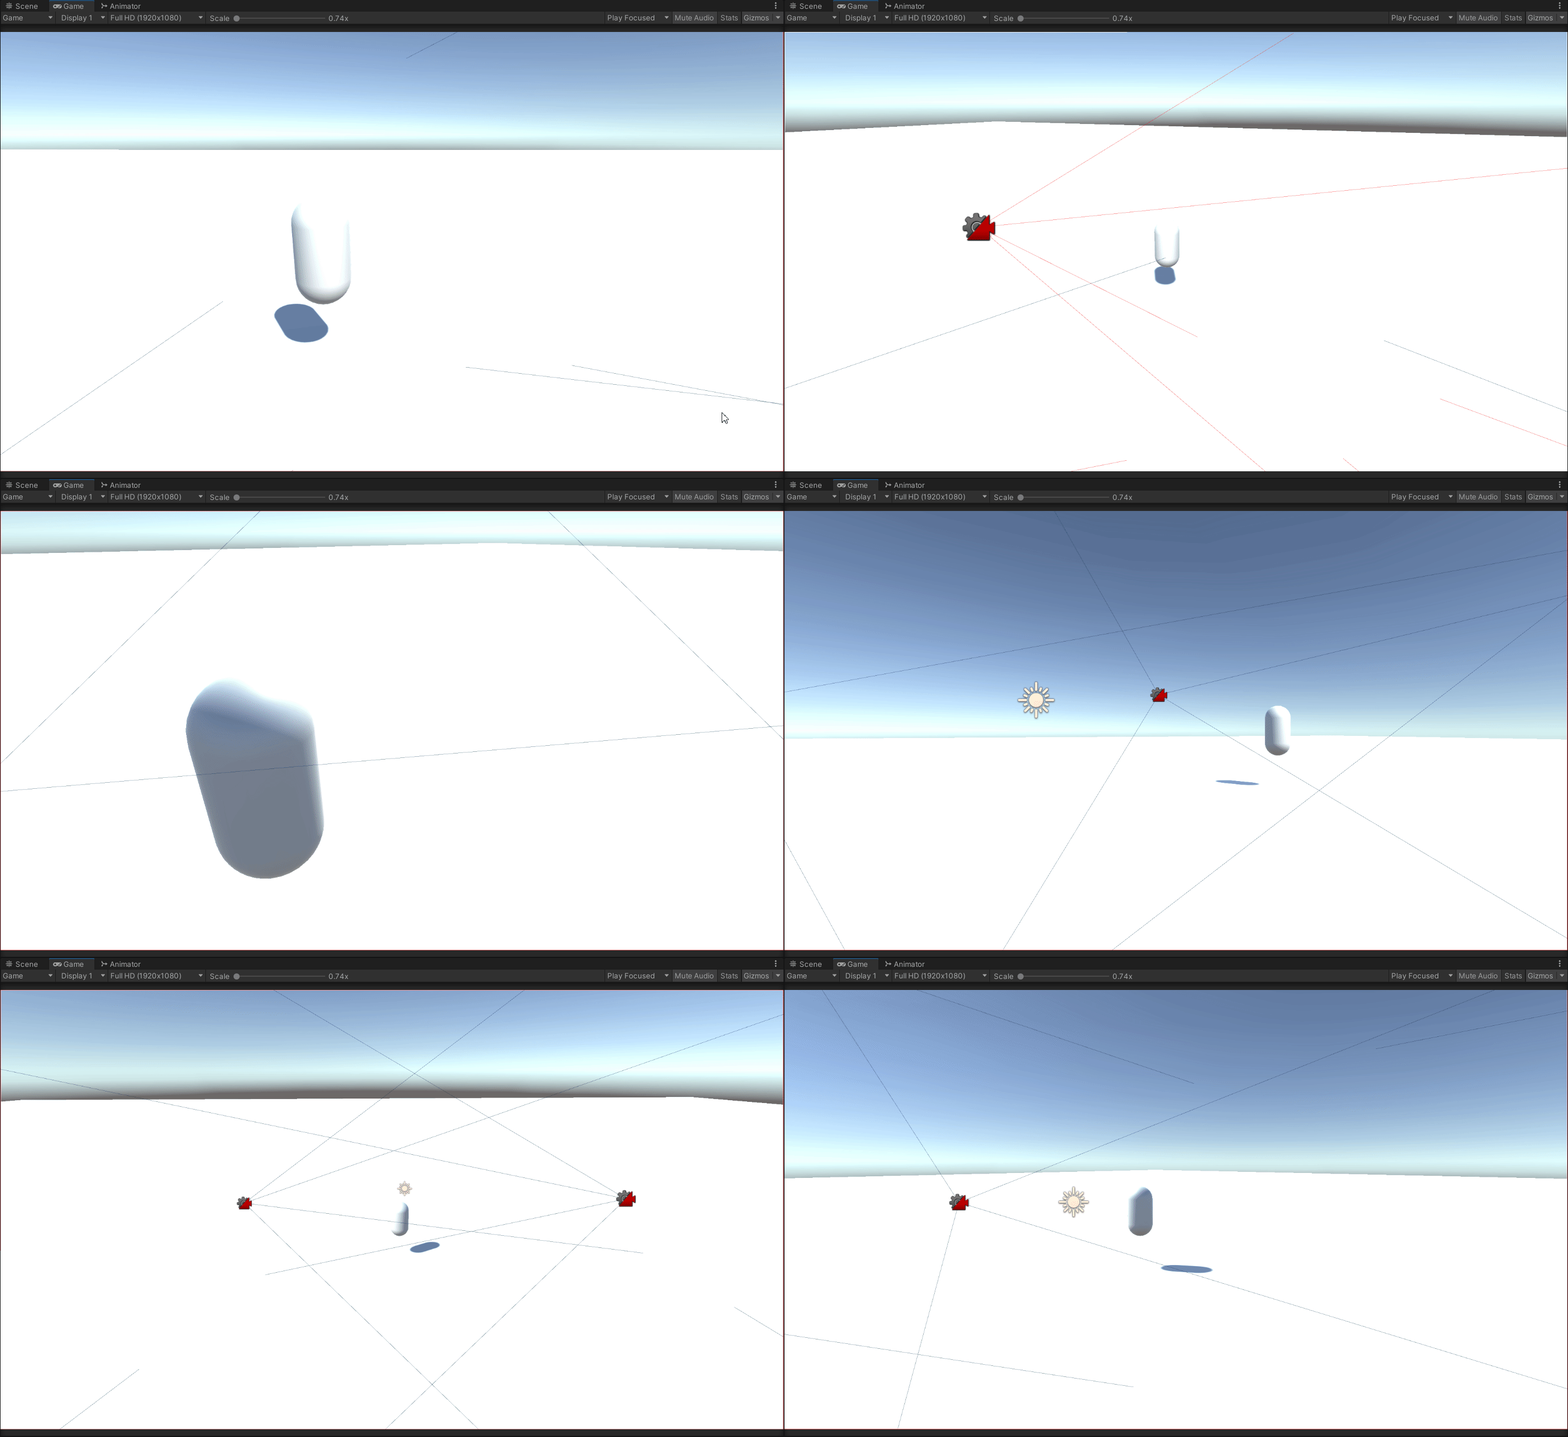
Pretty straight forward script, first we add the Cinemachine namespace so we can access the virtual cameras directly in an array that we assign in the inspector. Next in the update loop we listen for key inputs (1 through 3) to change the priority level of the cameras and assign a higher priority to the camera we want using a foreach loop to iterate over the array checking to see if the camera is null. Here it is in action. You can see the blend from camera to camera instead of a hard cut like above.
This is but a small taste of the kinds of things you can do with Cinemachine. Cycling targets, changing zoom levels, adding camera effects like screenshake, and a host of other features make this a must have if you want to have any sort of dynamic or cinematic camera work in your games. Until next time, happy coding.
