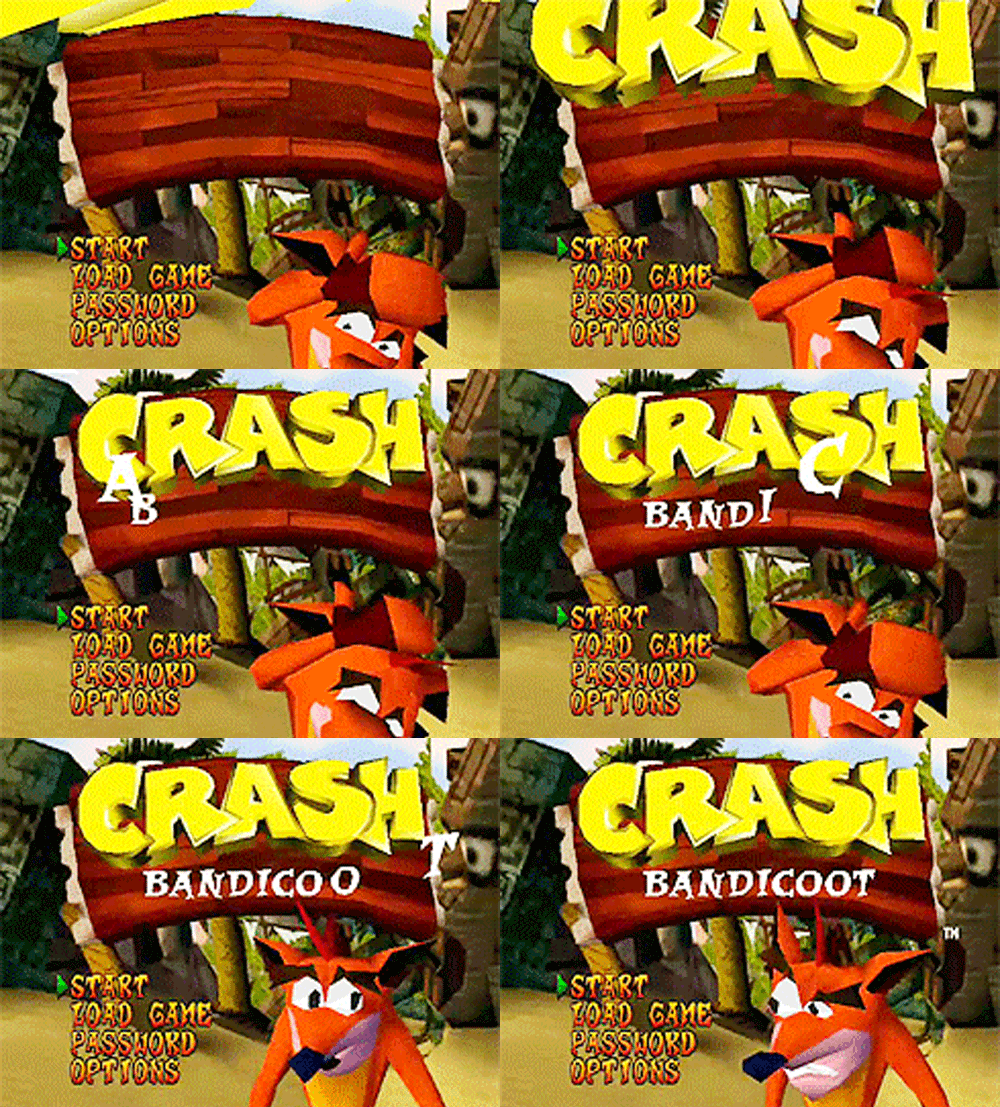
Often the first thing a player sees just after your splash screen is the Main Menu, this is often the first and typical most overlooked part of most games. However it’s also the best part to let your game’s style ooze through and temper your player’s expectations as to what it’s in store. Some games like Crash Bandicoot play up the fun.
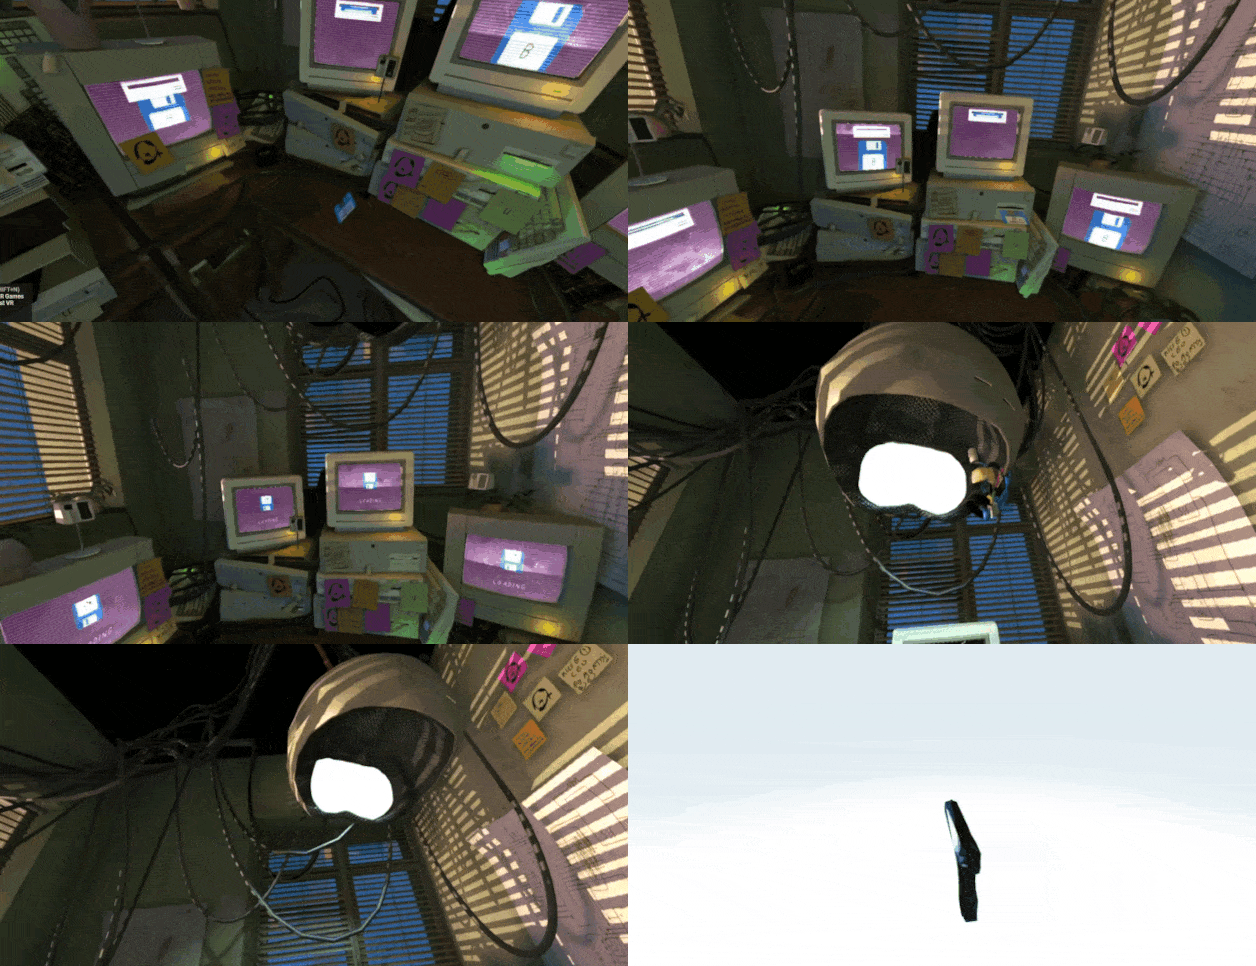
While something like Superhot aim for full immersion by having you insert floppies into a computer and pull down the headset to suck you into the first level.
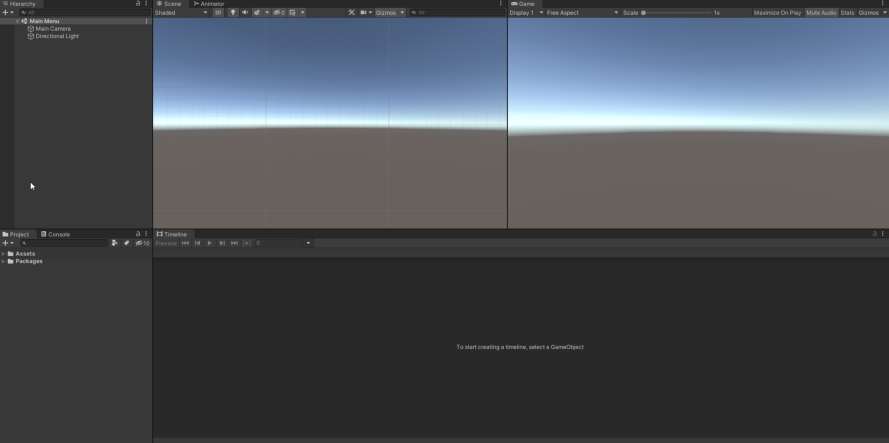
Let’s create a simplified Menu and then spice it up with some easy animations to help it pop. Start a blank scene in Unity or open an existing project.
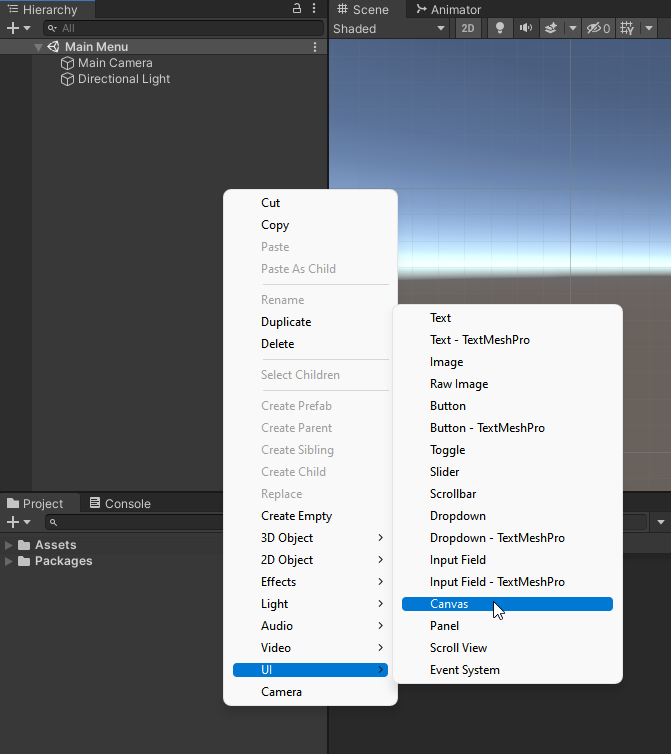
Now add a Canvas object to the scene.
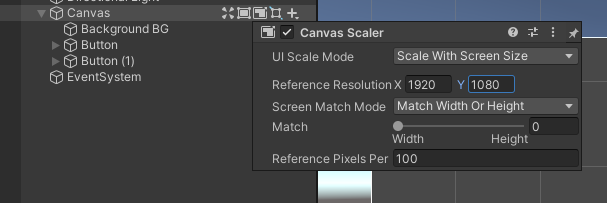
Be sure to set the Canvas Scaler to Scale With Screen Size.
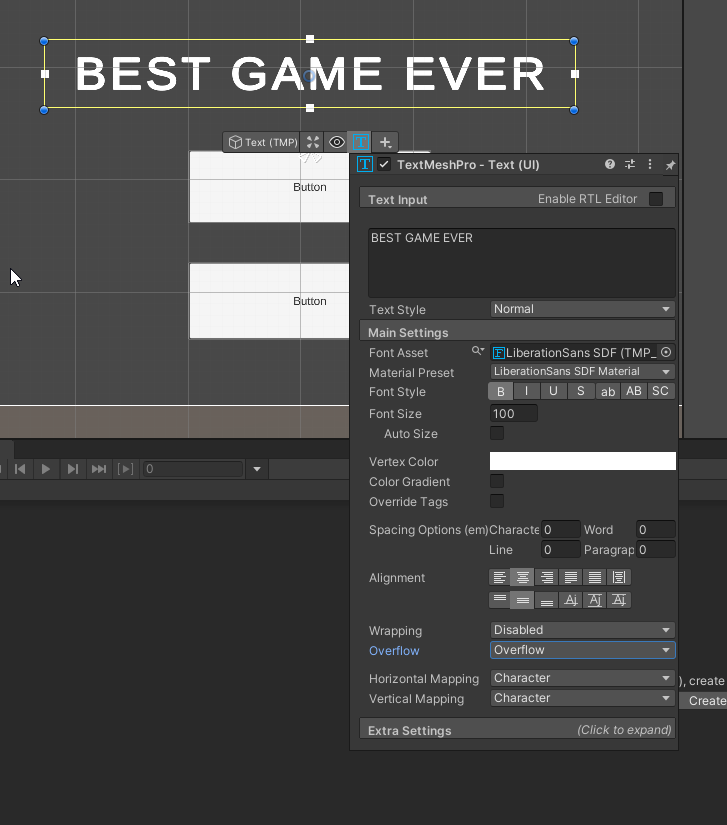
Now we’ll add a few Text Mesh Pro buttons and Text Mesh Pro text field like so.
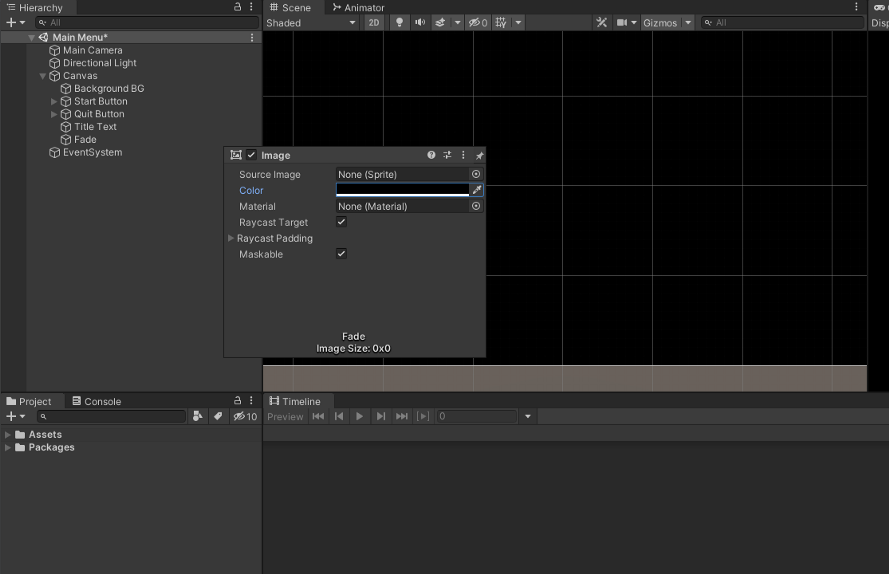
Next we’ll add a Fade image so that we can animate a fade from black when the game starts. Be sure to uncheck Raycast Target.
We’ll be using Timeline as that’s a fairly easy way to adjust and organize animations and effects in a visual way. You can add Timeline to your project by going to Window > Pack Manager > Unity Registry > Timeline then go ahead and click Create on the Timeline window saving it in your project. This will add a Playable Director to the Canvas object.
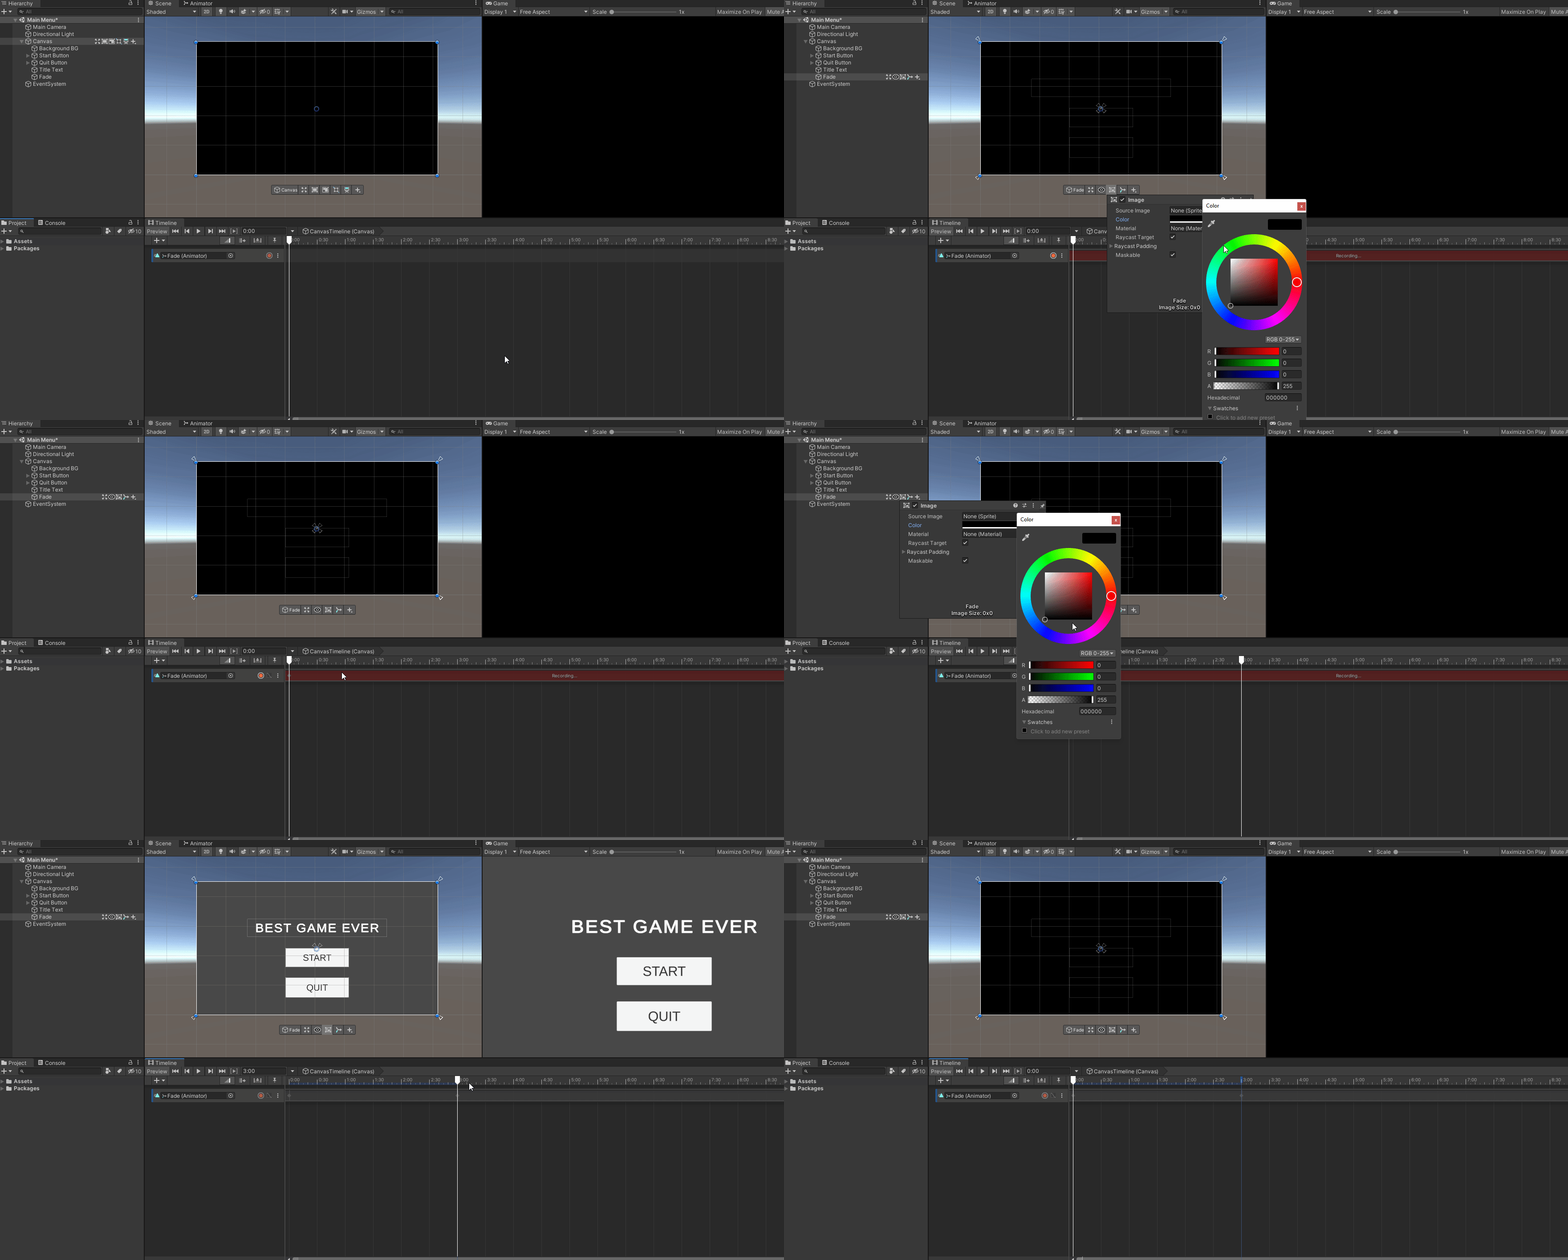
With it created we can now drag the Fade object to the Timeline and create a Animation Track. this will allow you to record animations using the Timeline window. Hit Record and then set the fade to transparent over something like 3 seconds.
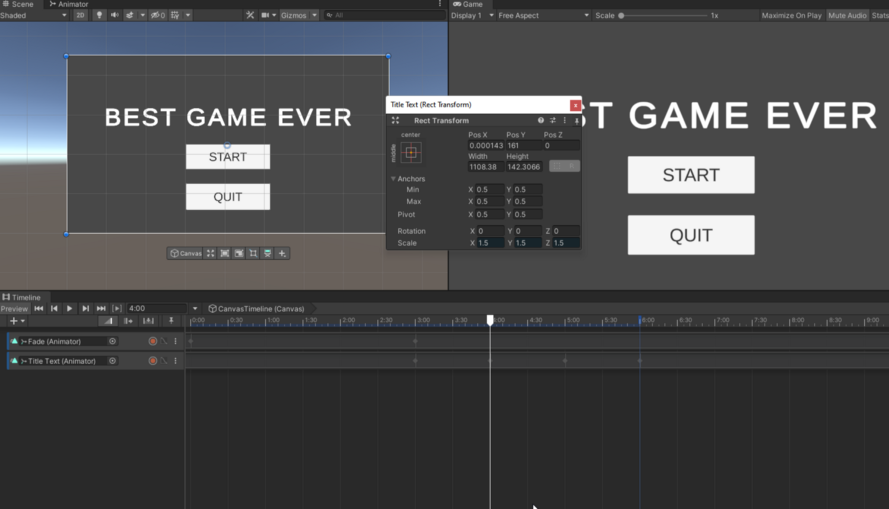
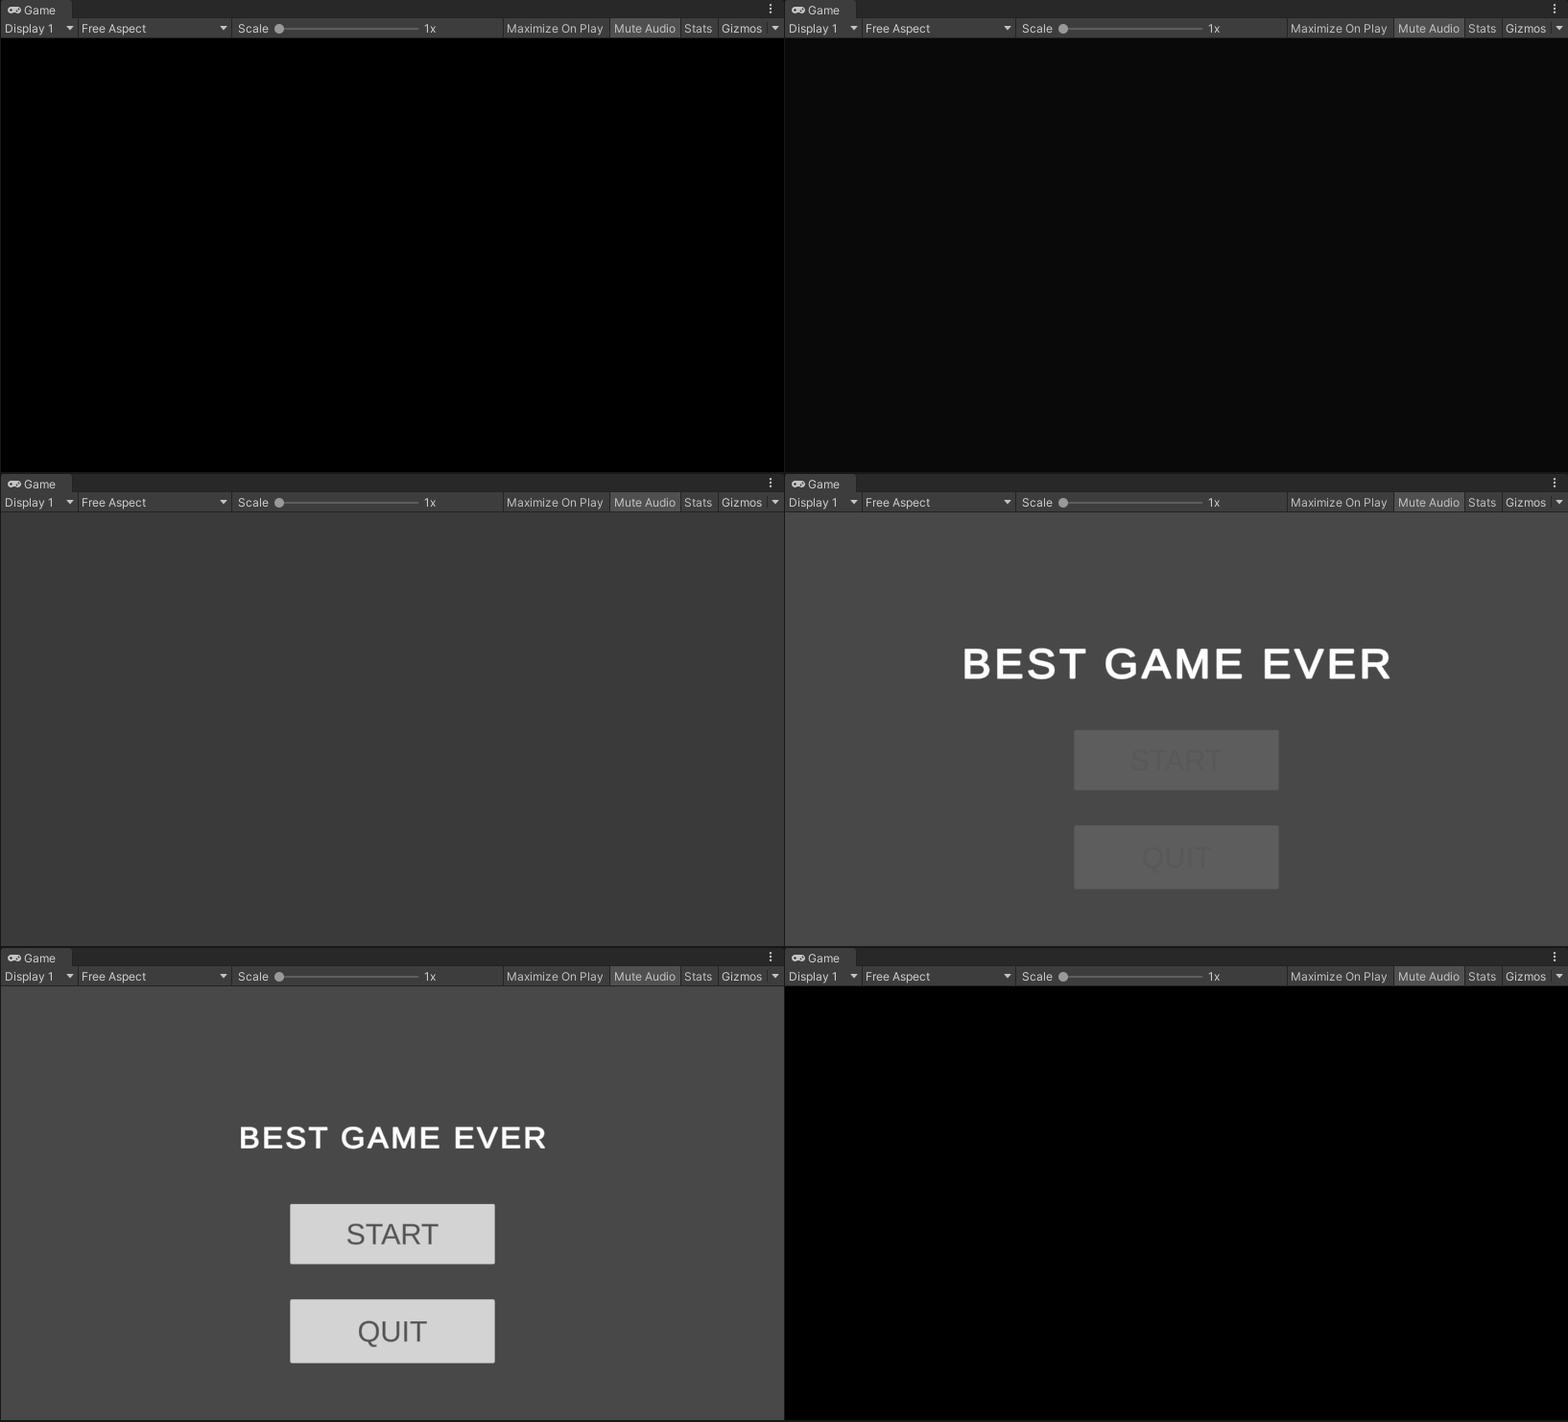
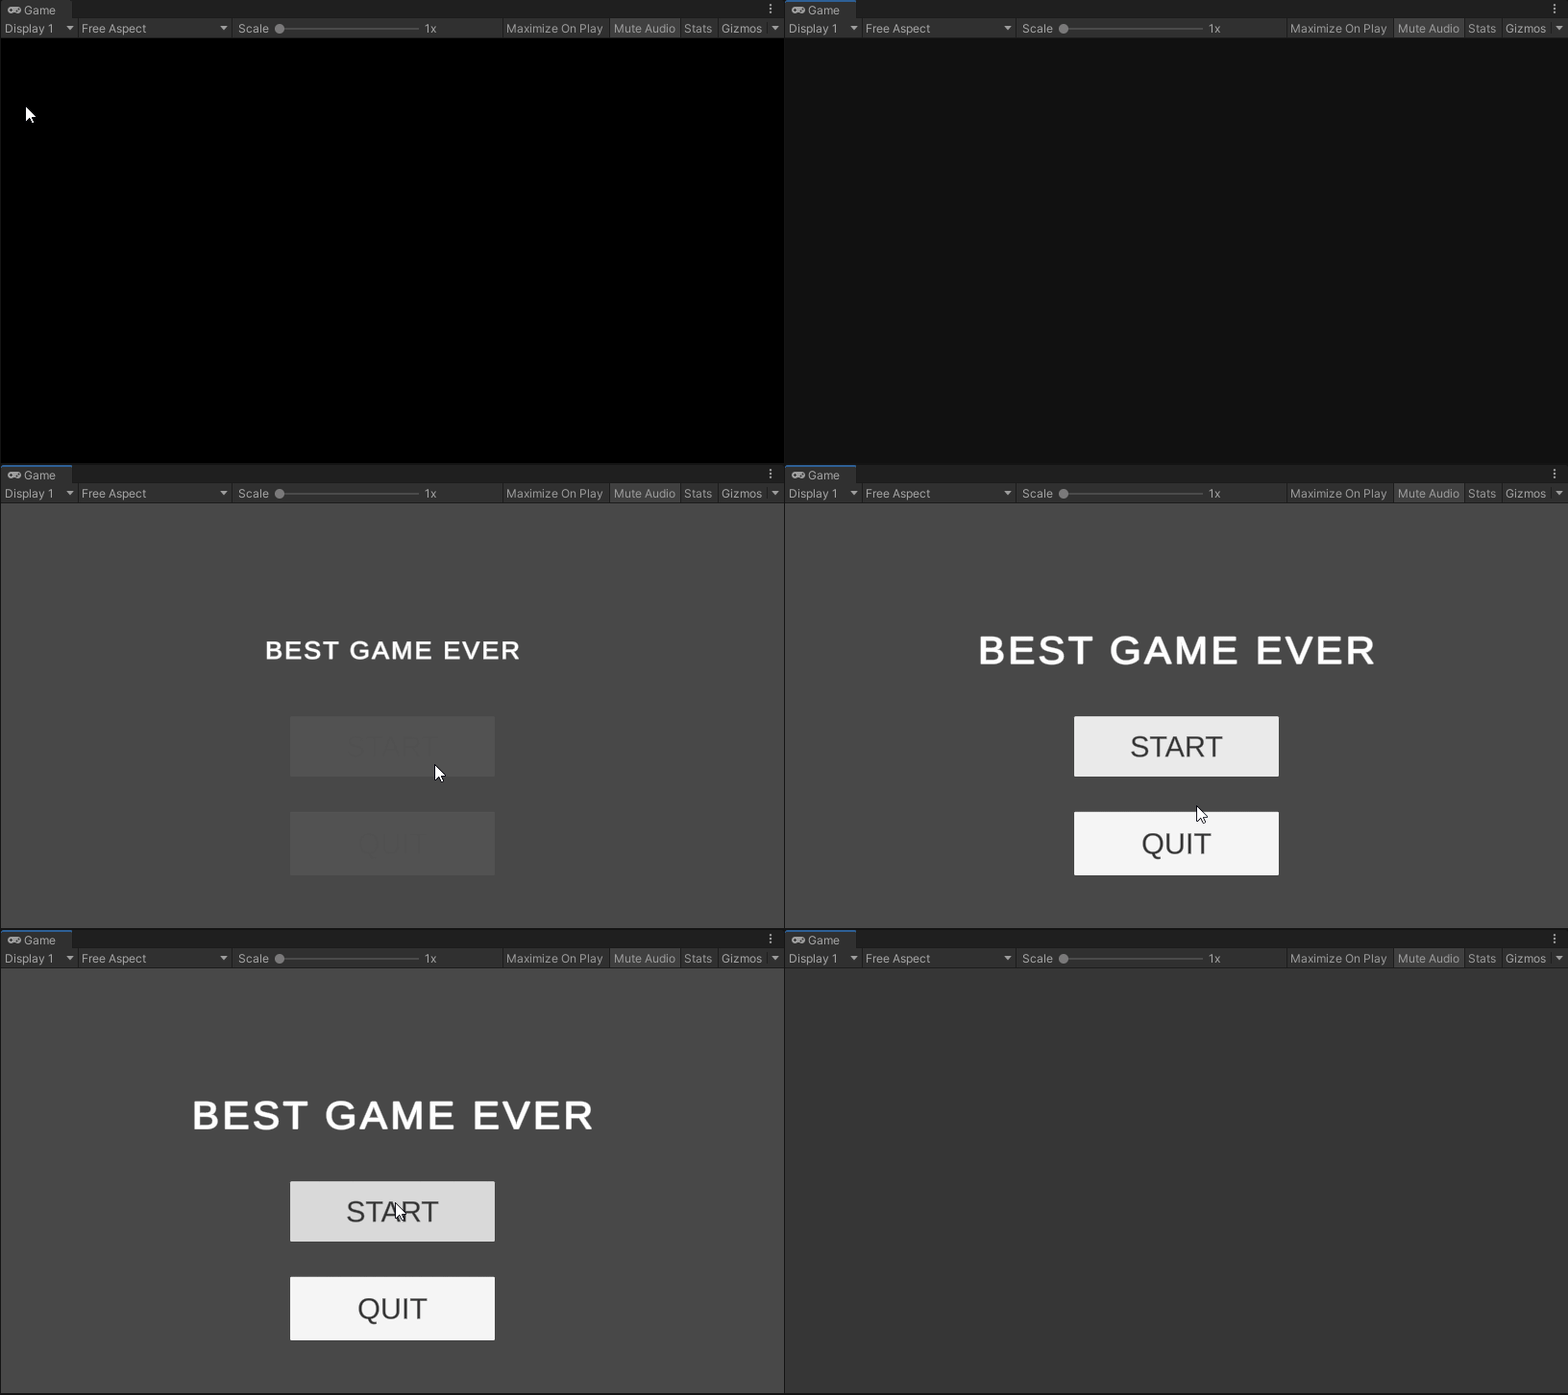
Disable the Fade effect so we can work. Next we’ll make the title pop into existence in a juicy fashion after the fade. Scaling up and then down and then to it’s normal size. Here’s what it should look like.
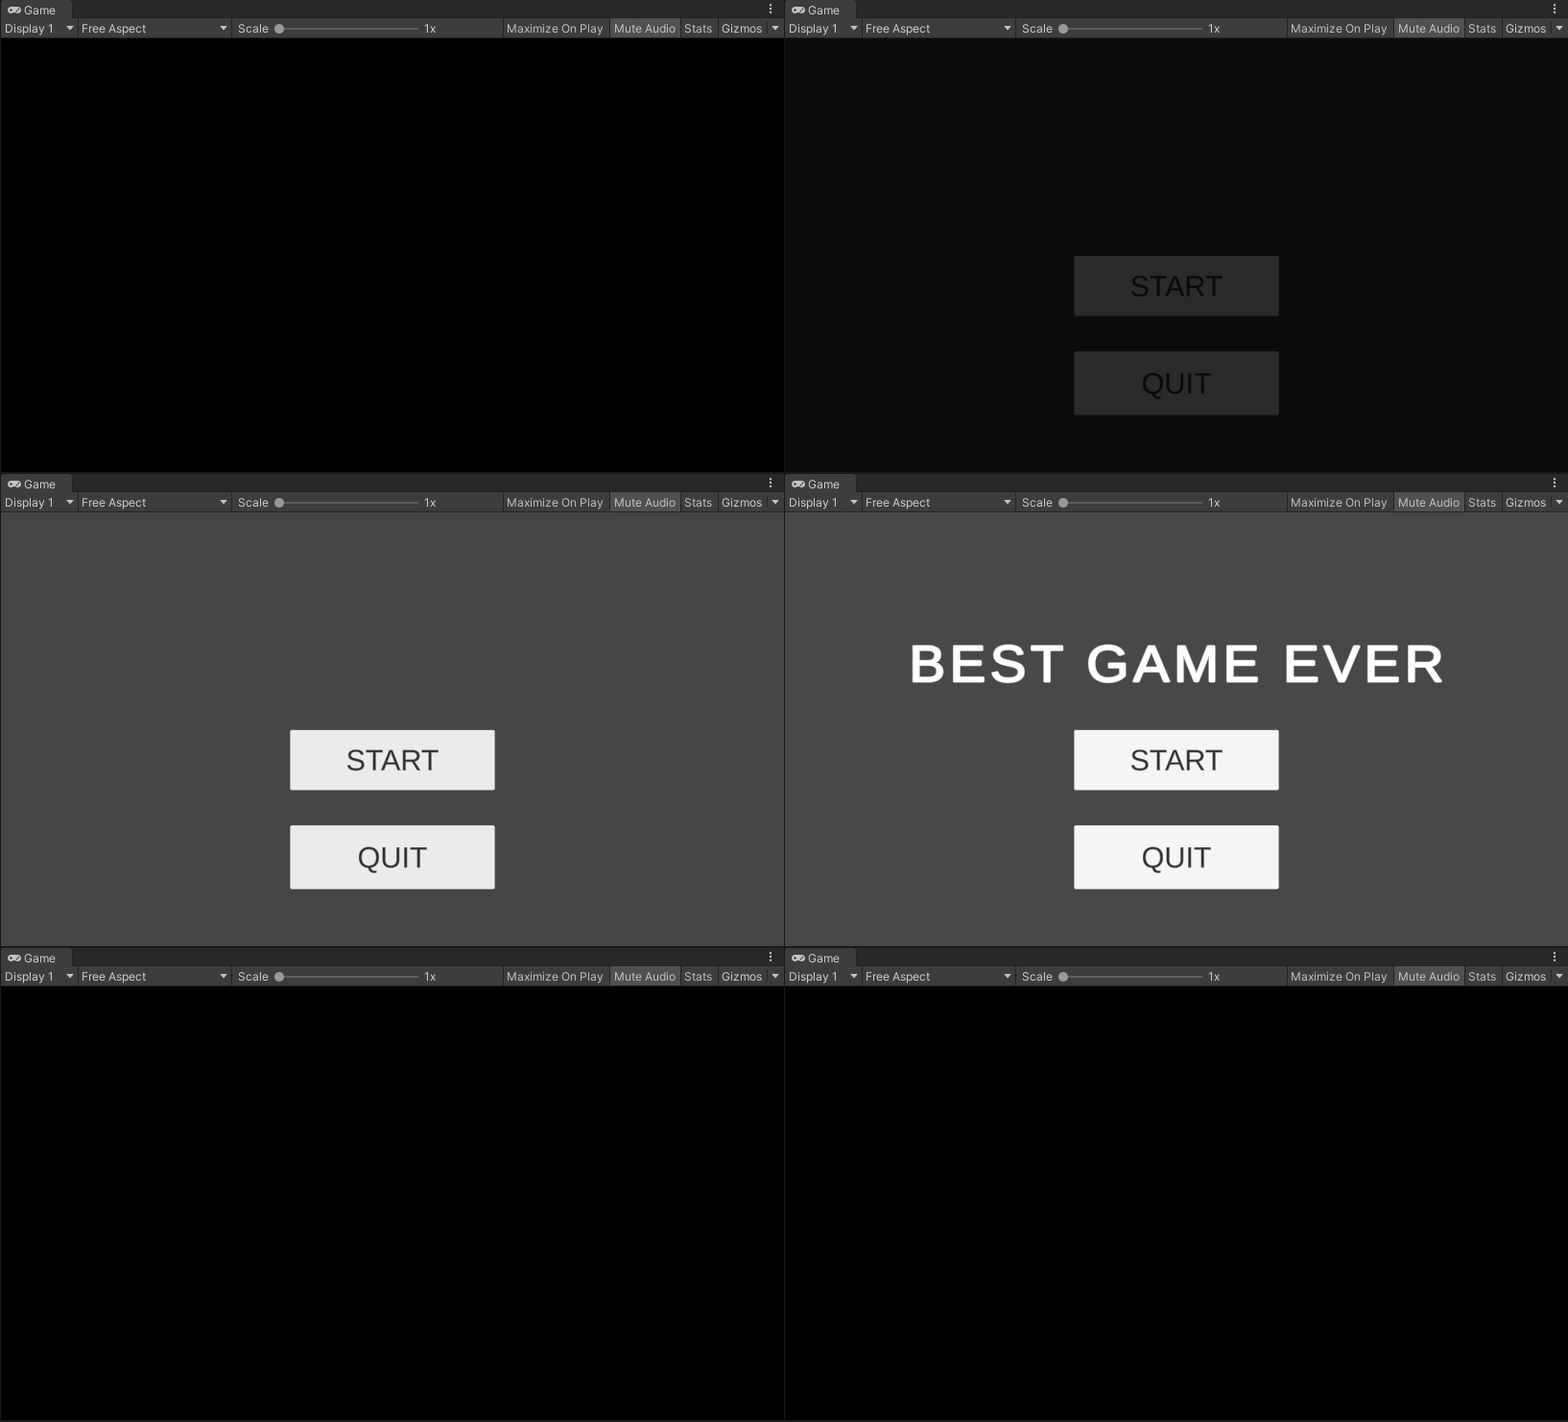
At the 3 second mark on Timeline where the fade finishes, we’ll set the Title Text’s Rect Transform scale to 0 and then at the 4 seconds we’ll set it 1.5f. Then at the 5 second mark, bring it down 0.75f, and then at the 6 second mark bring it to the 1.0f. This will create a nice bouncy effect, play it around with the settings but it should look like this if you use the same values.
Next we’ll fade in the buttons as the title bounces following the same length of time. This will be a little trickier than the fade away as you have to do both the button and the button text but similar to the black fade, just drop the Game Objects in Timeline and use Animation Tracks to create the effect. It should look something like this.
That looks pretty darn good for a couple buttons and some text. Here’s the timeline for your reference.
Now we’ve made the best menu ever, let’s wire up the functionality. Make a Main Menu script and attach it to the canvas object like so.
Here’s the code for the Main Menu functionality, fairly straight forward. Two methods for two buttons. One will Start the game and the other will let the player quit the game.
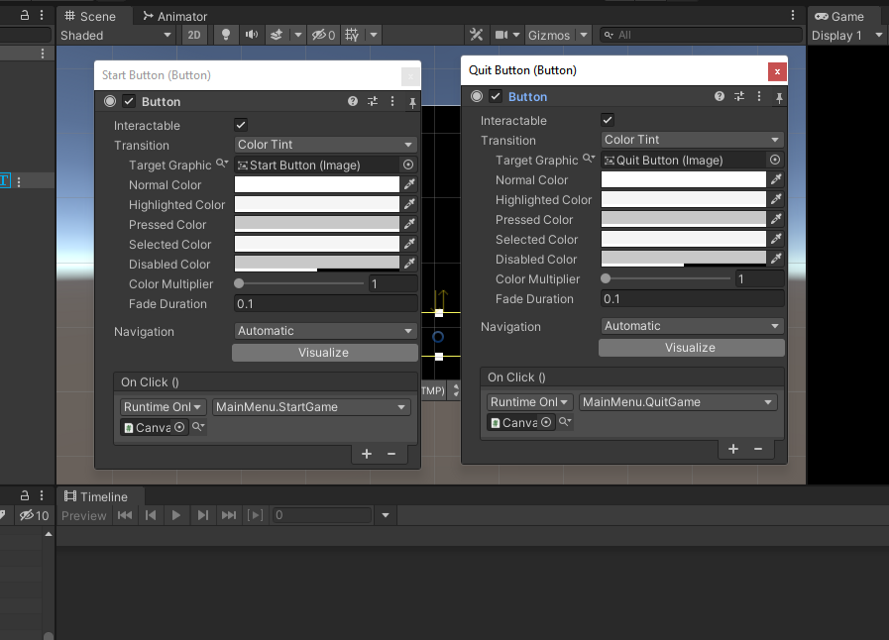
Select the buttons and then drag the canvas object into each button and select the corresponding method in MainMenu.
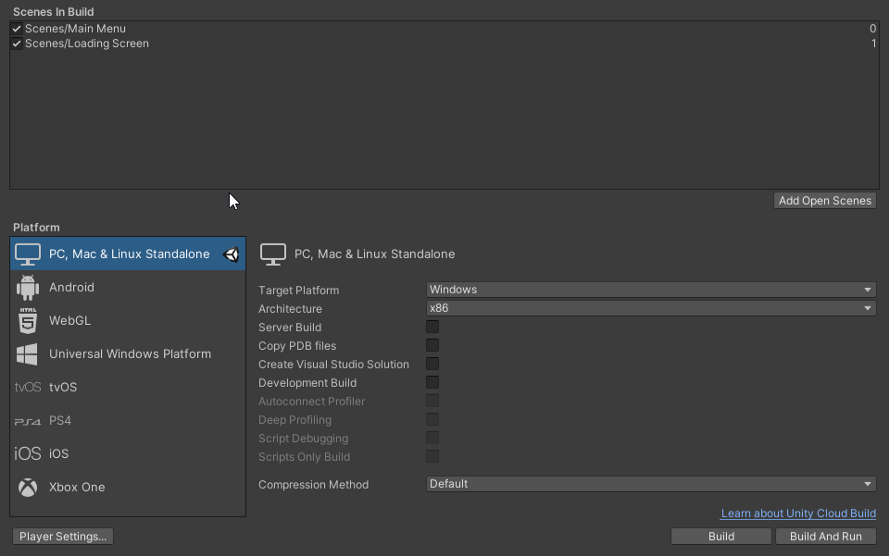
Lastly create a second scene and save it. Return to the Main Menu scene and then open up the build settings by going File > Build Settings. Drop the existing Main Menu scene and then the second scene you made in order like I have it here.
Now let’s see it in action in all it’s glory. It should work without a hitch. If the buttons aren’t responding be sure to make sure the Fade game object has Raycast Target turned off.
Looking pretty good. This was a crude example of functional main menu, but even with simple assets you can create a great main menu with the help of timeline and a few animations. Hopefully this gives you the tools to make your own eye-catching and juicy main menus, until next time happy coding.

